Setting up Chatbot Interactions
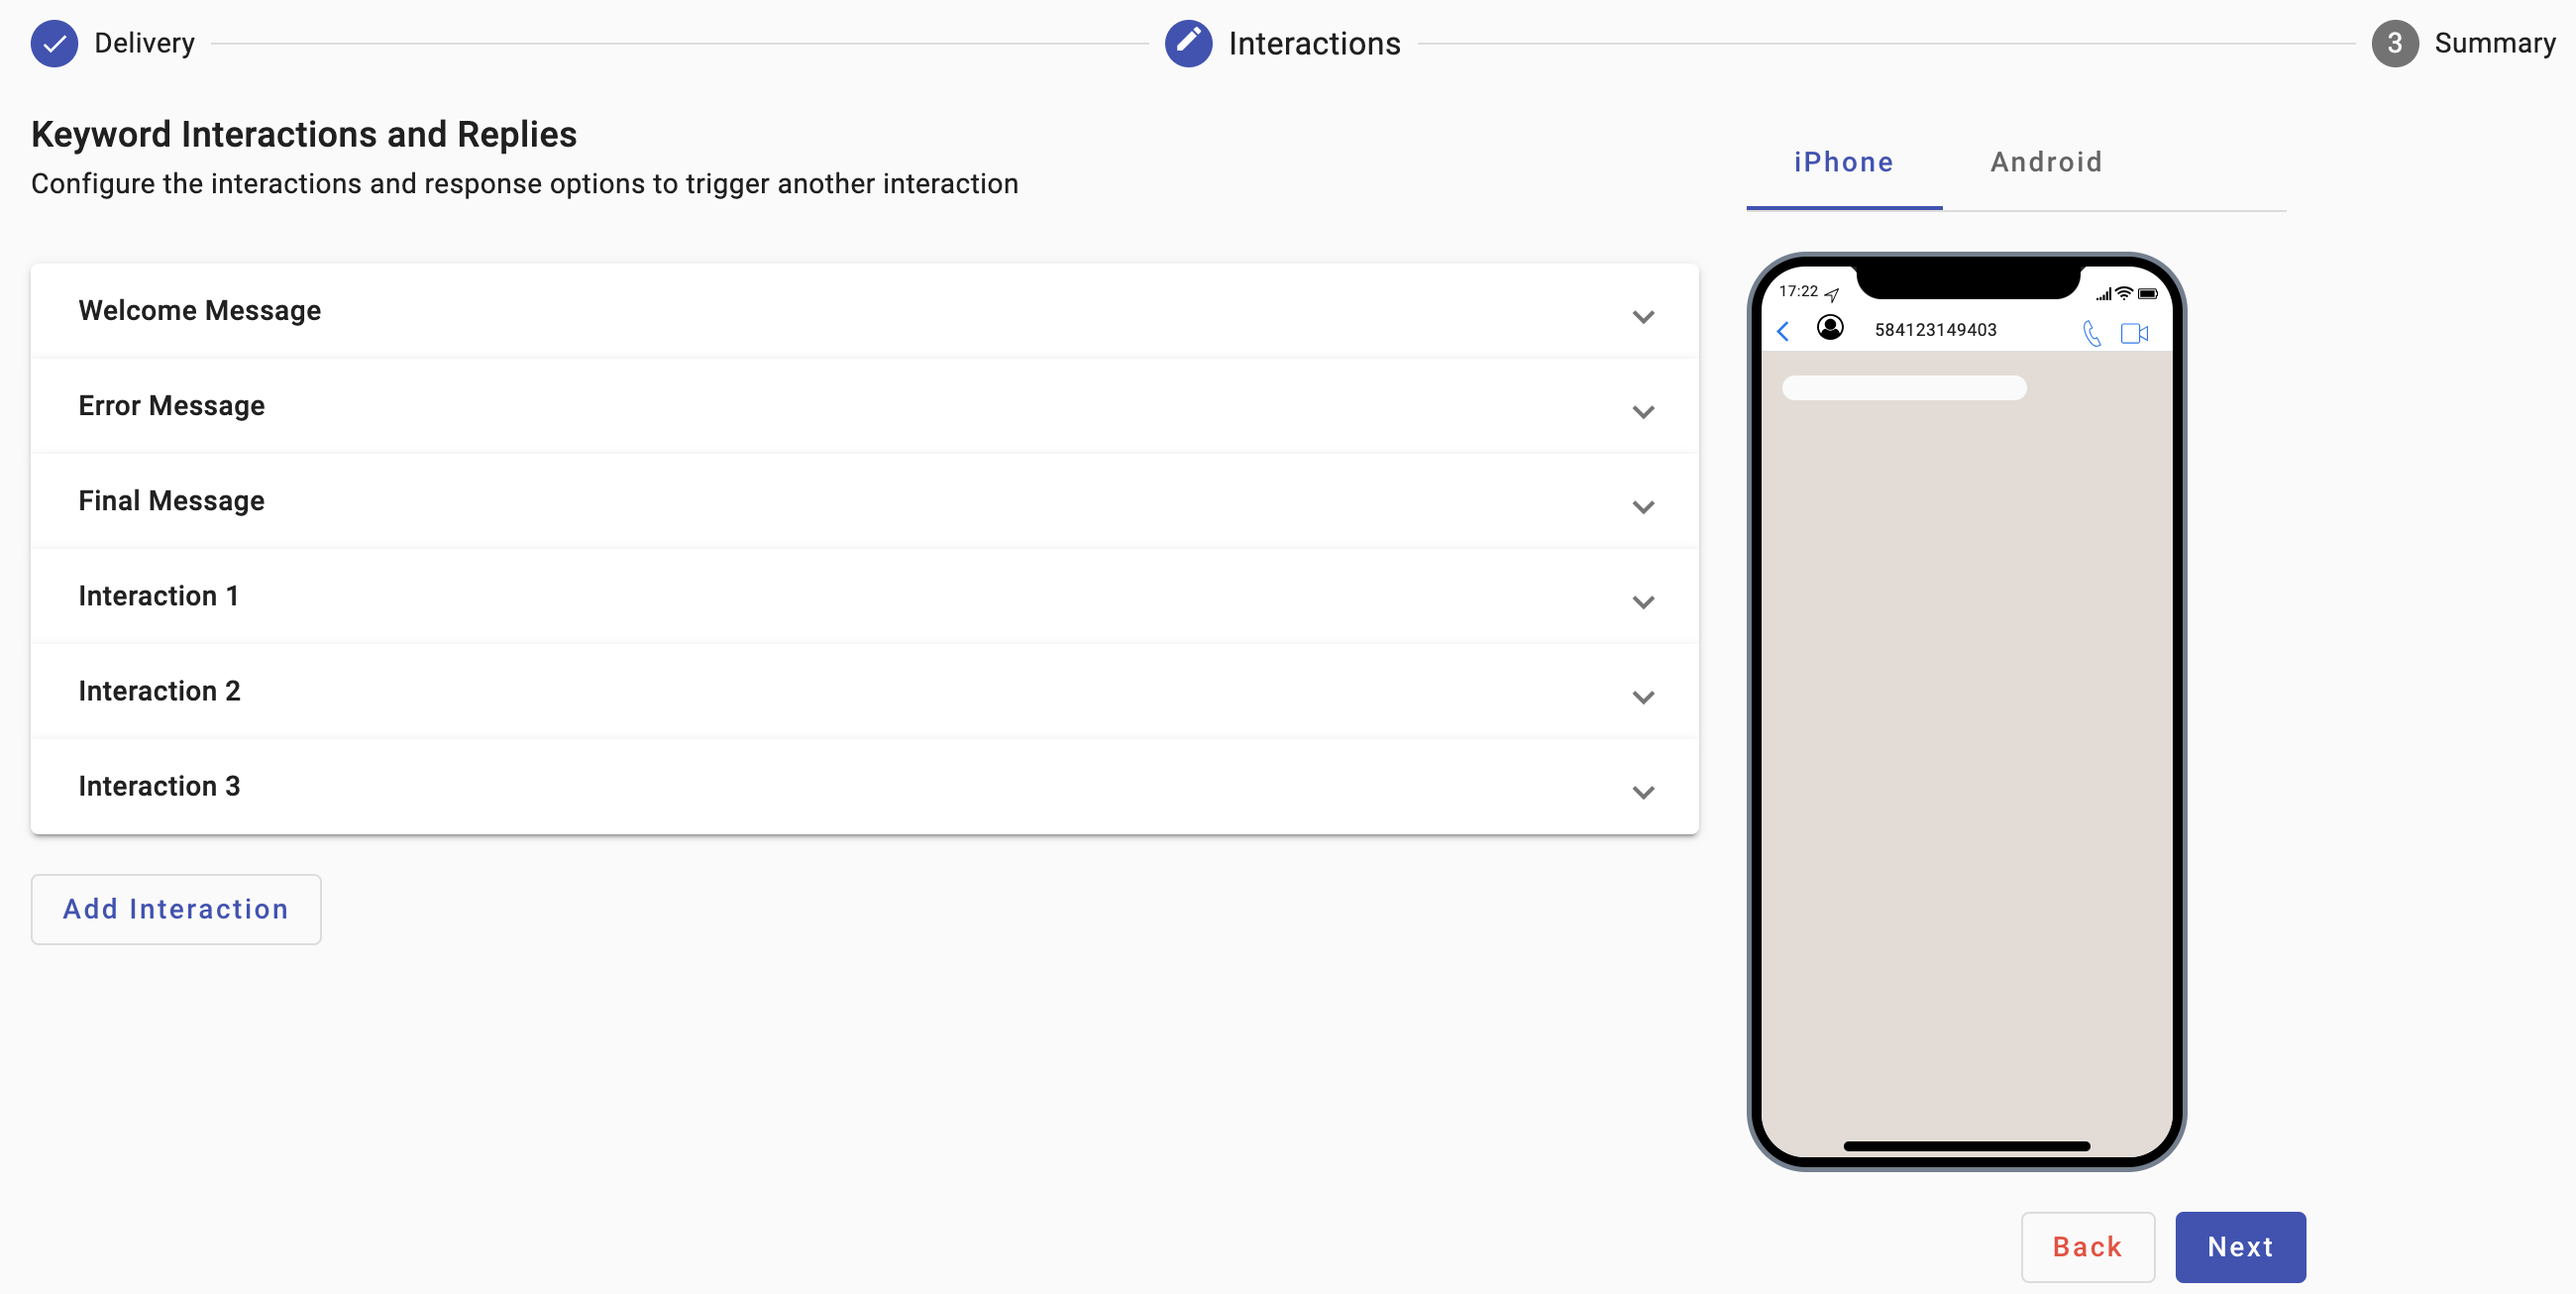
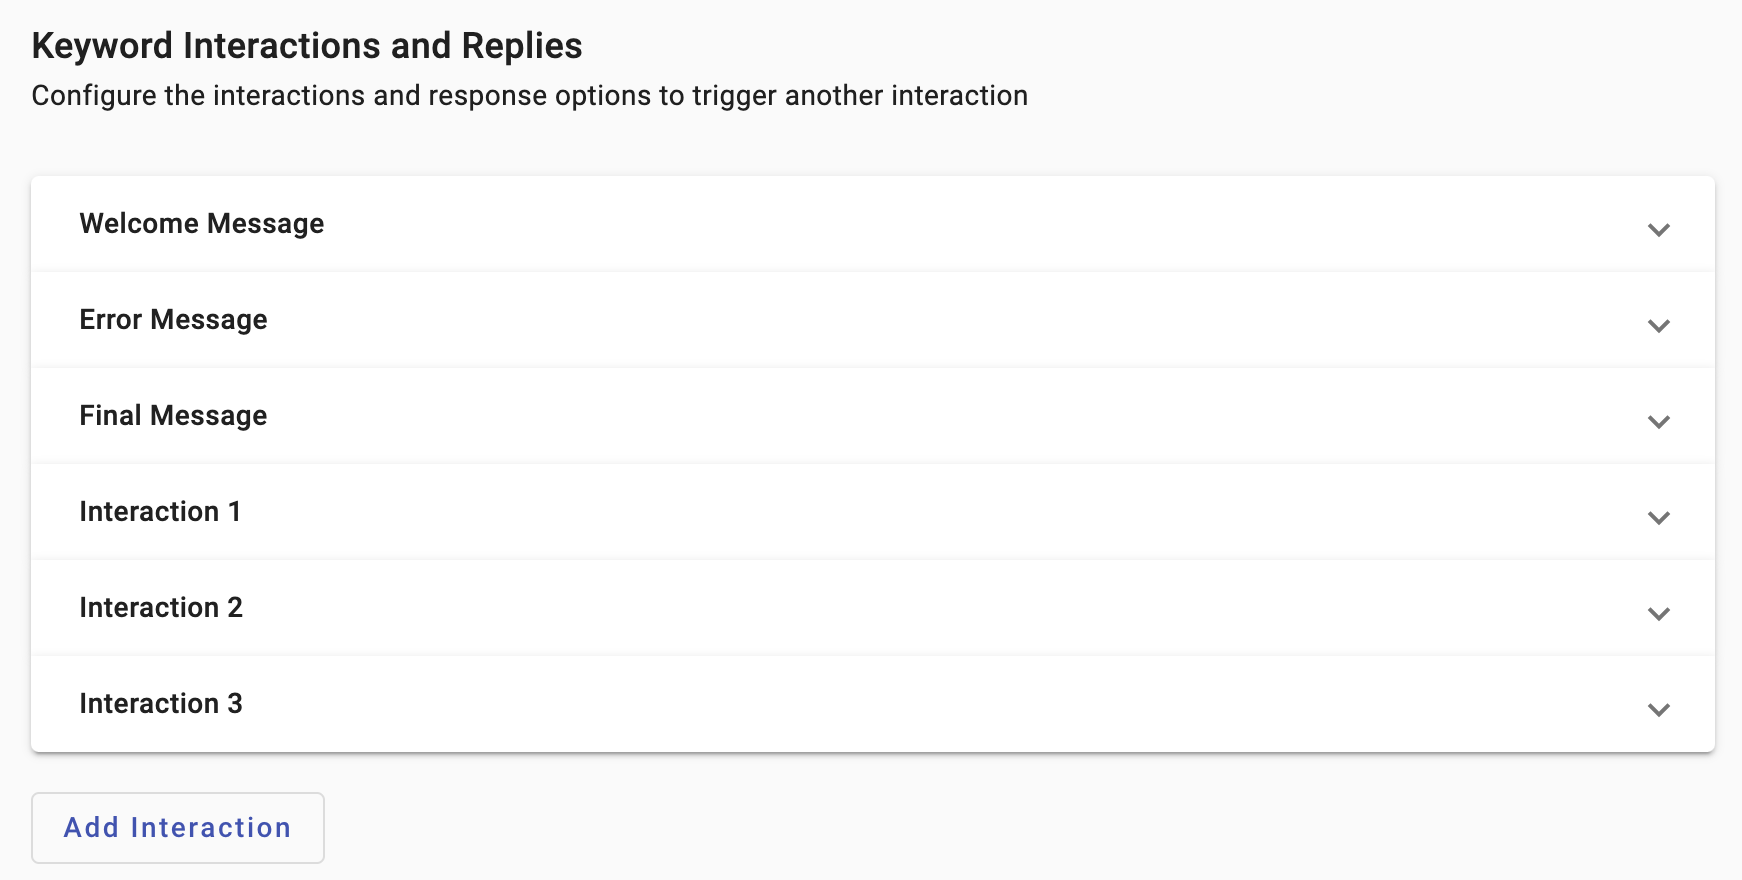
The Interactions section is where you enter the chatbot script and set up its flow. It provides the following elements,
-
Welcome Message, which is where you insert the greeting that the user will receive once the service is invoked. It also represents the starting point of the hierarchical decision tree.
-
For SMS, there are three de facto Interaction steps arranged in a stack. For WhatsApp, the interaction stack will have five interactions, offering a starting point in the process of setting up the chatbot.
-
The Add Interaction button, which allows to add more interactions to the stack to accommodate the chatbot script.
-
The emulated device screen to give you the look-and-feel feedback of the user experience with your service.
API Endpoint Scenario
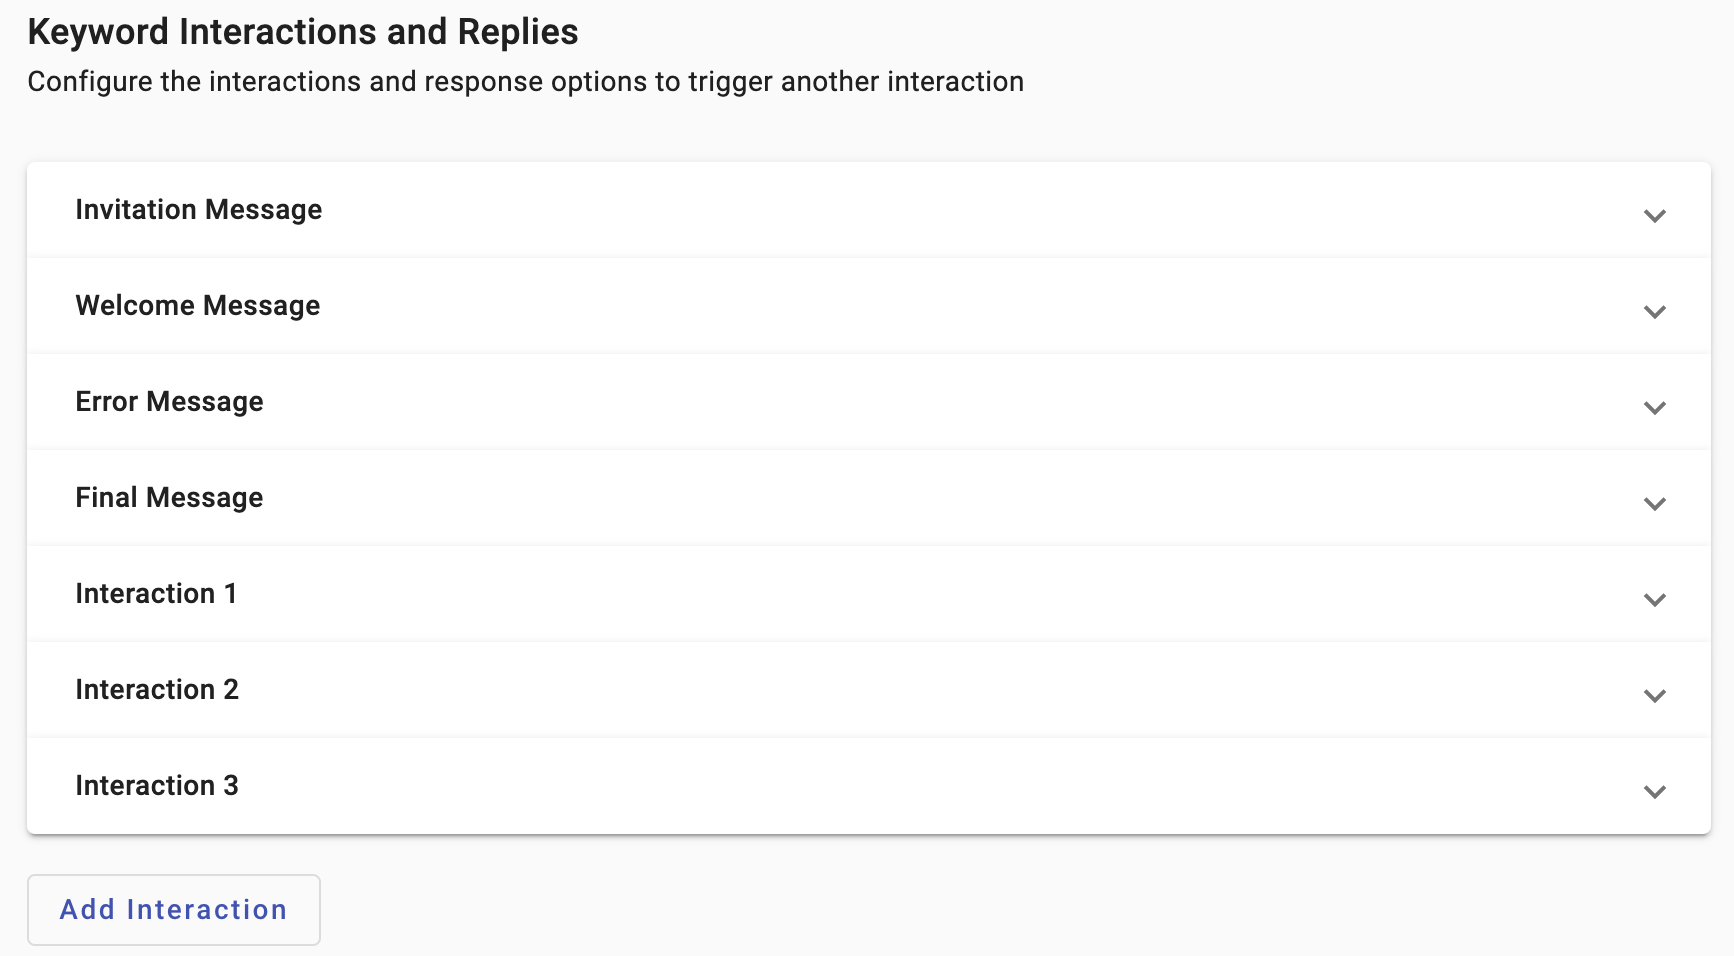
In the case you chose the API Endpoint as recipients, the platform will add an Invitation Message at the top of the Interactions stack.
The Invitation Message will be sent to users, and in it you should include instructions on how to access the chatbot.
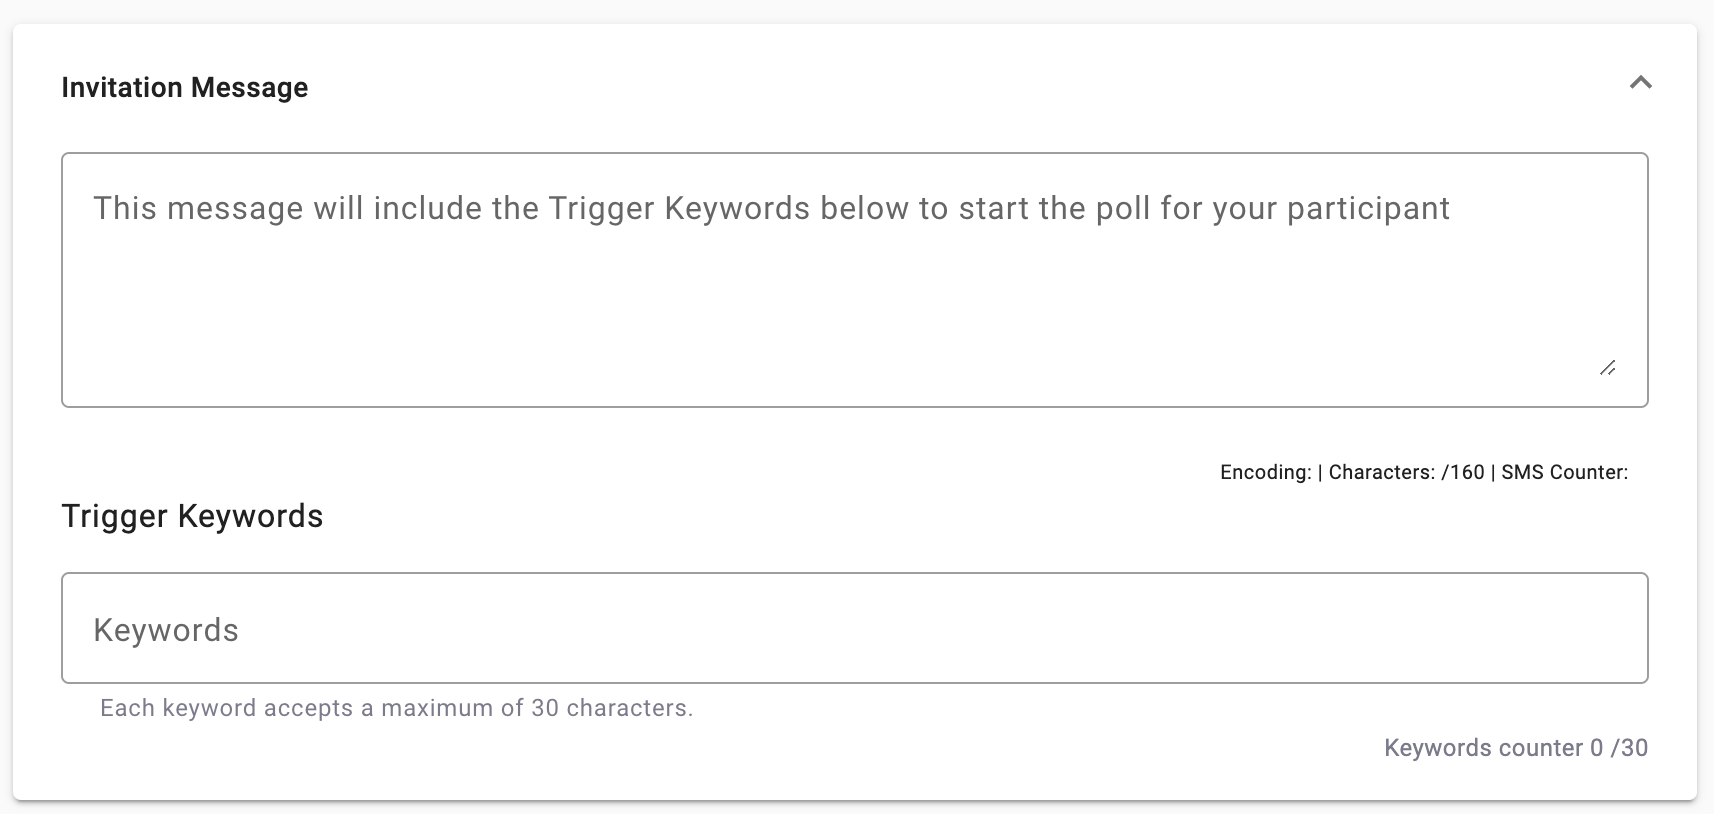
Its configuration has no bearing on the chatbot flow per se. The steps to configure it are straightforward,
-
Expand the Invitation Message section
-
Enter the invitation message text to use the chatbot, including the keywords to trigger it.
-
Under Trigger Keywords, enter the keywords that the platform will receive from the users to trigger the chatbot.
Ensure that you follow the guidelines provided for each element.
Welcome Message
The Welcome Message is the entry point into the Chatbot Service as it is where the trigger points to, making it a mandatory element of the setup.

In the Welcome Message,
- Enter the greeting message aligned to the channel type, each with its own characteristics; SMS using the standard 160-character cap, and WhatsApp with 1024 including emoji capability that you select from the smiley face on the right end of the message box.

As in all messaging scenarios in the platform, the character count for the message is displayed under the message box. The count includes the menu items, plus a four-character overhead for each menu entry.
The emulated device screen will display the information as it is being configured as feedback on your actions.
The steps that follow, have to do with the menu options presented to the end users. The user responses in the form of a single character keyword, allow the chatbot to redirect the user to the next action.
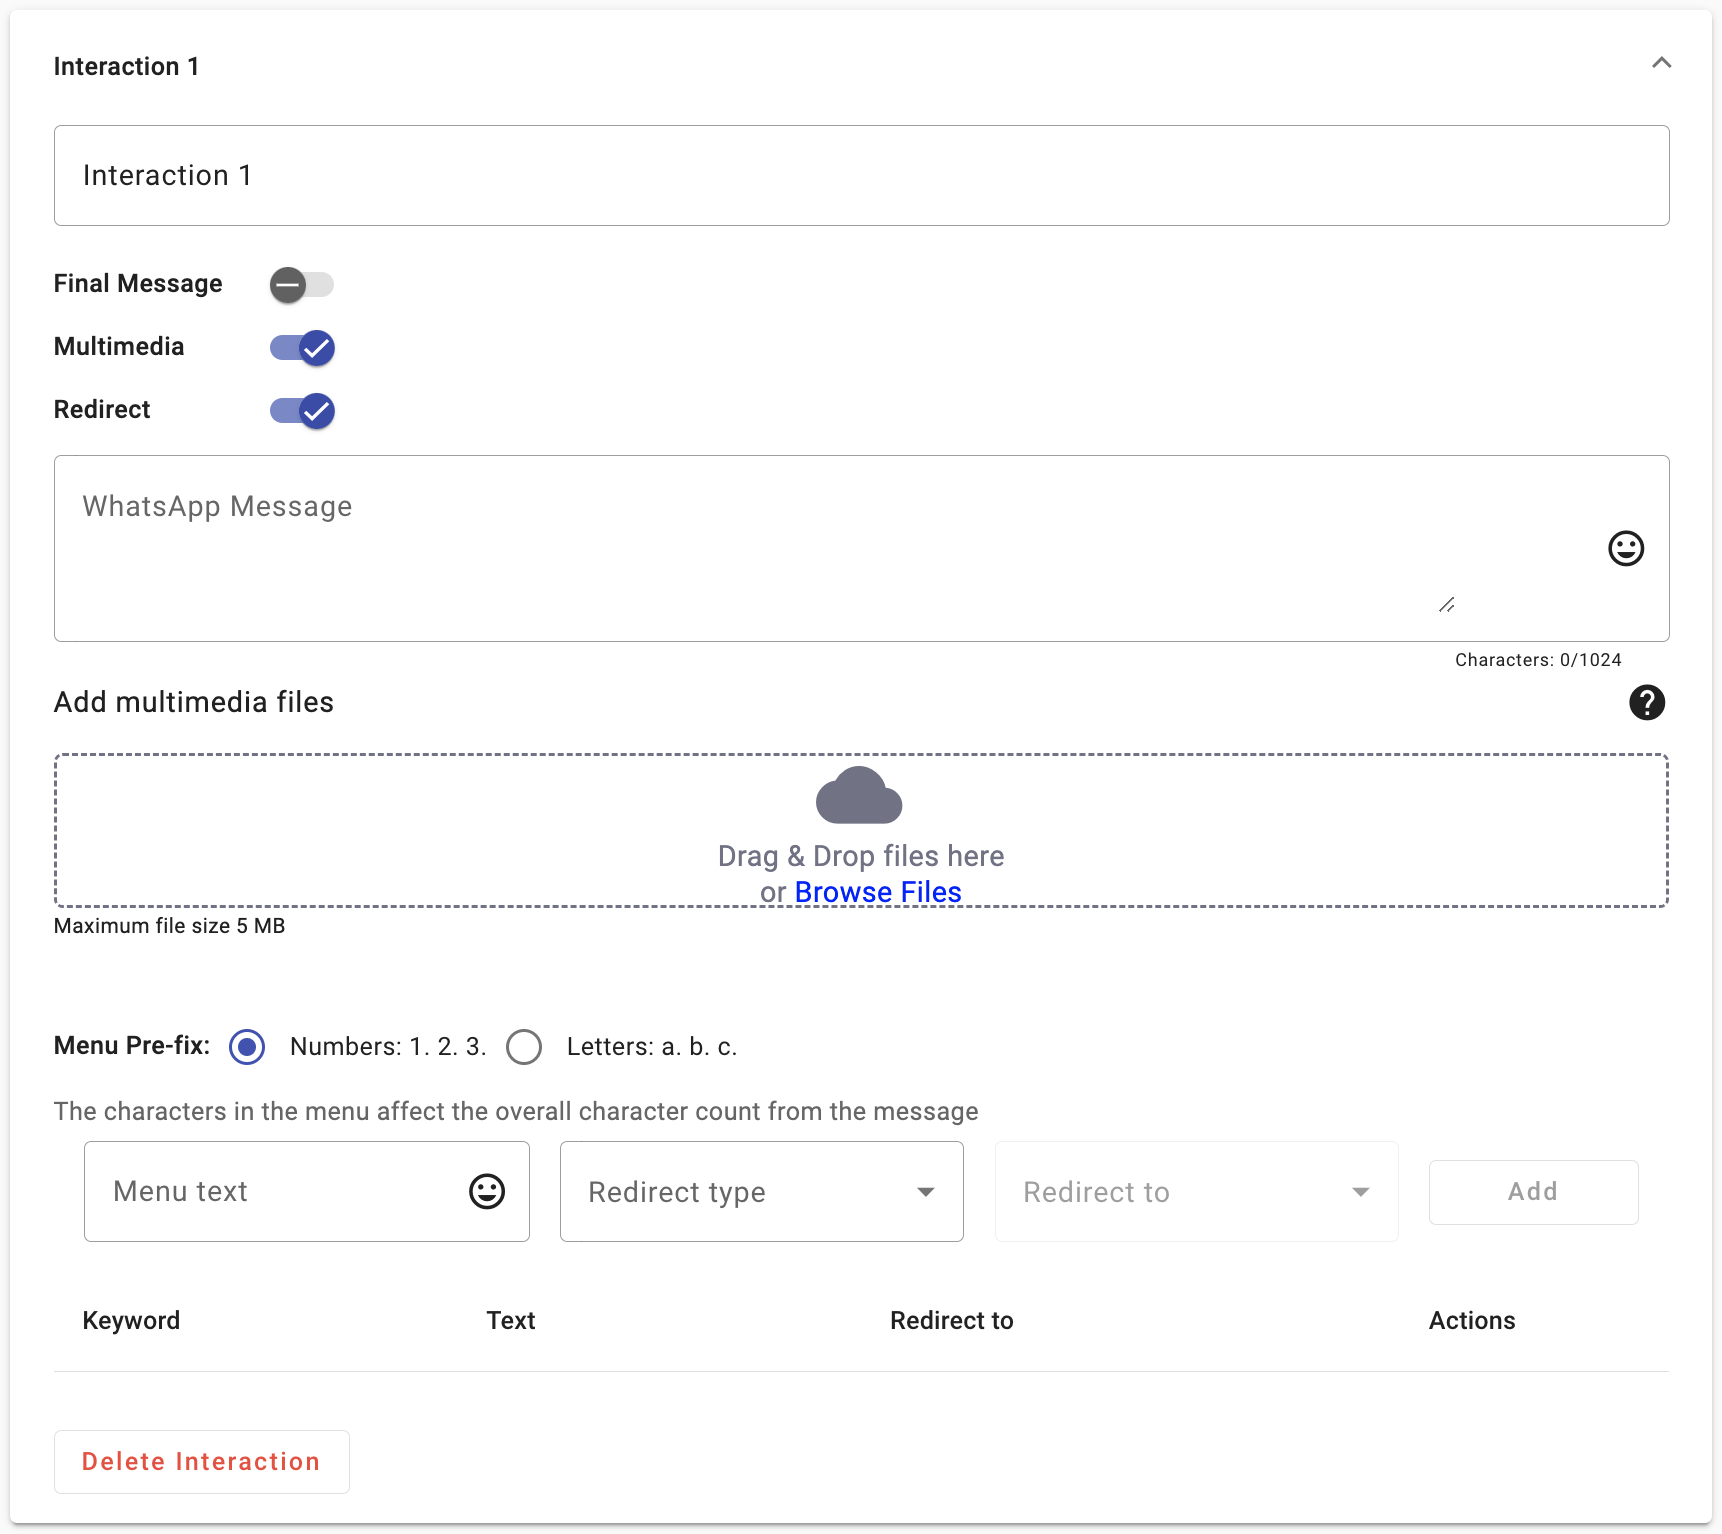
- For the case of WhatsApp, a Multimedia switch is available, allowing you to enter files into a drag-and-drop box that appears when it is selected.

By selecting the tooltip on the right of the drag-and-drop box, you will see the four possible types of multimedia files with their characteristics.

(a) Audio in aac, amr, ogg; codec = opus
(b) Document in pdf
(c) Image in jpg or png, and
(d) Video in mp4 or 3gpp (H.264 video and aac audio codecs)
The maximum file size is 5 MB for any of the four types, and the file will be sent as a separate message, either before or after the chatbot interaction message, as delivery order is not guaranteed.
When a multimedia file is included in an interaction, the emulated device screen will present the actual content for the case of an image file. For all other multimedia file types, the emulated screen will present placeholders as shown below.

- A Menu Pre-fix scheme with an option for numbers or letters through radio buttons. Each prefix adds 4 characters to the message length which is a consideration for the SMS case, given its 160 maximum character length. These single-character keyword prefixes will be what the end user texts back as a response to each step in the chatbot flow. Each number or letter represents a response to the particular interaction that the user finds herself/himself in.

The following steps have to do with the menu options presented to the end users. The user responses in the form of a single character allow the chatbot to redirect the user to the next action.
- In the Welcome Message you can include from 1 to 4 response options for SMS, and from 1 to 20 for WhatsApp and RCS, and it has to have at least one response option menu item. The Menu text box is where you enter the name of the options that the user will choose from. For consideration in the SMS case, is the length of the name since it will be added to the overall character count of the message. WhatsApp affords much more leeway given that it does not have this type of restriction and it also includes emoji capability.

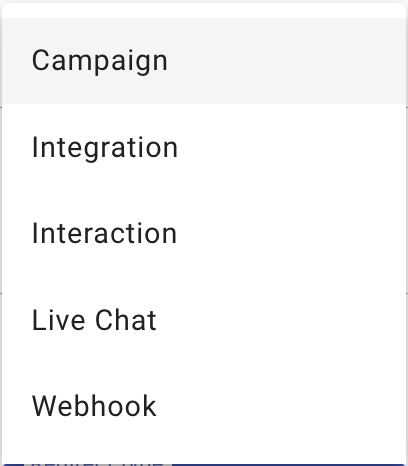
- In the Redirect type is where you identify the type of step that will follow in the flow of the chatbot. The platform will offer five options as shown.
-
Campaign defines if the next item in the flow corresponds to a Live platform campaign with content associated with the chatbot’s intended purpose, an out-of-flow action.
-
Integration defines if the next item in the flow corresponds to a third-party solutions that can be added to the interaction flows with your customers using the chatbot as the communication vehicle.
There are three types of integrations: Bright Pattern, OpenAPI and Custom Webhook.
-
Interaction defines if the next item in the flow corresponds to another interaction step within the chatbot flow, an in-flow interaction.
-
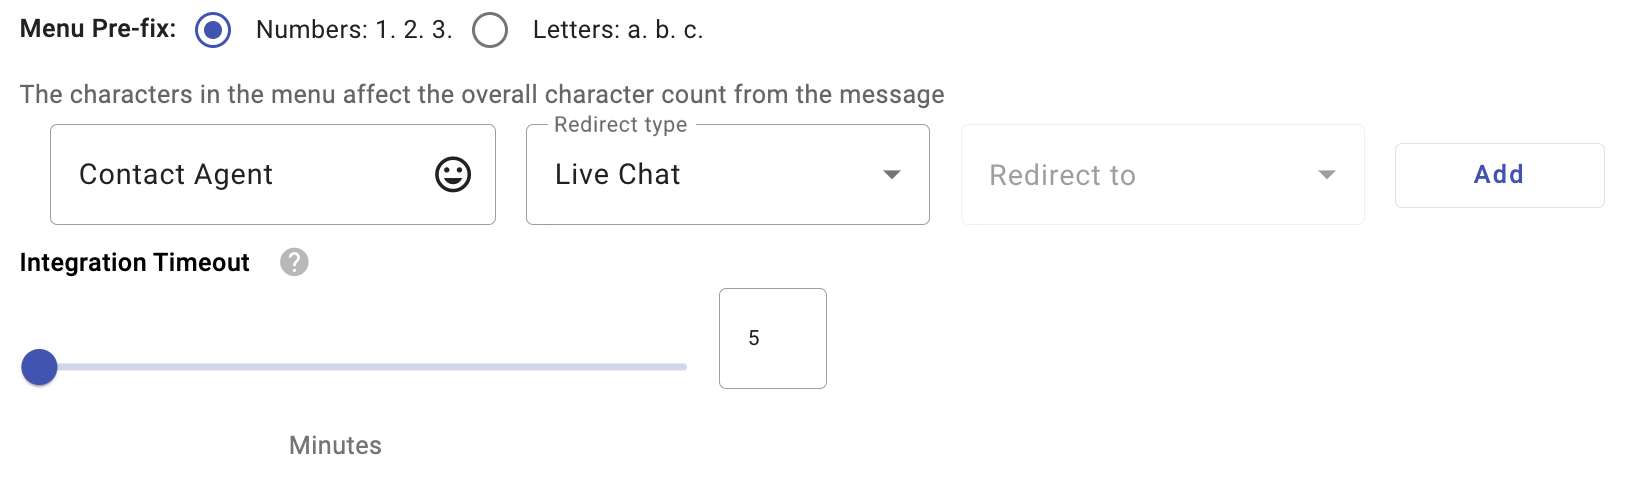
Live Chat: Specifies whether the subsequent element in the workflow links to an agent from the Live Chat feature.
To redirect the end user to the agent, click on the Live Chat option located in the Redirect Type dropdown. Then, set the total minutes that must elapse due to inactivity. For example, If the end user selects the links to the agent but the end user doesn't respond to the agent within 5 minutes, the connection will be finished.
To create, build and deploy a chatbot that connects to the Live Chat feature, go to the Integrate Chatbot with Live Chat section
-
Webhook defines a notification event to be sent and handled by your application, passing on the data that identifies the step in the flow to which webhook corresponds the user has arrived, another out-of-flow action.
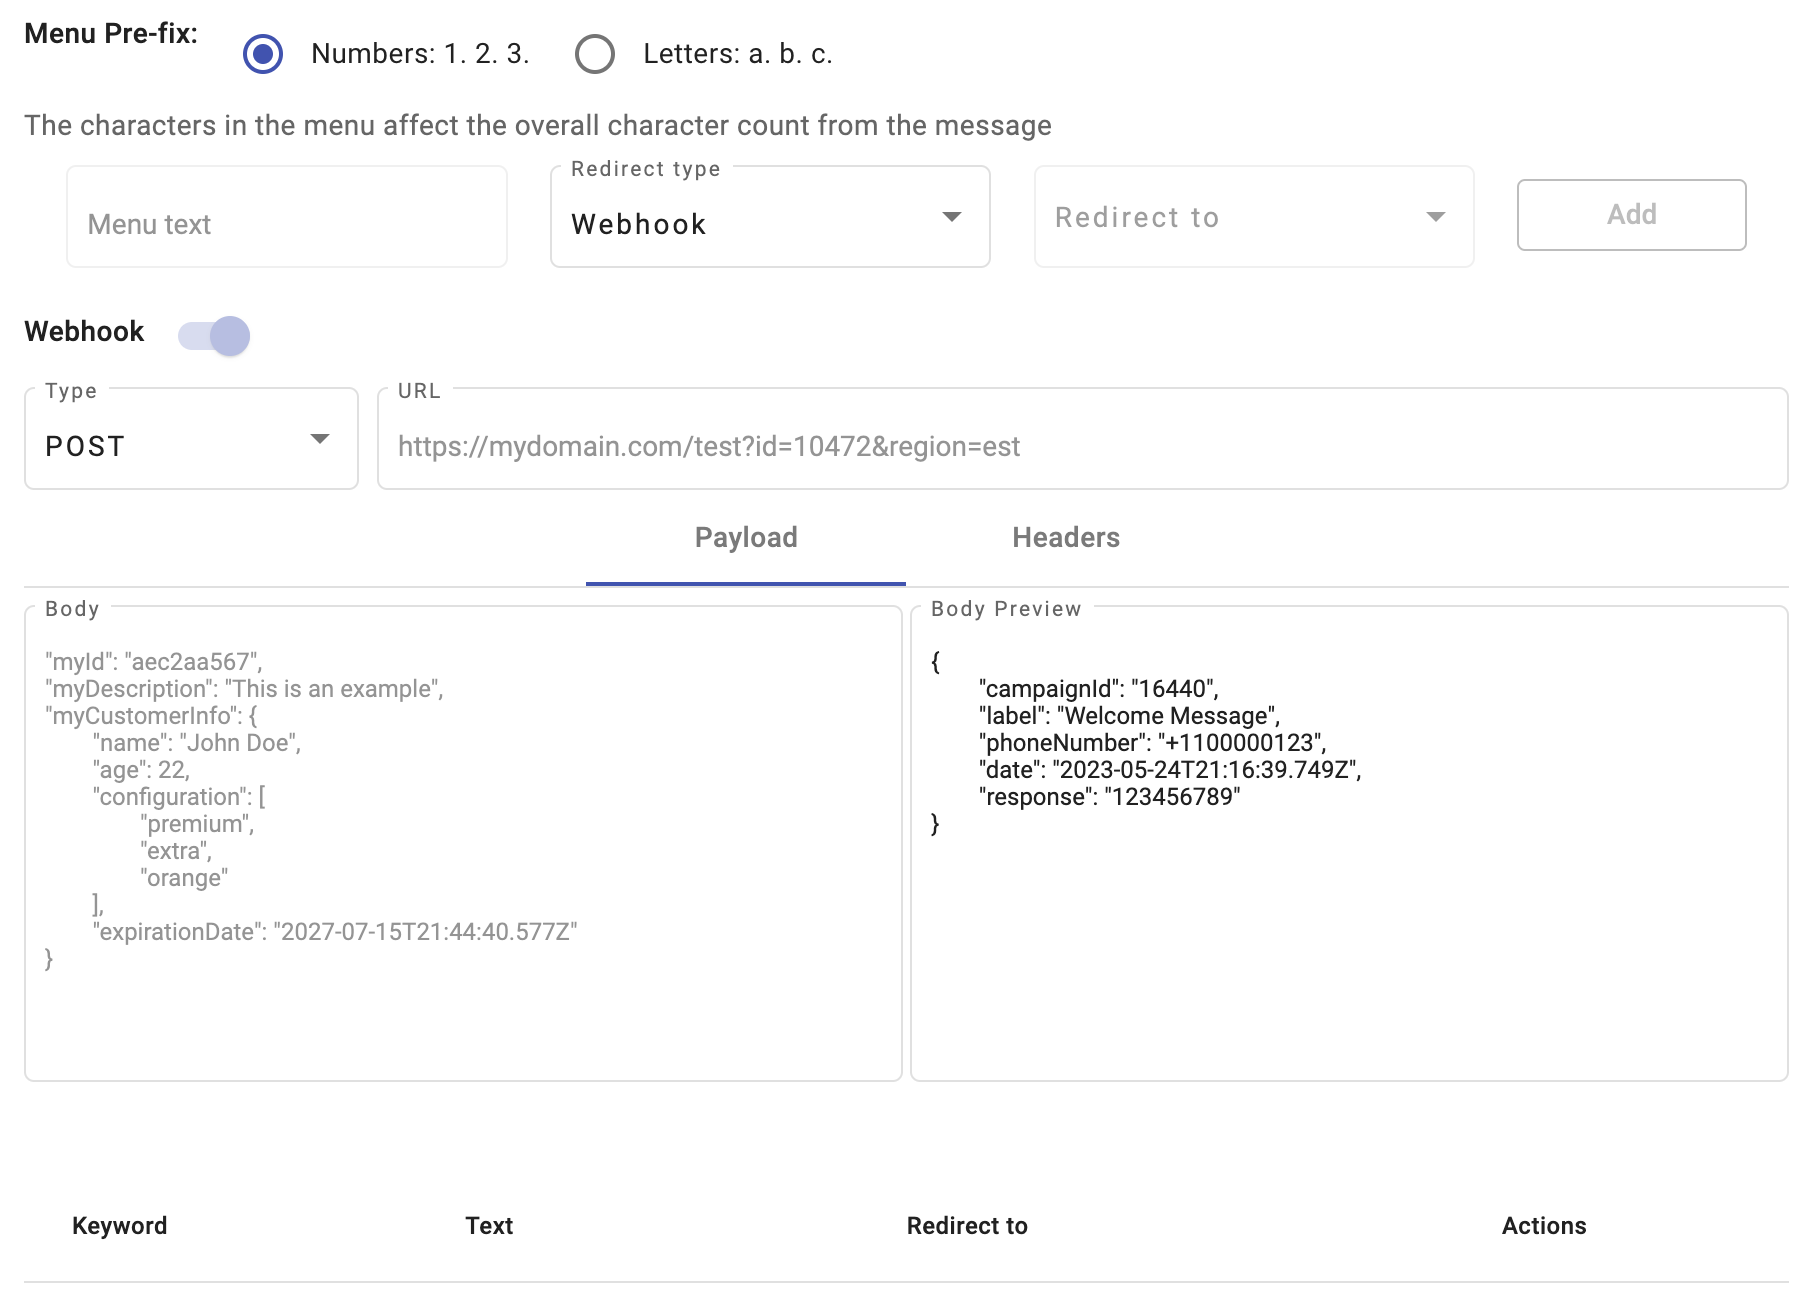
By enabling the webhook, your endpoint must have a POST access method and receive a JSON body.
You must type the following URL structure on the URL placeholder:
POST https://<Your_Domain>/<Your_Path>
The Webhook is divided by two components:
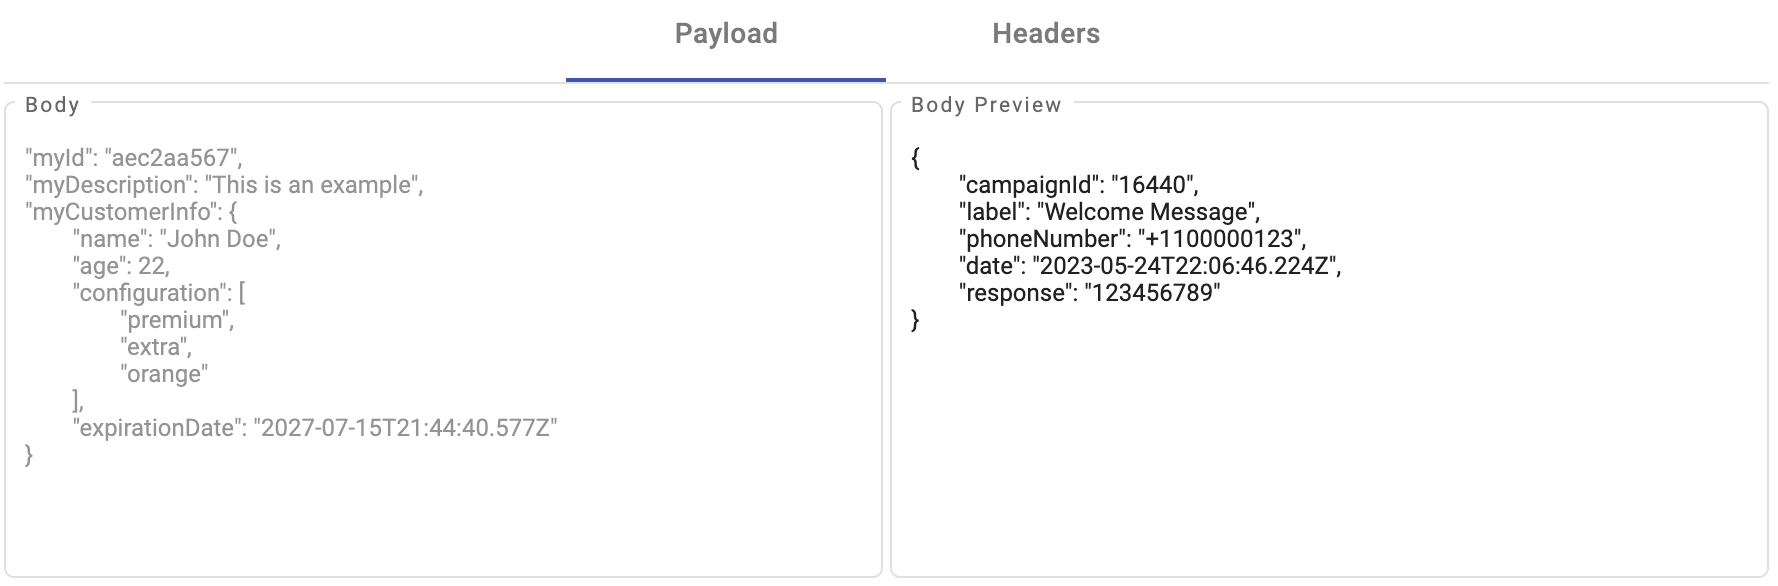
- Payload: The URL typed is the external callback where the events of the message will be registered and published. That is, the following example parameters sent to your callback URL will be the events to be recorded in the callback once the end users begin to participate in your campaign:
| Parameter | Description |
|---|---|
| campaignId | Unique identifier of the campaign. |
| label | Section of the chatbot. In this example, we are located in the Welcome Message section. |
| phoneNumber | Phone number of the end user. |
| date | Date when the Webhook receives the message. The date is represented with date in UTC Zulu format: (yyyy-mm-dd-Thh:mm:ss.ssZ). |
| response | Response from the end user who participated in the campaign. |
If you want to add additional parameters, from the Body textbox type in JSON format each parameter.
-
Headers: You can specify custom headers that the platform will use while sending the payload to the specified webhook endpoint. Custom headers give the destination application an option to authenticate your webhook requests, and reject any that do not contain these custom headers.
The headers use key-value parameters that are sent as part of the webhook request. The values of these key-value pairs are visible and editable in the webhook editor by selecting the Edit icon once the key-value have been added. And, you are able to delete the key-value by selecting the Delete icon.
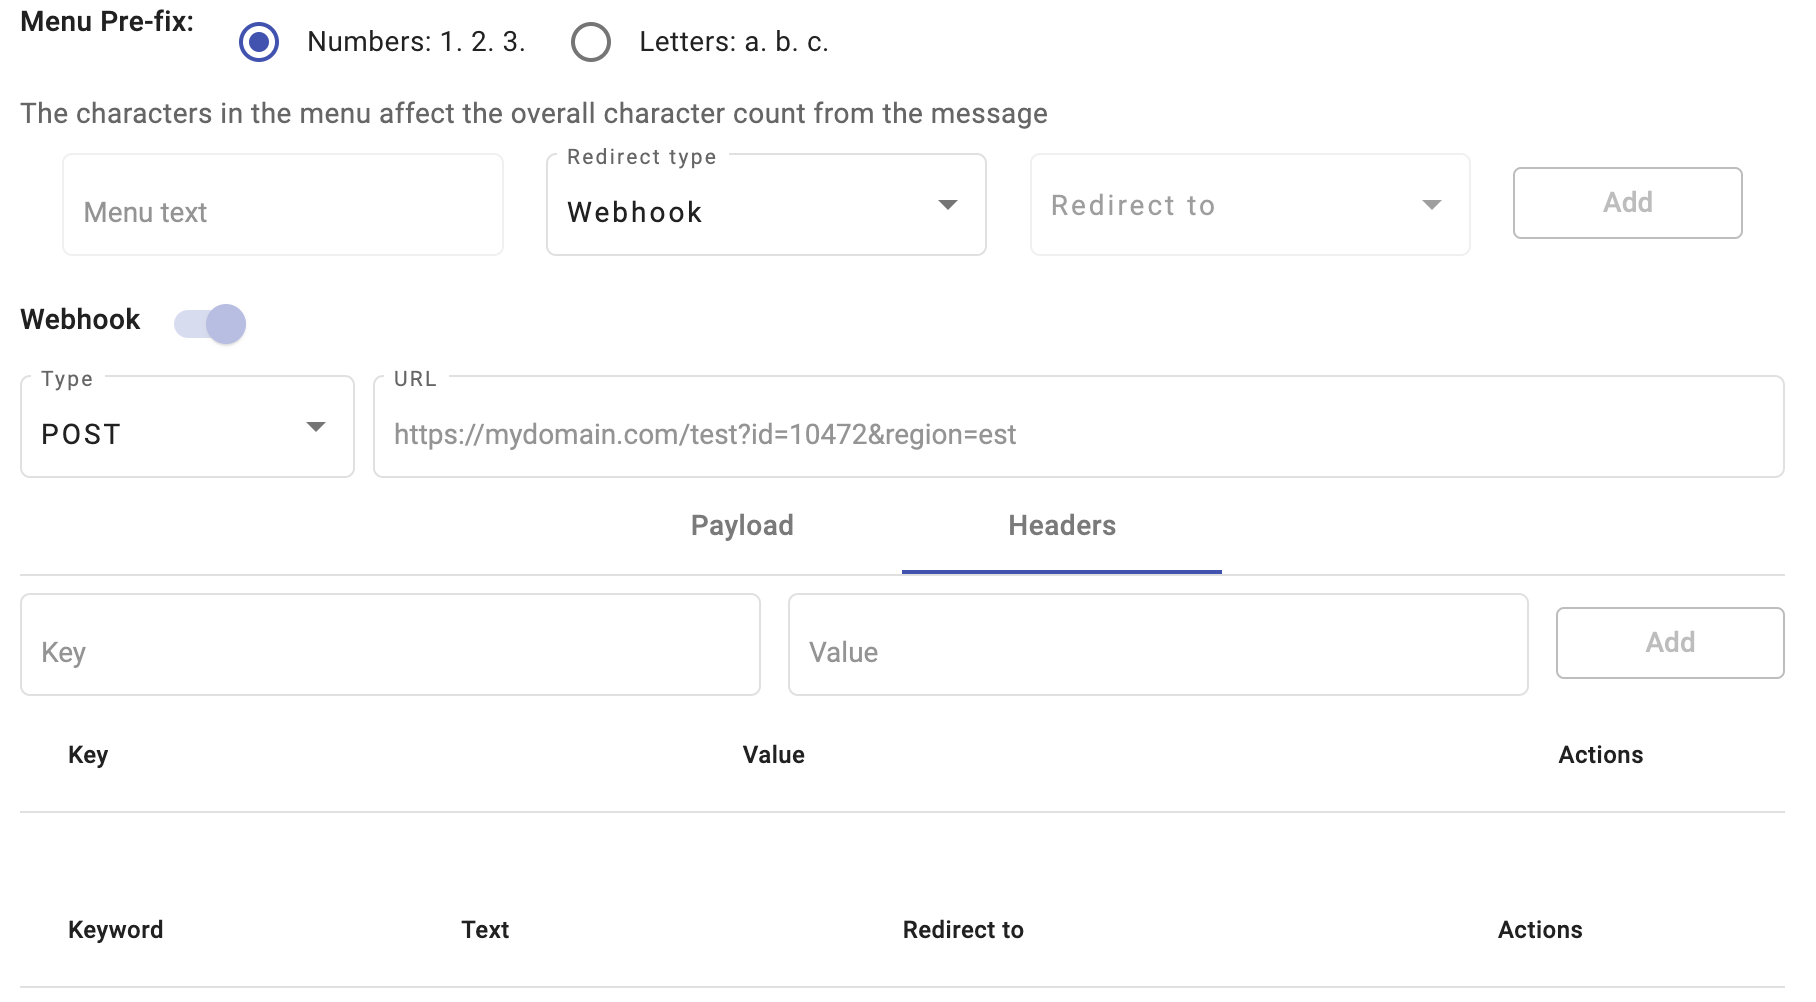
As Header example, the following headers key-value will be sent with all requests:
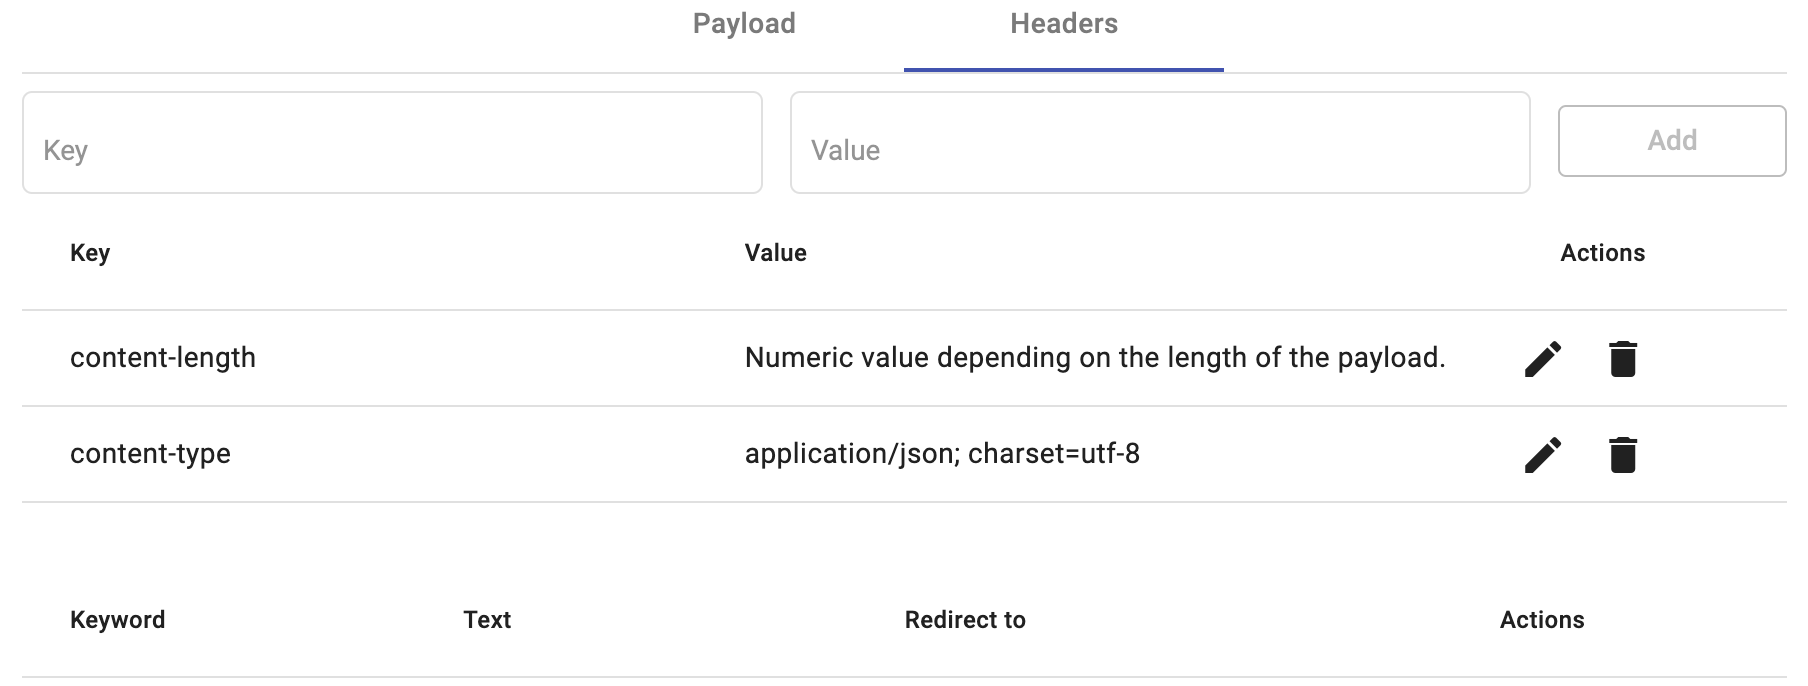
NOTE
If you select the Webhook as the "Redirect type", the "Redirect to" will not be available.
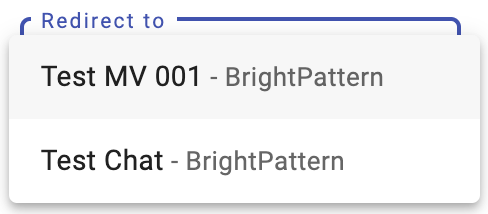
- Redirect to** represents the identity of the destination to which the platform will go for its next action. It is the identity of an interaction, a platform-defined campaign, or webhook event notification.
If the Redirect type is Campaign, the Redirect to will only show existing Live platform campaigns that qualify.

If the Redirect type is Integration, the Redirect to will only show each created and enabled integration. The dropdown menu displays the alias and the integration type.
Actually, we support the Bright Pattern, OpenAPI and Custom Webhook Integrations.
For more information, to create and enable each integration, go to the Integrations section.
If the Redirect type is Interaction, the Redirect to will only show interactions.

If the Redirect to is Webhook, the Redirect to will not be available.
![]()
Unlike the webhook payload that is set in "Redirect Type", this payload contains two extra parameters that will be sent to your callback URL:
- option: Option used by the end user who participated in the campaign.
- keyword: Keyword used by the end user who participated in the campaign.
Once the Redirect type and the Redirect to were configured by selecting the Add button, you have the option to add a webhook.
If the Redirect type set up was a campaign, integration or interaction, you can still add an underlying webhook associated with the option and POST the event to your application. This is shown in the figure below as an example.
By enabling the Webhook, it will display a POST method to the URL with either a default payload or one that you specify, delivered to your application for further processing.
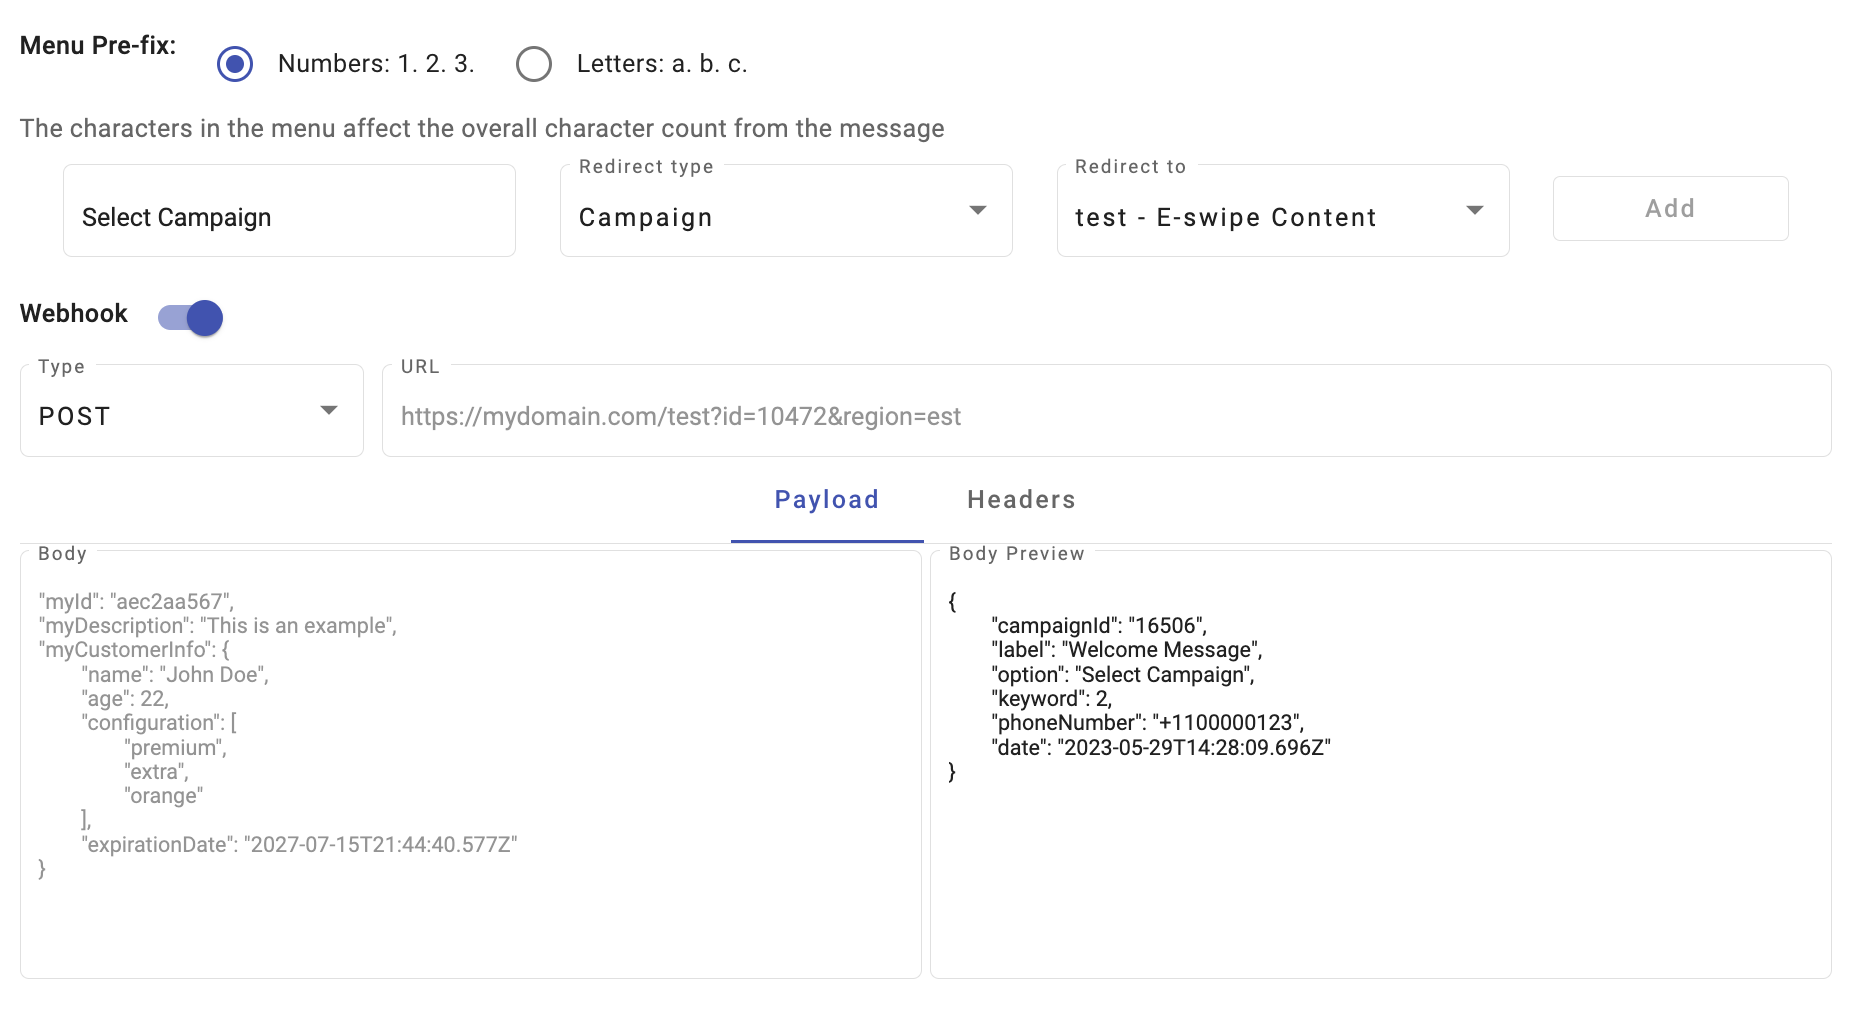
Unlike the webhook payload that is set in Redirect Type, this payload contains two extra parameters that will be sent to your callback URL:
"option": Option chosen by the end user who participated in the campaign. The value of this parameter is the text you defined in the Menu text placeholder."keyword": Keyword used by the end user who participated in the campaign.
Therefore, once the redirect type and redirect to configuration is complete, this results in the inclusion of the item in a menu item table that is displayed under the configuration section. Menu items will be placed in ascending order as they are entered, automatically advancing the keyword identifier at each menu entry.
The following screenshot shows a populated WhatsApp chatbot Welcome Message sample with all the possible options that can be configured into any given chatbot step in its flow with the table at the bottom.

The table includes the five possible ways in which a menu option can be configured.

In case you have selected as "Redirect Type" the Integration option, and the Menu text, Redirect type, and the Redirect to are configured, it will display an Interaction Timeout.
This interaction timeout will help you to close the interaction (communication) between the end user and the chatbot. That is, sets the total number of minutes that must elapse due to inactivity. For example, if a session has started but the end user hasn't responded to or interacted with the campaign, the session will end after a certain amount of time has elapsed.
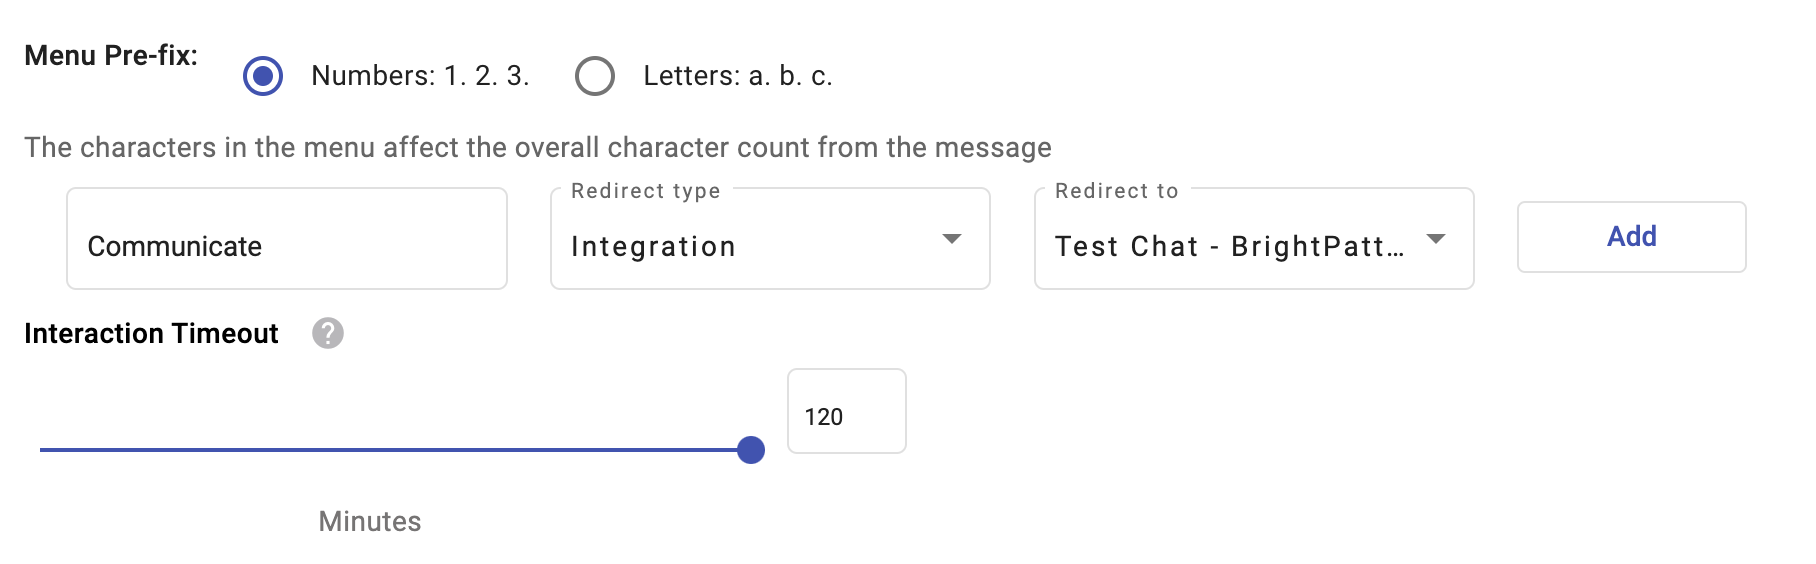
NOTE
The max time the session can wait before closing is 120 minutes.
Once set up the integration, select the Add button to add the integration to the menu item table.
Note the Actions icons at the far right of the table for editing or deleting a menu entry. And to the right of the icons a link icon that denotes the presence of a webhook associated with the option, where the first webhook is explicitly as a webhook Redirect to, while the other two are webhooks associated with the selection of an interaction and a campaign, an underlying webhook.
Graphically, from top to bottom they are as shown below.

To summarize the graphic, there are two outcomes that remain within the platform, options 1 and 4 of the menu (blue arrows), with option 1 being a plain interaction and option 4 and interaction (blue arrow) with a webhook underlying it (black arrow).
There are two outcomes that have platform campaigns as their next action, options 2 and 5, with option 2 invoking a Raffle Giveaway campaign (red arrow), and option 5 invoking a Web Polls & Surveys campaign (read arrow) with an underlying webhook (black arrow).
And finally, there is an explicit webhook event in option 3 (red arrow).
From this we can see that the chatbot session will remain active as long as interactions are invoked in the flow. Invoking either campaigns or explicit webhooks will result in abandoning the chatbot session.
Note the Actions icons at the far right of the table for editing or deleting a menu item.
The other, is the emulated device screen for how the interaction will be presented to the chatbot user.
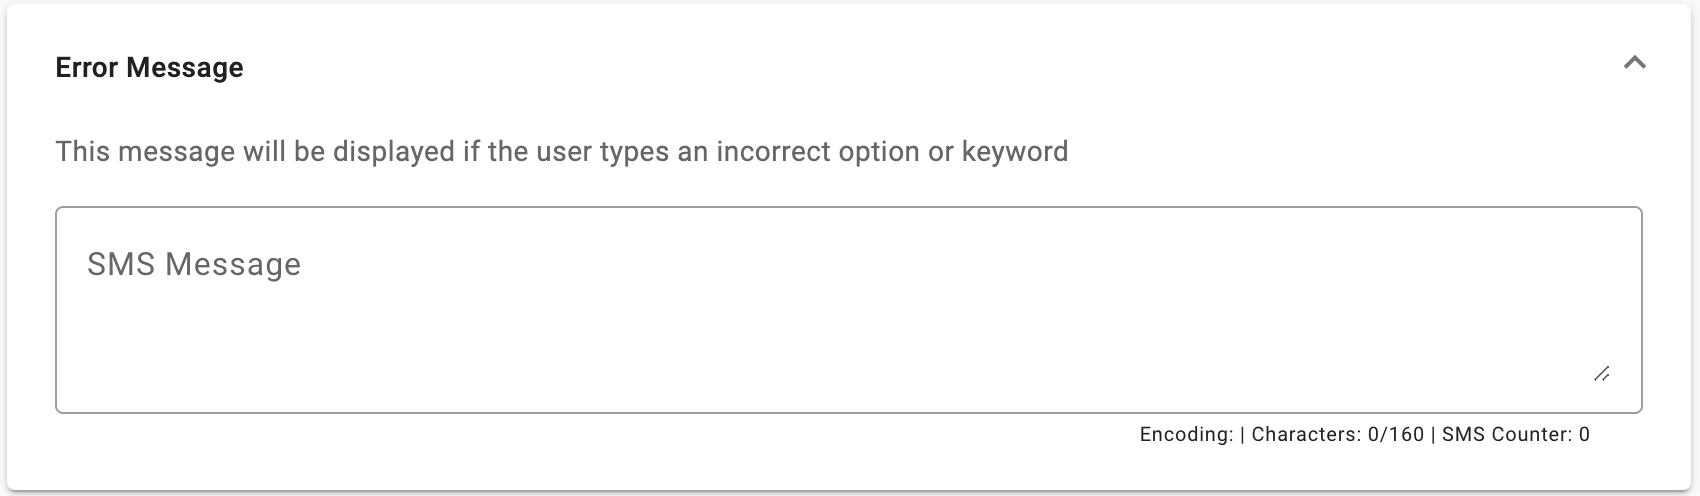
Error Message
The Error Message is the message you define that will be displayed in case the end user enters a wrong option or keyword. That is, this message will be displayed when the end user enters a keyword or an option to a certain interaction and the option or keyword entered does not correspond to the keywords or options indicated.
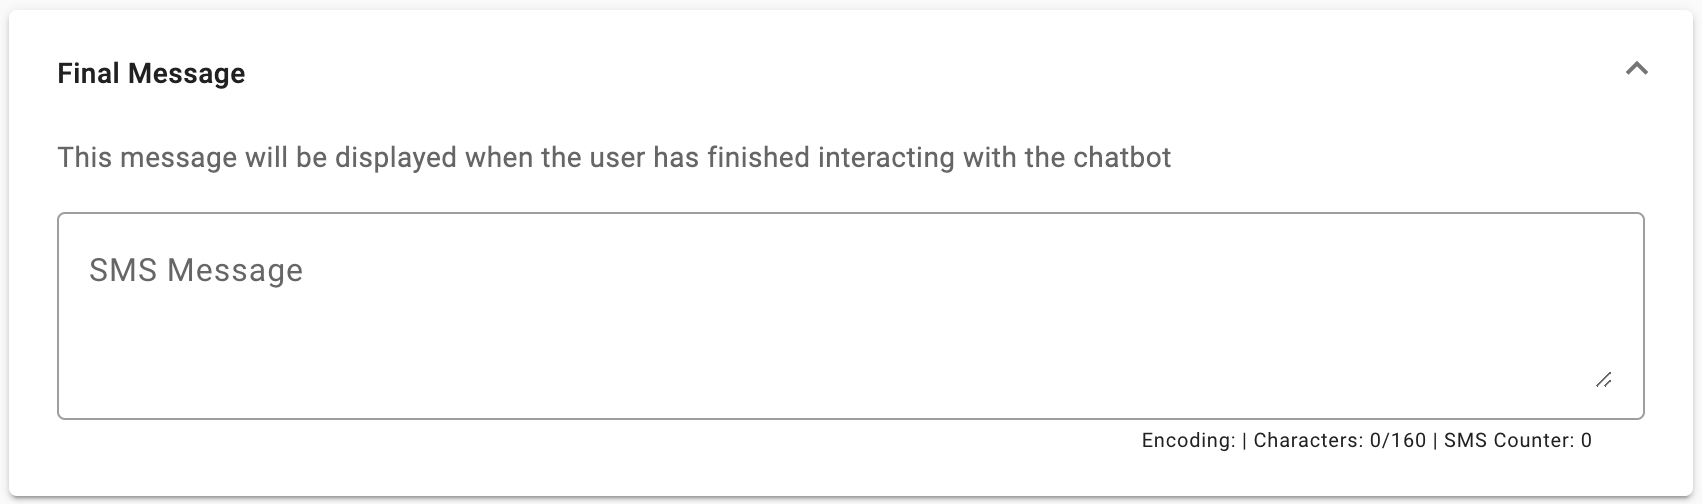
Final Message
The Final Message is the message you define that be displayed when the end user finishes interacting with the chatbot.
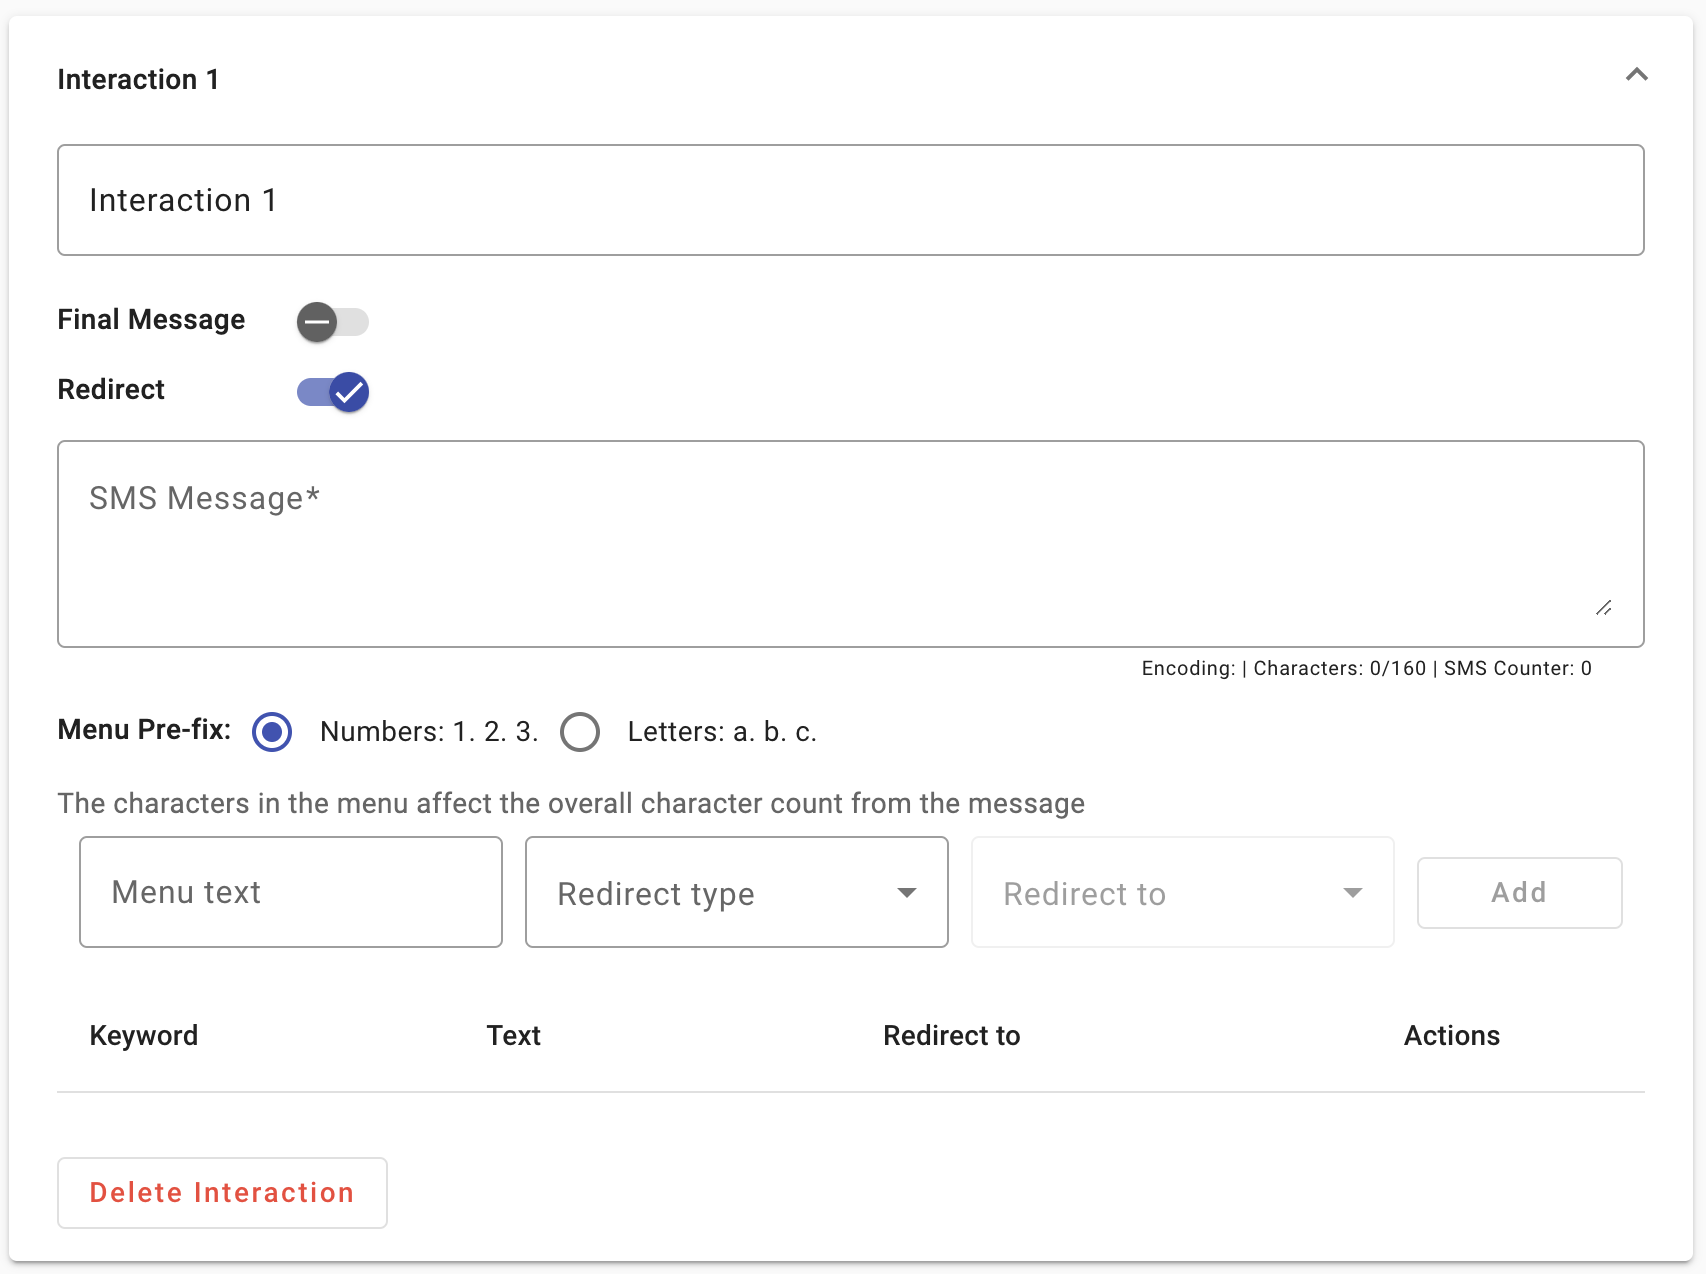
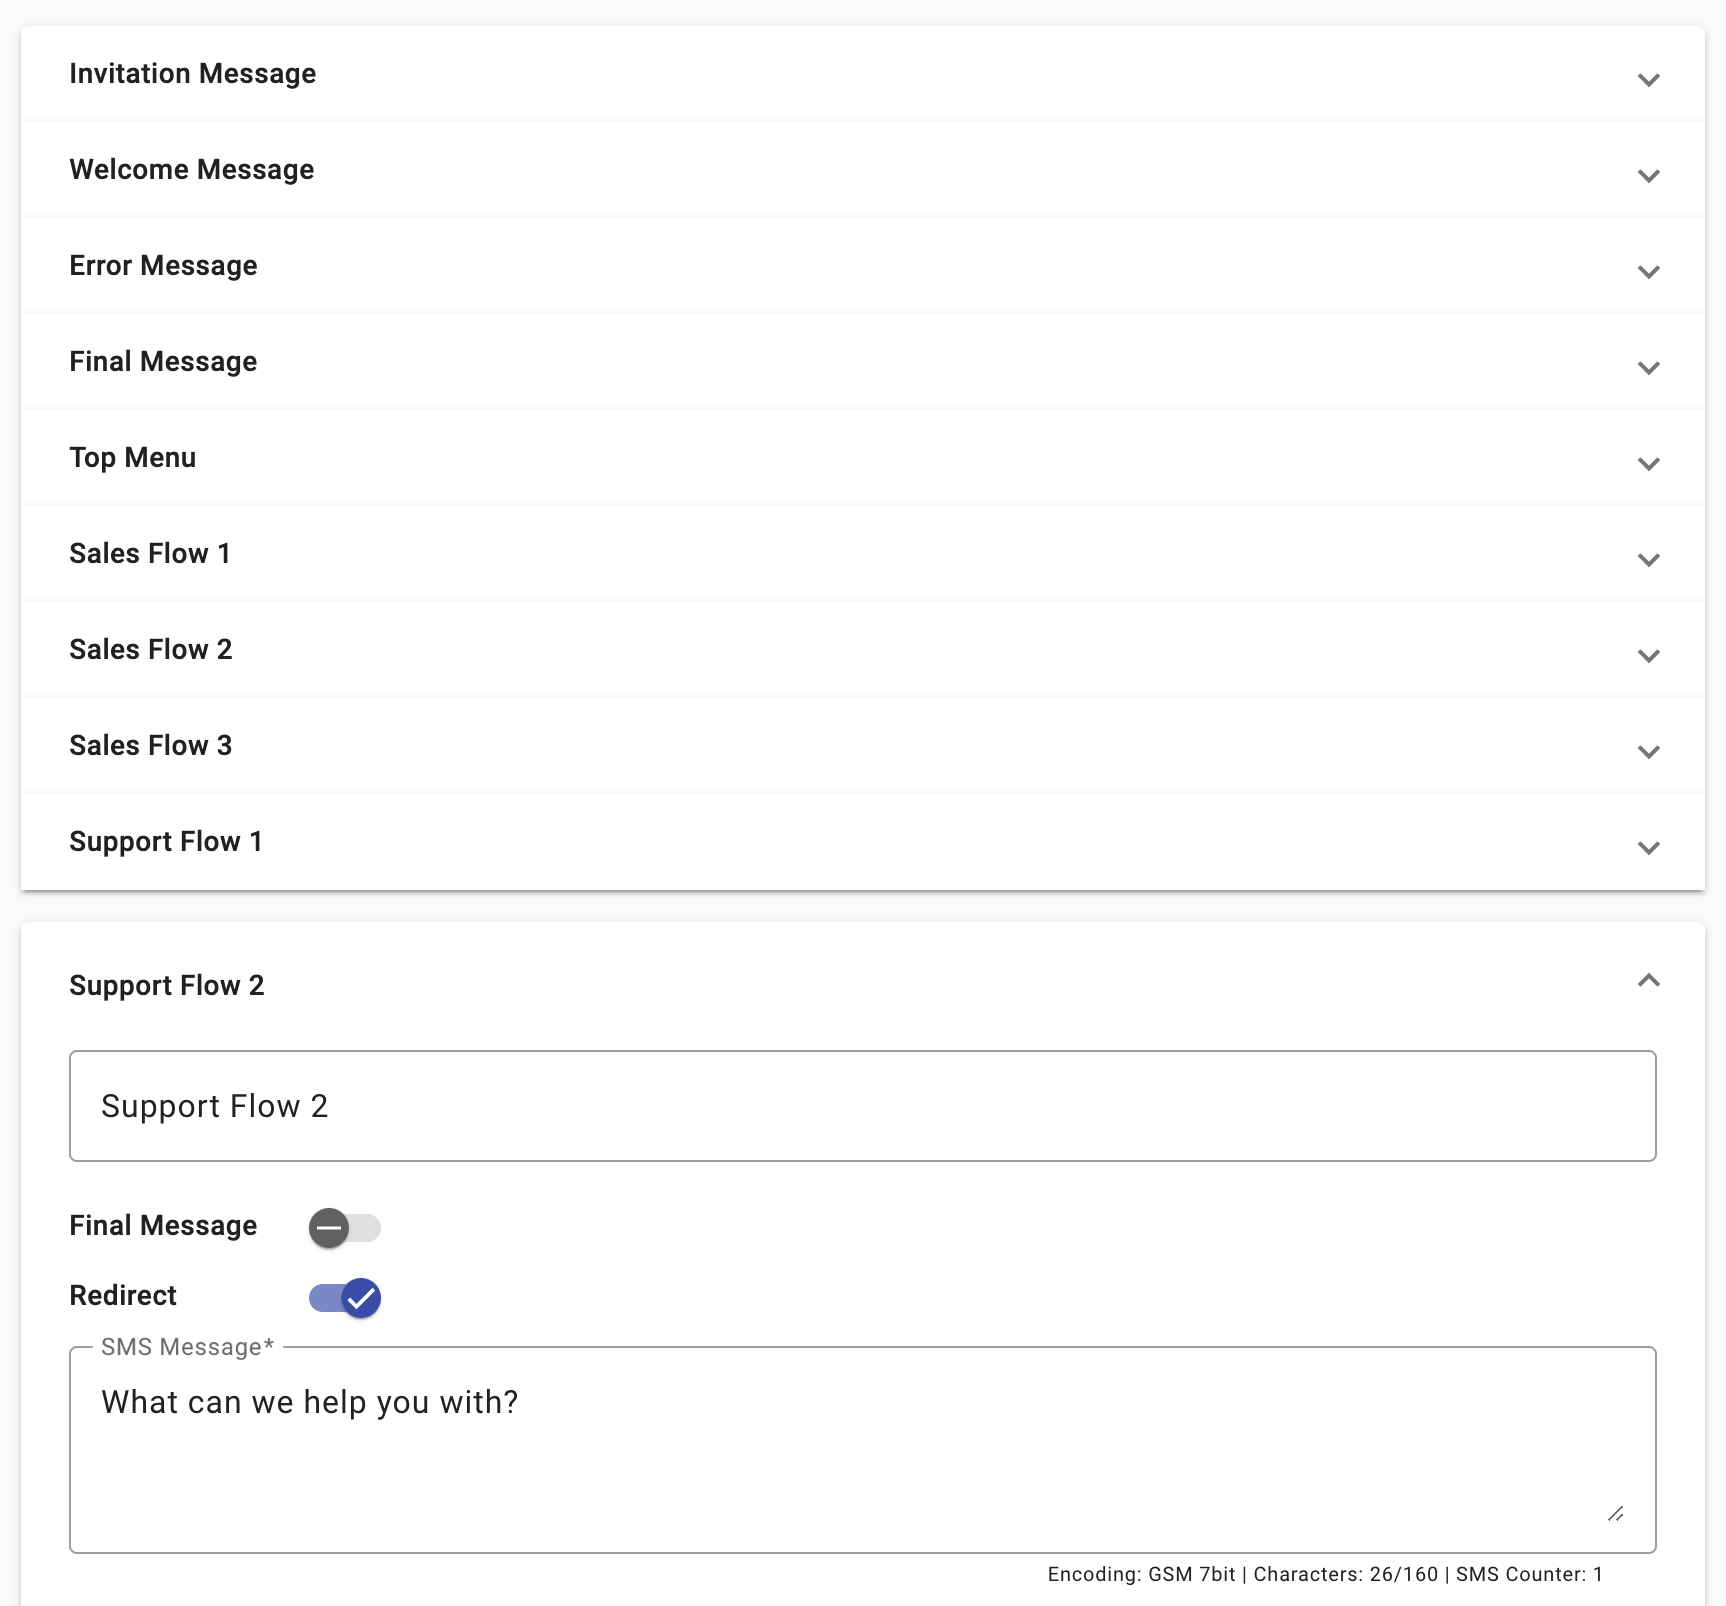
Interaction sections
The interaction sections are similar in configuration to the Welcome Message section, with all the same components and it adds three new elements.
- Default interaction label,
- Redirect default setting,
- Delete Interaction.
Default interaction label
At the very top of every interaction section, is the default interaction label that identifies it, and it progresses in ascending order as you move down the stack and as interactions are added.
These labels can be customized allowing you to identify related chatbot service flows under a common designation. Is done by modifying the Interaction Label with the text that suits your need, as shown below.

When the default labels are replaced, the new designation will appear as the identifier of the interaction in all instances, this is, in the interaction itself, in the interaction stack, in the Redirect to drop down menu, and in table configuration at the bottom of each interaction.
An example of one way to use it, is shown in the following figure.
Reinforcing this notion, the new labels will replace the default label values in all the Redirect to configurations, retaining the associations in the chatbot flow. So, if Interaction 1 was the original label designation in a Redirect to, when it is renamed to, for example, Top Menu, Top Menu will take the place of Interaction 1 in all instances in which Interaction 1 appeared in the platform. Of course, you can change them before hand to accommodate your preferences.
Redirect default setting
As the majority of all interactions will have an interaction that will follow it, the Redirect toggle switch will be enabled by default. However, at the end of a flow, whether there is only one or several within the service, there will be no action that follows this step and it is where the Redirect toggle switch will need to be placed in the disabled position.
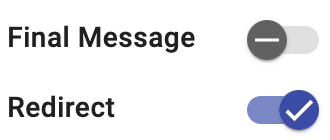
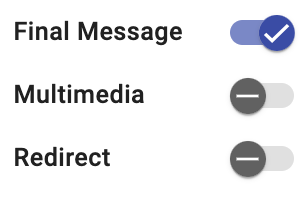
When the Redirect toggle is disabled, the Final Message toggle will be automatically activated. Once activated, the interaction will be redirected to the defined message that will be displayed when the user has finished interacting with the chatbot.

If the interaction has set up an options menu, but one or more options is redirected to another interaction, a message will be displayed mentioning that the Final Message can only be sent if one or more options are redirected to interactive campaigns or webhooks. If any of the options is redirected to another interaction or integration, the final message will not be sent.

Therefore, the Final Message and Redirect toggles can be activated both if one or more options are redirected to interactive campaigns.
You are able to send a Multimedia Message along with the Redirect message. That is, the Multimedia and Redirect toggles can be activated both, but if the Multimedia toggle is deactivated, the Final Message will be activated immediately.
Delete Interaction
This is used to eliminate an interaction from the chatbot flow, since not all interactions are mandatory. The reasons for deleting an interaction of the flow could be many, but be aware that deleting an interaction may require to modify interactions that referred to it in other sections of the flow.
To summarize, the Welcome Message and the generic interactions sections are very much the same, with the exception that the first one cannot have its name changed, requires to have an action after it, and it is mandatory, while the others are the opposite in those three areas.
ON INTERACTIONS
In order to be able to fully engage in the setup on this step, we recommend that you have completed your chatbot script and have it handy so that each interaction can be copied into the configuration one interaction at a time. This includes having the multimedia content, the platform campaigns that will be invoked, and the webhook URLs with the specific payload content and header key/value pairs that you will require in your application to handle the webhook events.
Updated 10 months ago