Regular Message
Configure a Regular Message to send automated chatbot messages and route users through WhatsApp, SMS, or RCS flows.
Configure a Regular Message to send an automated chatbot message and route users to the next step in a WhatsApp, SMS, or RCS flow.
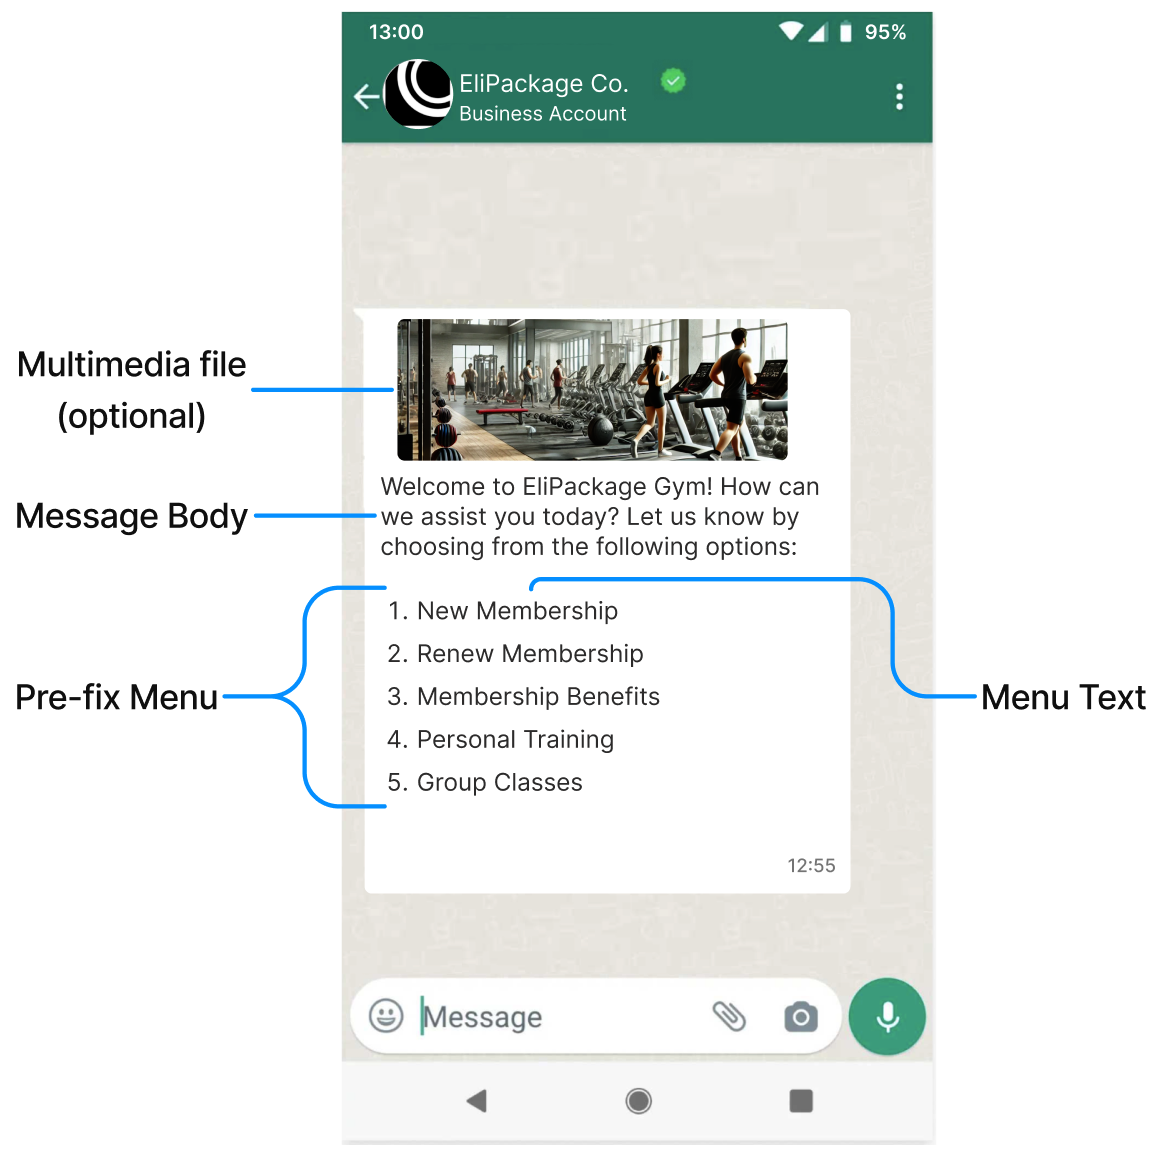
A Regular Message can include plain text, emojis, multimedia files, and interactive menu options. Use it to guide users through choices and send them to the correct response, interaction, integration, campaign, webhook, or Live Chat team.
To set up a Regular Message for the Welcome Message:
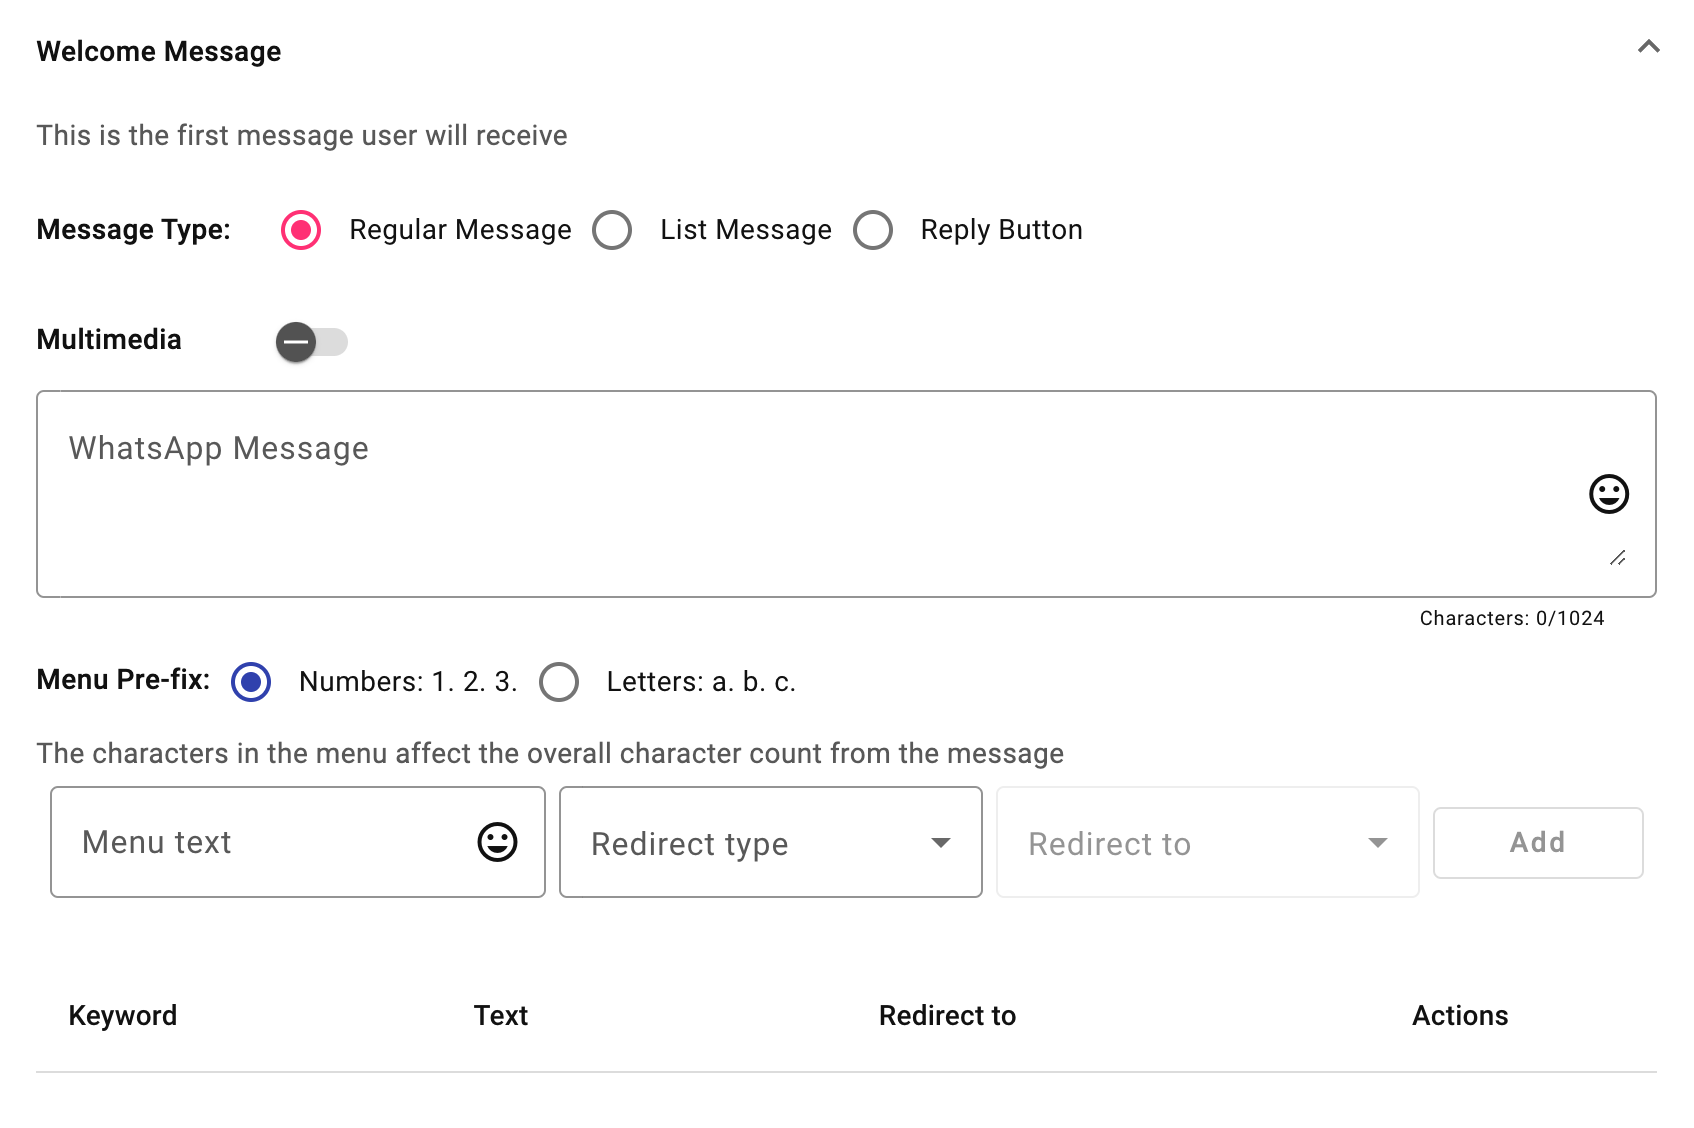
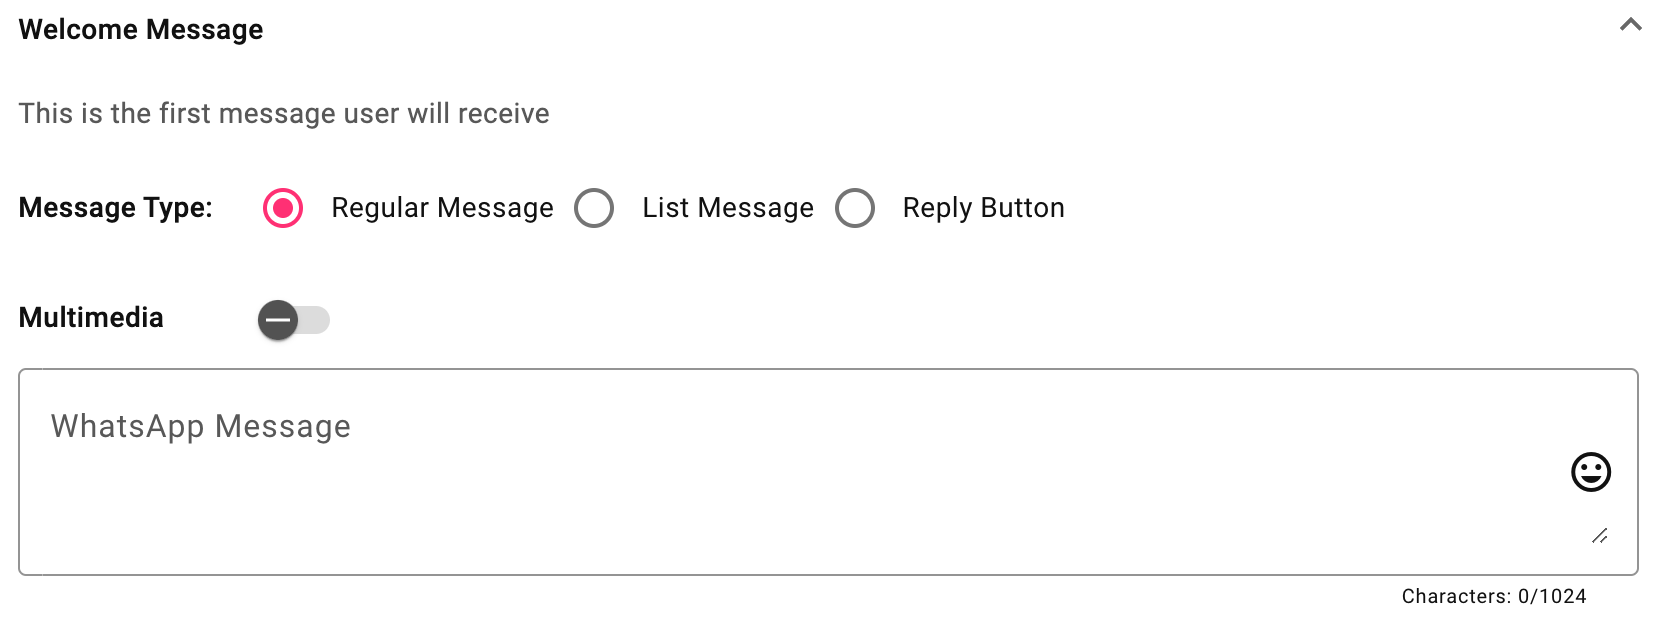
- Select the Regular Message interactive message option.
- Enter the welcome message that starts the chatbot conversation.
- Configure the response options users can select from the menu:
- Set the selection menu with the Menu Pre-fix option.
- Select where users are redirected after they choose an option.
Define the Welcome Message
Enter the greeting message for the channel you selected. Each channel has its own character limits and formatting options:
| Channel | Character limit | Formatting options |
|---|---|---|
| SMS | Up to 160 characters | Plain text |
| Up to 1024 characters | Plain text, Markdown, and emojis | |
| RCS | Up to 1024 characters | Plain text and Markdown |
The Welcome Message supports Markdown syntax, including bold, italics, strikethrough, and monospace. For WhatsApp messages, select emojis from the smiley face icon at the right end of the message box.
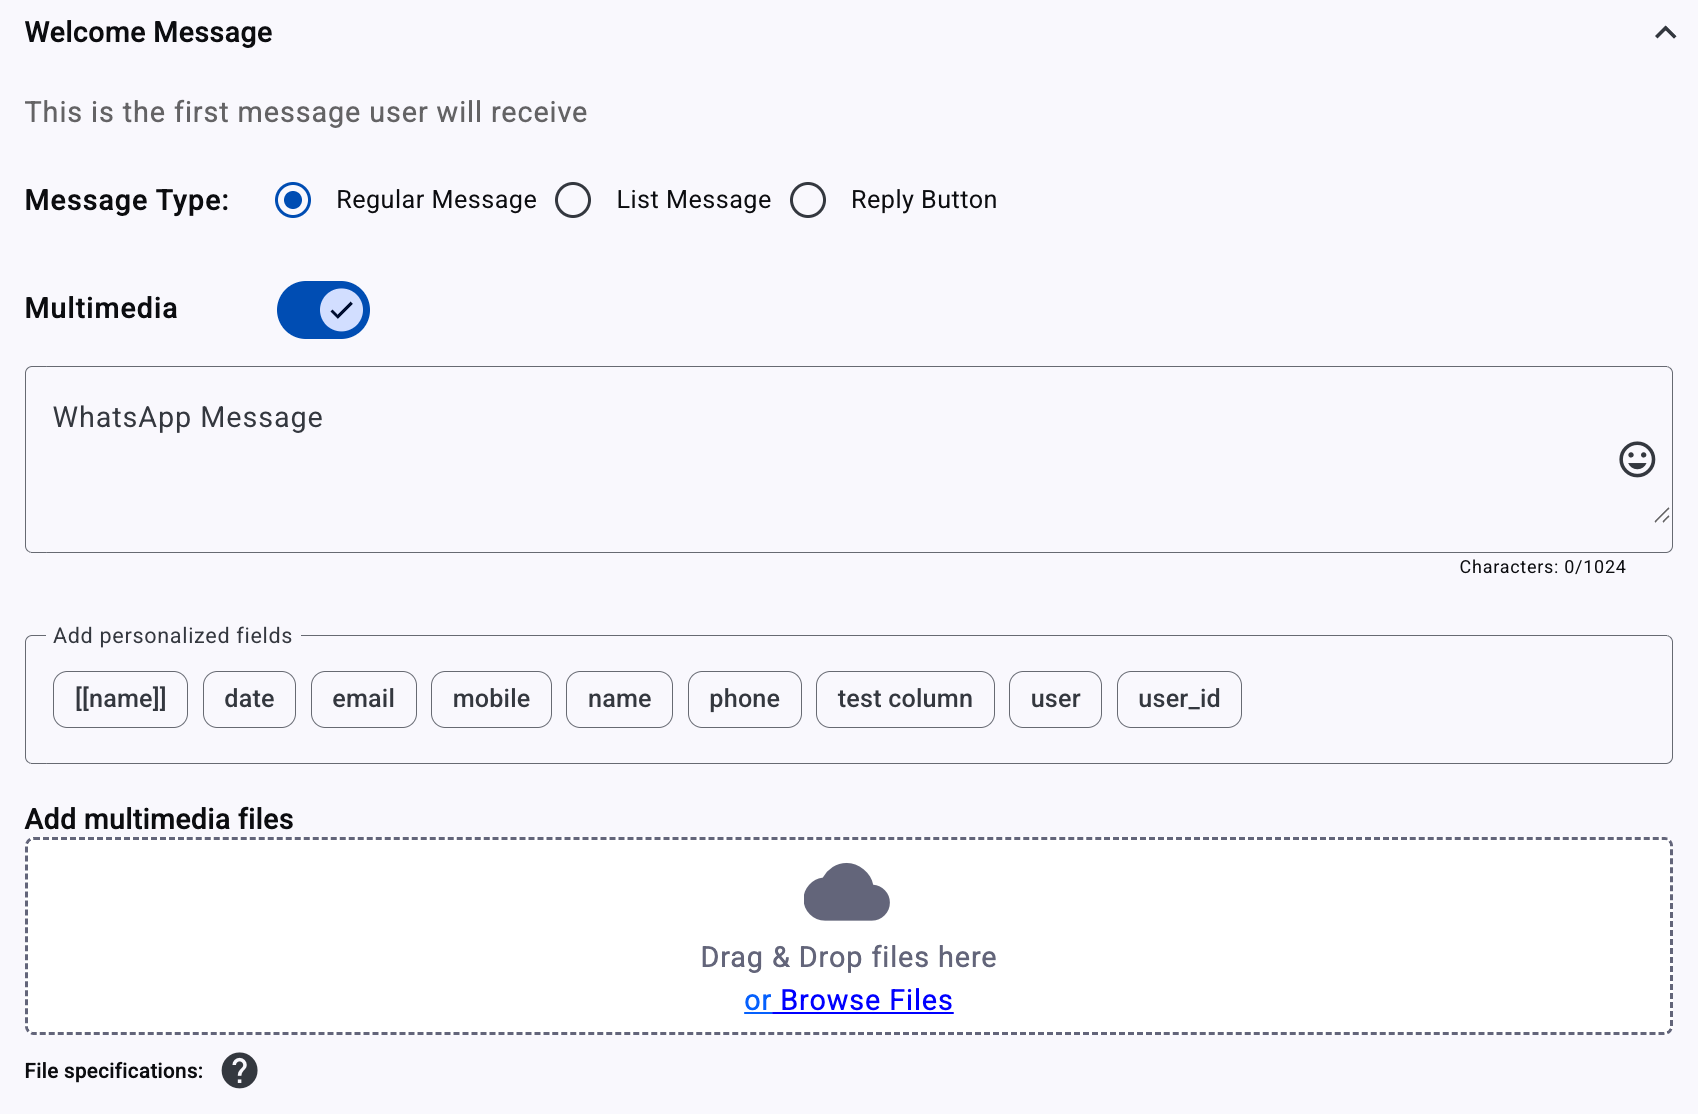
Optional: Add multimedia to WhatsApp messages
Enable the multimedia toggle to include a file in a WhatsApp message. Then, upload the file by dragging it into the upload box.
The platform supports the following multimedia file types, formats, and maximum file sizes:
| File type | Supported formats | Maximum file size |
|---|---|---|
| Image | .jpeg, .jpg, .png | 5 MB |
| Video | .mp4 | 16 MB |
| Document | .pdf | 100 MB |
| Audio | .aac, .amr, .mp3, .ogg, .m4a | 16 MB |
Multimedia file requirementsUpload files that meet these requirements:
- Images must be 8-bit, RGB, or RGBA.
- Video files must use the H.264 video codec.
- Audio tracks in video files must use the AAC codec.
- The file is sent as a separate message before or after the chatbot interaction message. Delivery order is not guaranteed.
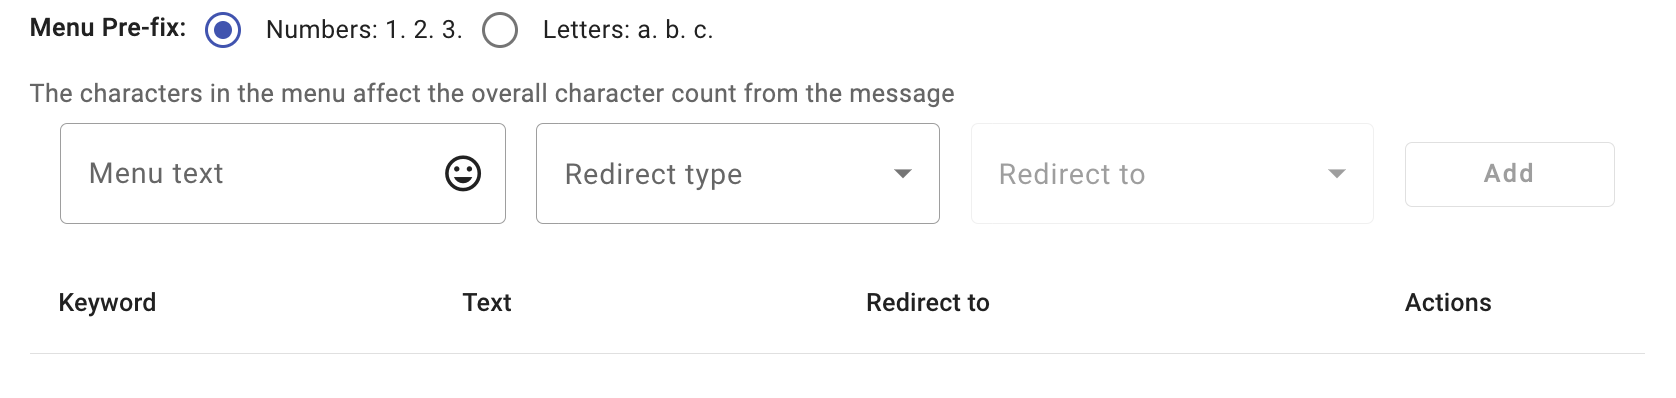
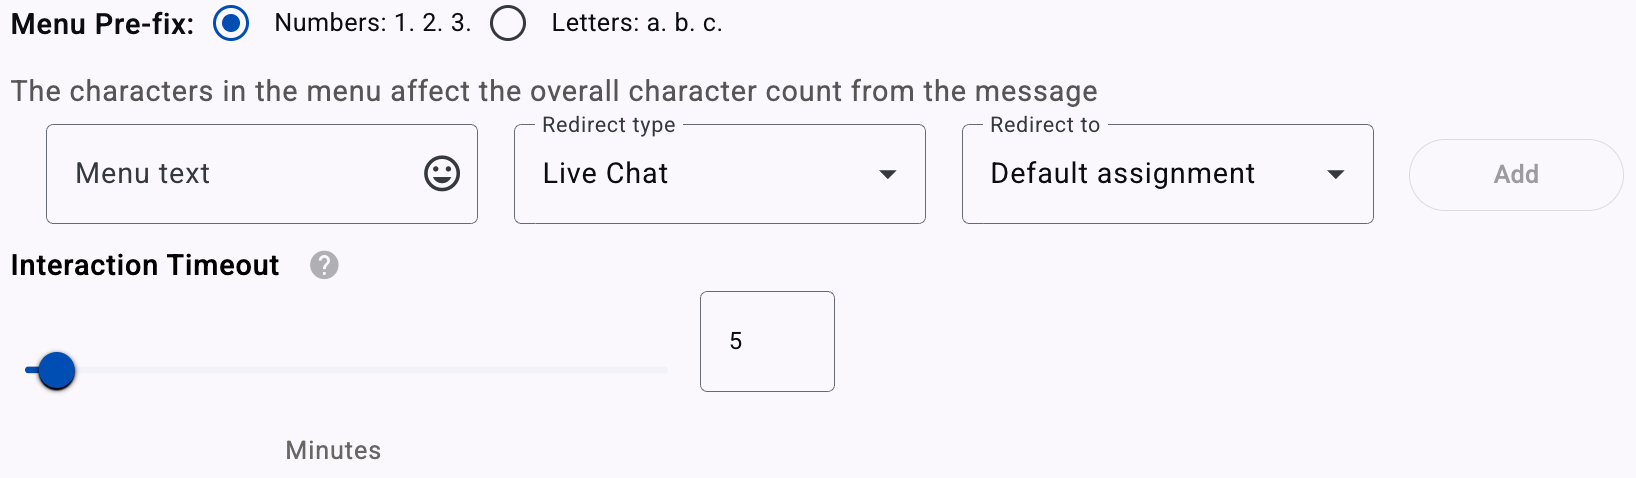
Configure the Menu Pre-fix
Configure the options users can select from the message menu.
- Configure the selection menu with the Menu Pre-fix option.
- Choose whether the menu uses numbers or letters as prefixes.
- Add response options and redirect destinations.
Each prefix adds 4 characters to the message length. This matters for SMS messages because they have a 160-character limit.
Users reply with the single-character keyword prefix for the option they want to select. Each number or letter represents one response in the current chatbot interaction.

Specify where the user is redirected after selecting an option from the menu. User responses must be a single character, and the chatbot uses that character to redirect the user to the next action.

Response-option limits depend on the channel:
- SMS: 1 to 4 response options.
- WhatsApp and RCS: 1 to 20 response options.
Each configured response option appears in the table.
Each response option has three fields:
| Field | Description |
|---|---|
| Menu Text | The option name users see in the message menu. |
| Redirect Type | The type of next step the chatbot uses after the user replies. |
| Redirect To | The specific destination for the selected redirect type. |
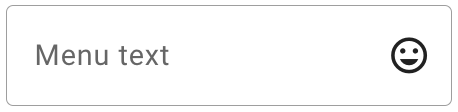
Menu Text
Use the Menu Text box to enter the option names users can choose from.
For SMS, keep the option name short because it counts toward the total message length. WhatsApp allows longer option names and supports emojis.
Redirect Type
Use Redirect Type to select the next step in the chatbot sequence.
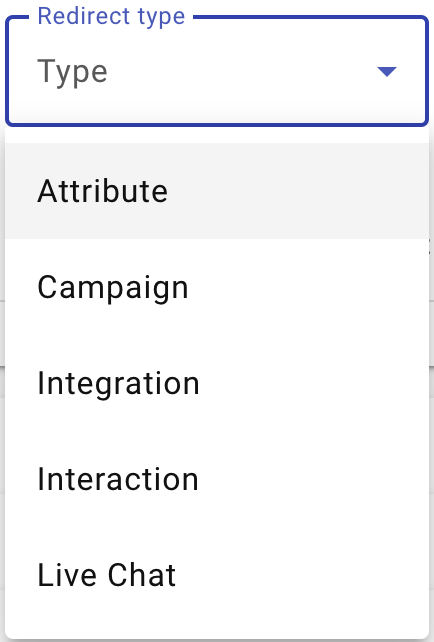
The platform provides six redirect types:
| Redirect type | Description |
|---|---|
| Attribute | Requests and captures information from the user. Attributes act as placeholders, also known as personalized fields, and can store details such as the user's name, email, address, or other relevant information. To configure attributes, see Attributes. |
| Campaign | Sends the user to a Live platform automation with content associated with the chatbot's intended purpose, or to an out-of-flow action. |
| Integration | Sends the user to a third-party solution that you can add to the interaction flow using the chatbot as the communication vehicle. |
| Interaction | Sends the user to another interaction step within the chatbot flow. |
| Live Chat | Sends the user to an agent from the Live Chat feature. |
| Webhook | Sends a notification event to your application. The event includes data that identifies the step in the flow where the user arrived. |
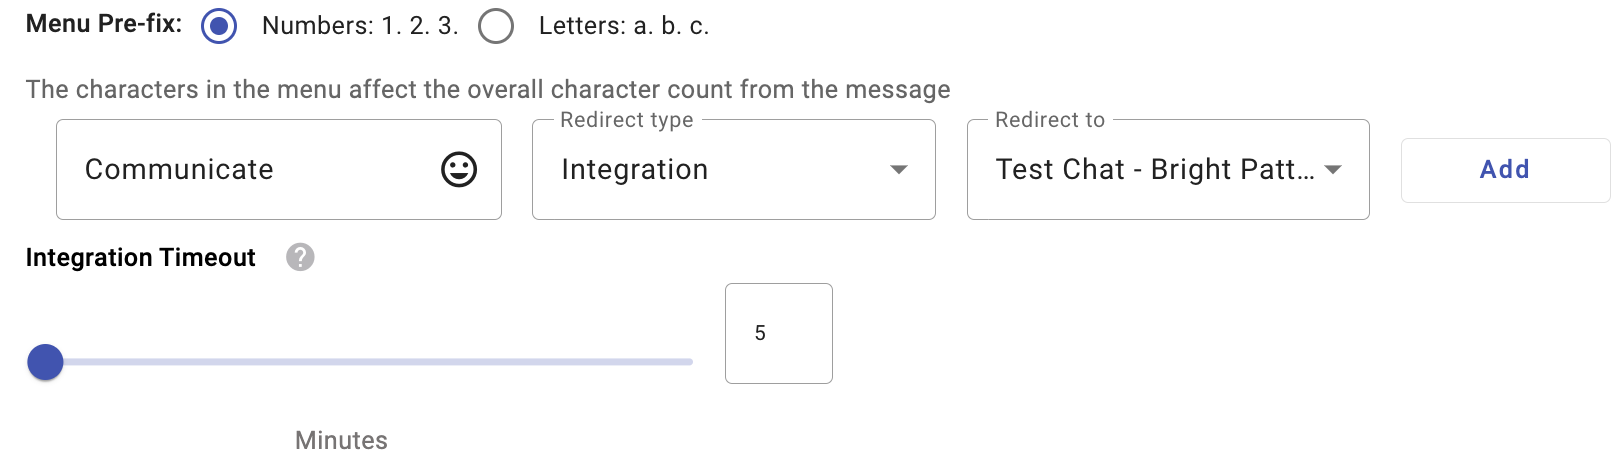
Integration timeout
The platform supports three integration types: Bright Pattern, OpenAI, and Custom Webhook.
When you select Integration as the Redirect Type, the interaction timeout is displayed. The interaction timeout sets the number of minutes of inactivity that must pass before the session closes. For example, if a session starts but the user does not respond to or interact with the automation, the session ends after the configured timeout.
Live Chat timeout
To redirect the user to an agent, select Live Chat in the Redirect Type dropdown. Then, set the total minutes of inactivity that must pass before the connection ends. For example, if the user connects to an agent but does not respond to the agent within 5 minutes, the connection ends.
To create, build, and deploy a chatbot that connects to the Live Chat feature, see Integrate Chatbot with Live Chat.
To set up a webhook through a chatbot, see Setting Webhook.
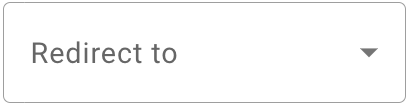
Redirect To
Use Redirect To to select the destination for the next action. The available destinations depend on the selected redirect type.
| Redirect type | Redirect To options |
|---|---|
| Campaign | Lists all automations with Live status. The format is Automation Name - Automation Type. |
| Integration | Lists all created and available integrations in this format: AliasIntegration Type. |
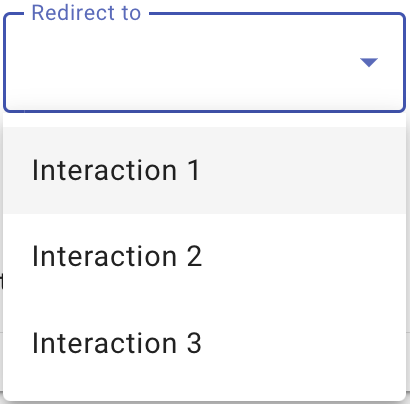
| Interaction | Lists all interactions created when setting up the chatbot. |
| Live Chat | Lists all teams available in the Live Chat platform. |
The platform supports Bright Pattern, OpenAI, and Custom Webhook integrations.
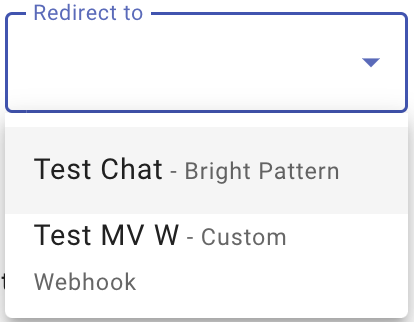
To create and enable each integration, see Integrations.
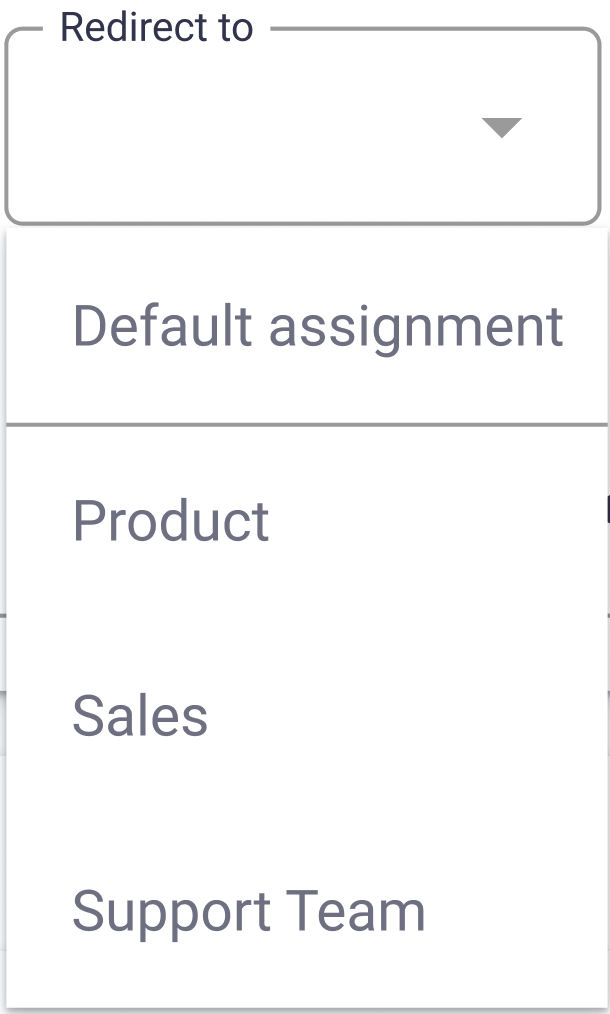
Use the Redirect To dropdown to choose which team receives the conversation. The options are based on the teams configured in your Live Chat platform:
- Specific Team (for example, Product, Sales, or Support Team): Routes all incoming chatbot conversations to the selected team.
- Default assignment: Uses the default team routing defined in your Live Chat platform settings.
This setting directs conversations to the right team based on the chatbot's purpose.
After you configure Redirect Type and Redirect To, select Add. You can then add a webhook.
To add a webhook to your chatbot, see Setting Webhook.
After the redirect configuration is complete, each item appears in the menu item table under the configuration section. Menu items appear in the order you add them, and the keyword identifier advances automatically for each menu entry.
The following screenshot shows a populated WhatsApp chatbot Welcome Message with options configured for a chatbot step and the table at the bottom.
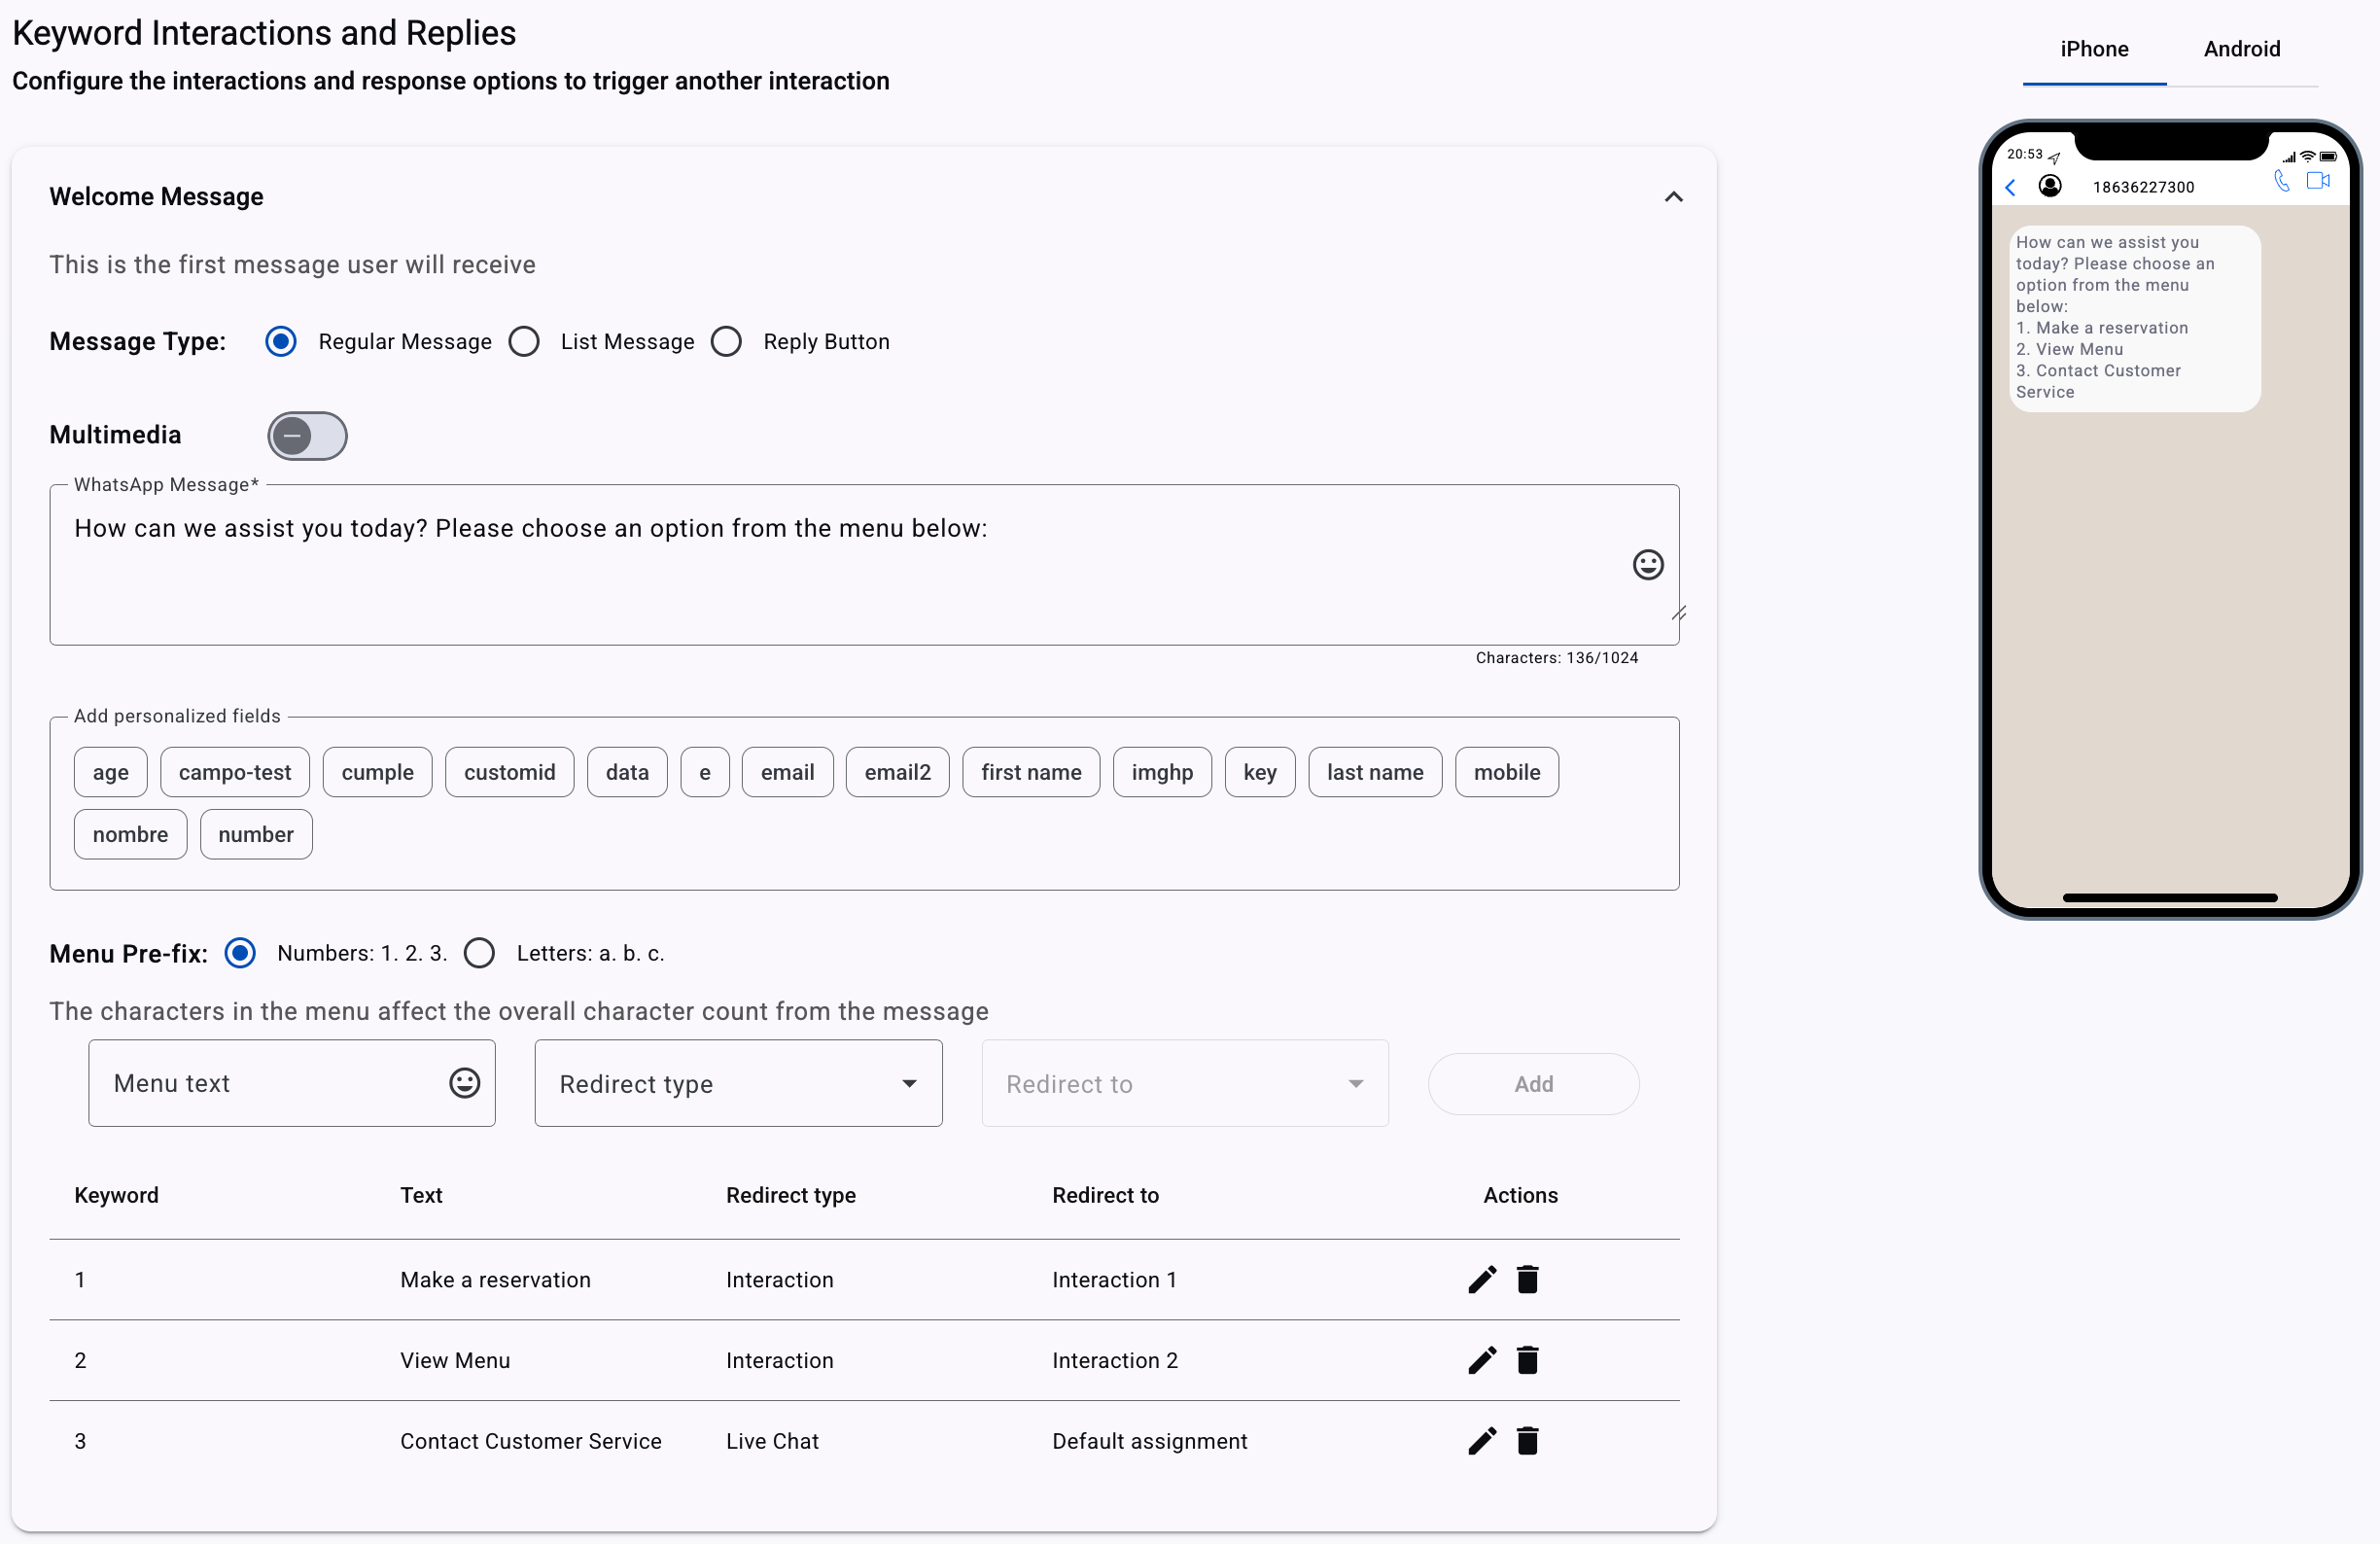
After configuring the Welcome Message, define the Interaction flow.
Configure interactions
Use the Interaction section to define how the chatbot responds to users. Create automated responses, questions, and actions based on user inputs or triggers to shape the conversation flow.
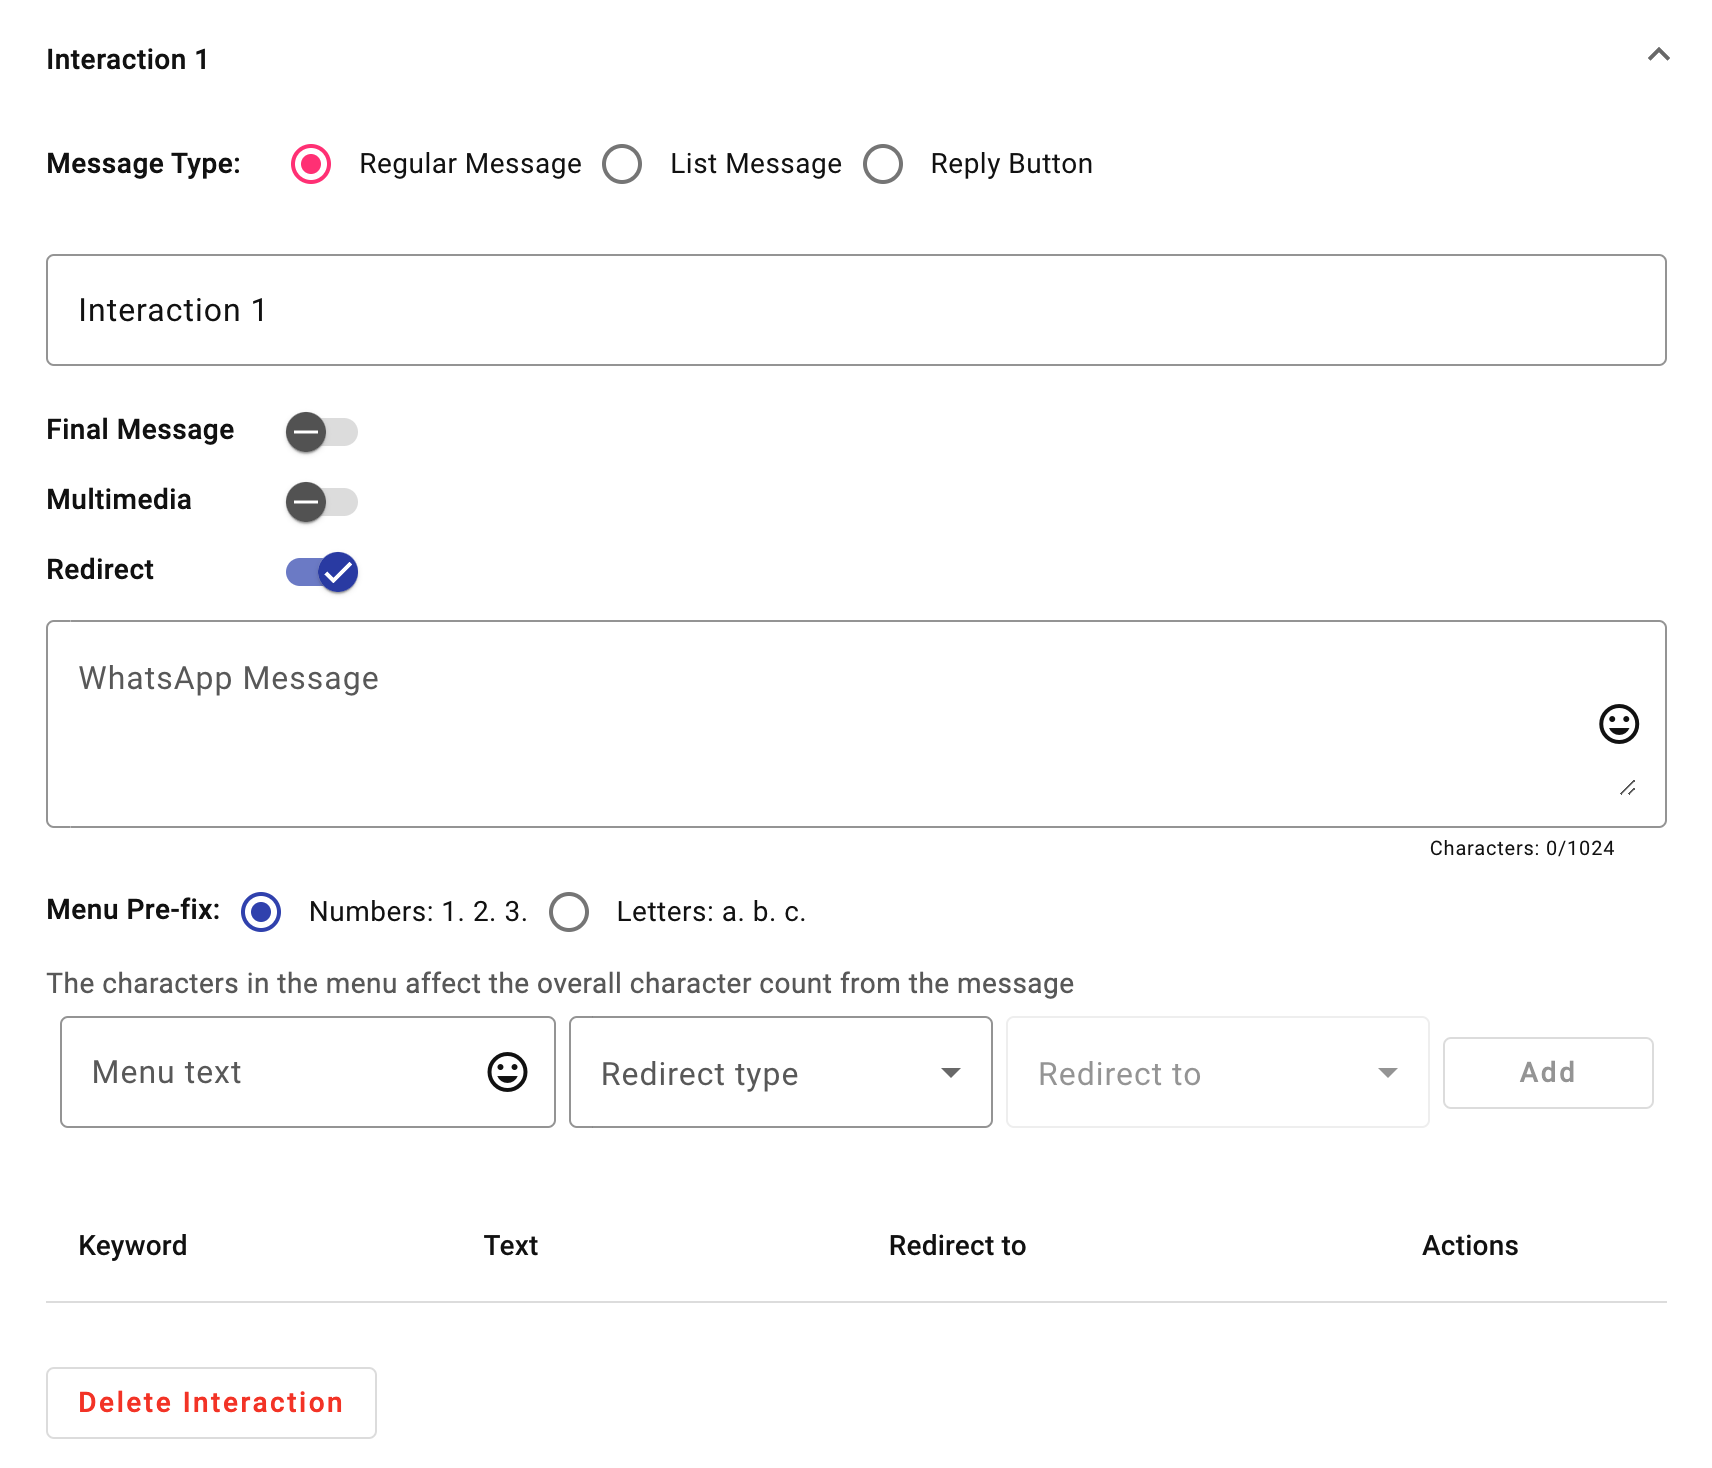
To set up each interaction, see Interaction.
Updated 10 days ago