Teams
Create, configure, route conversations to, edit, and delete Live Chat teams.
Assign conversations to teams so agents can collaborate in a shared workspace and admins can monitor team activity.
Create a team
-
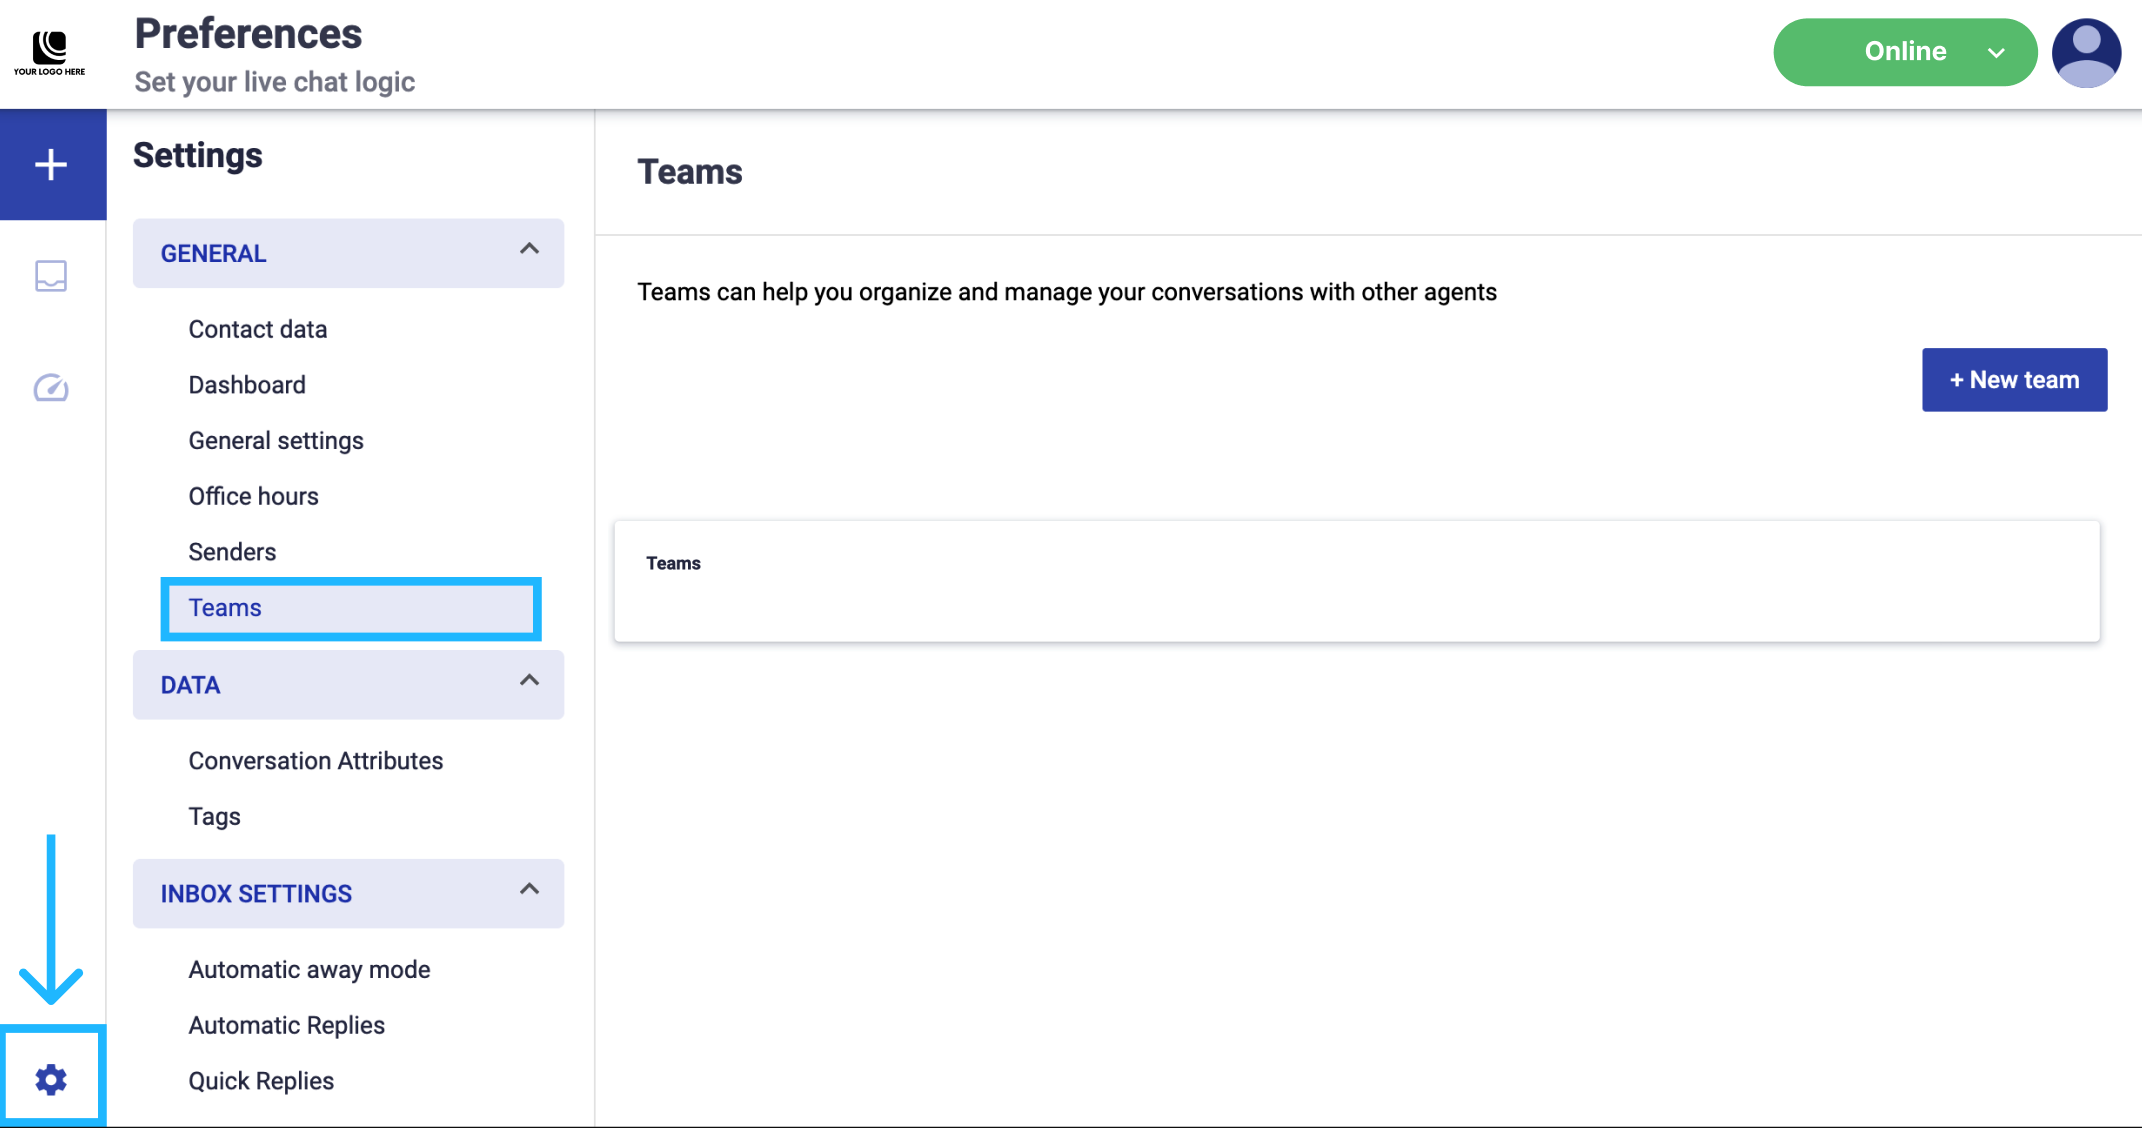
Go to Preferences > GENERAL > Teams.
-
Click + New team.
-
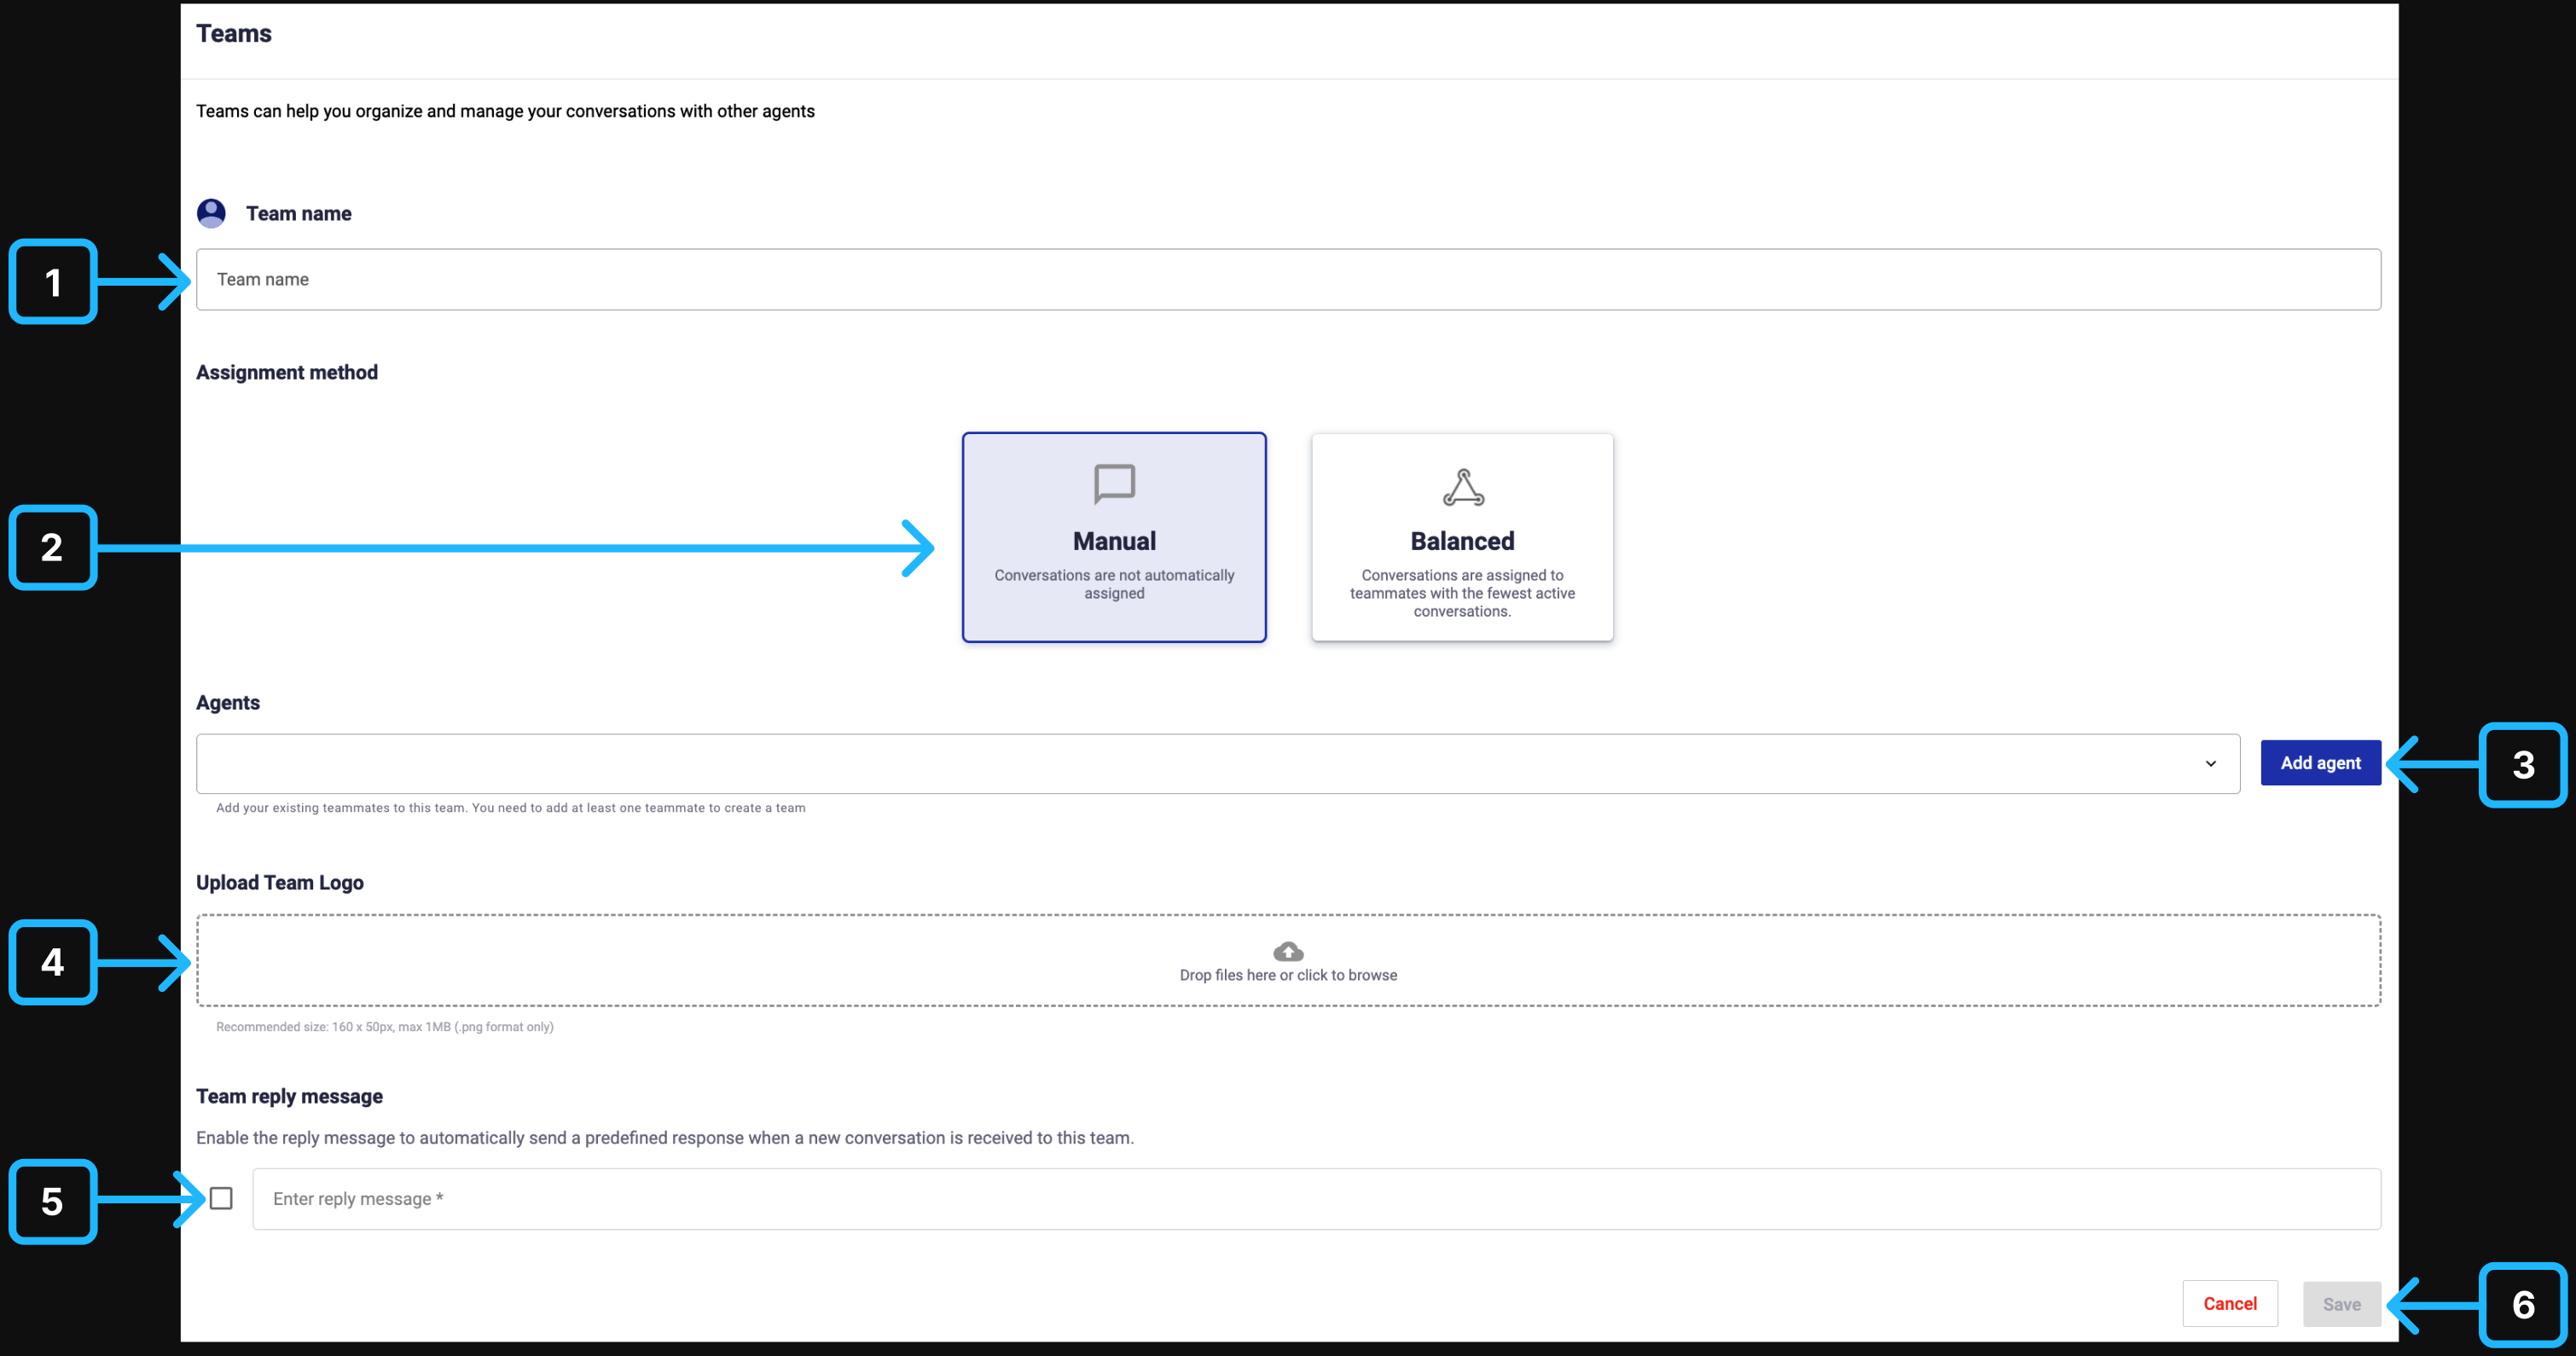
Enter the team name.
-
Select an assignment method for new conversations:
- Manual: Agents assign conversations to themselves or to other team members.
- Balanced: The platform automatically assigns conversations to agents with the fewest active conversations.
-
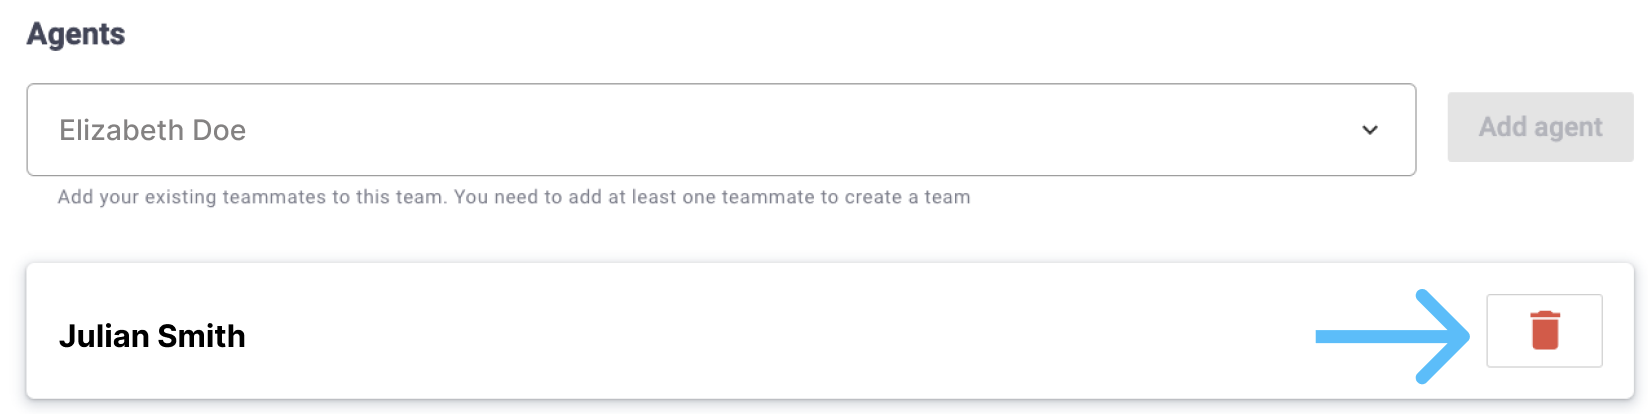
Add agents to the team.
Click the agent selector, choose the agents you want to add, and click Add. Added agents appear below the selector.
To remove an agent from the team, click the Trash icon next to the agent.
-
Upload the team logo.
-
Optional: Configure a team reply message.
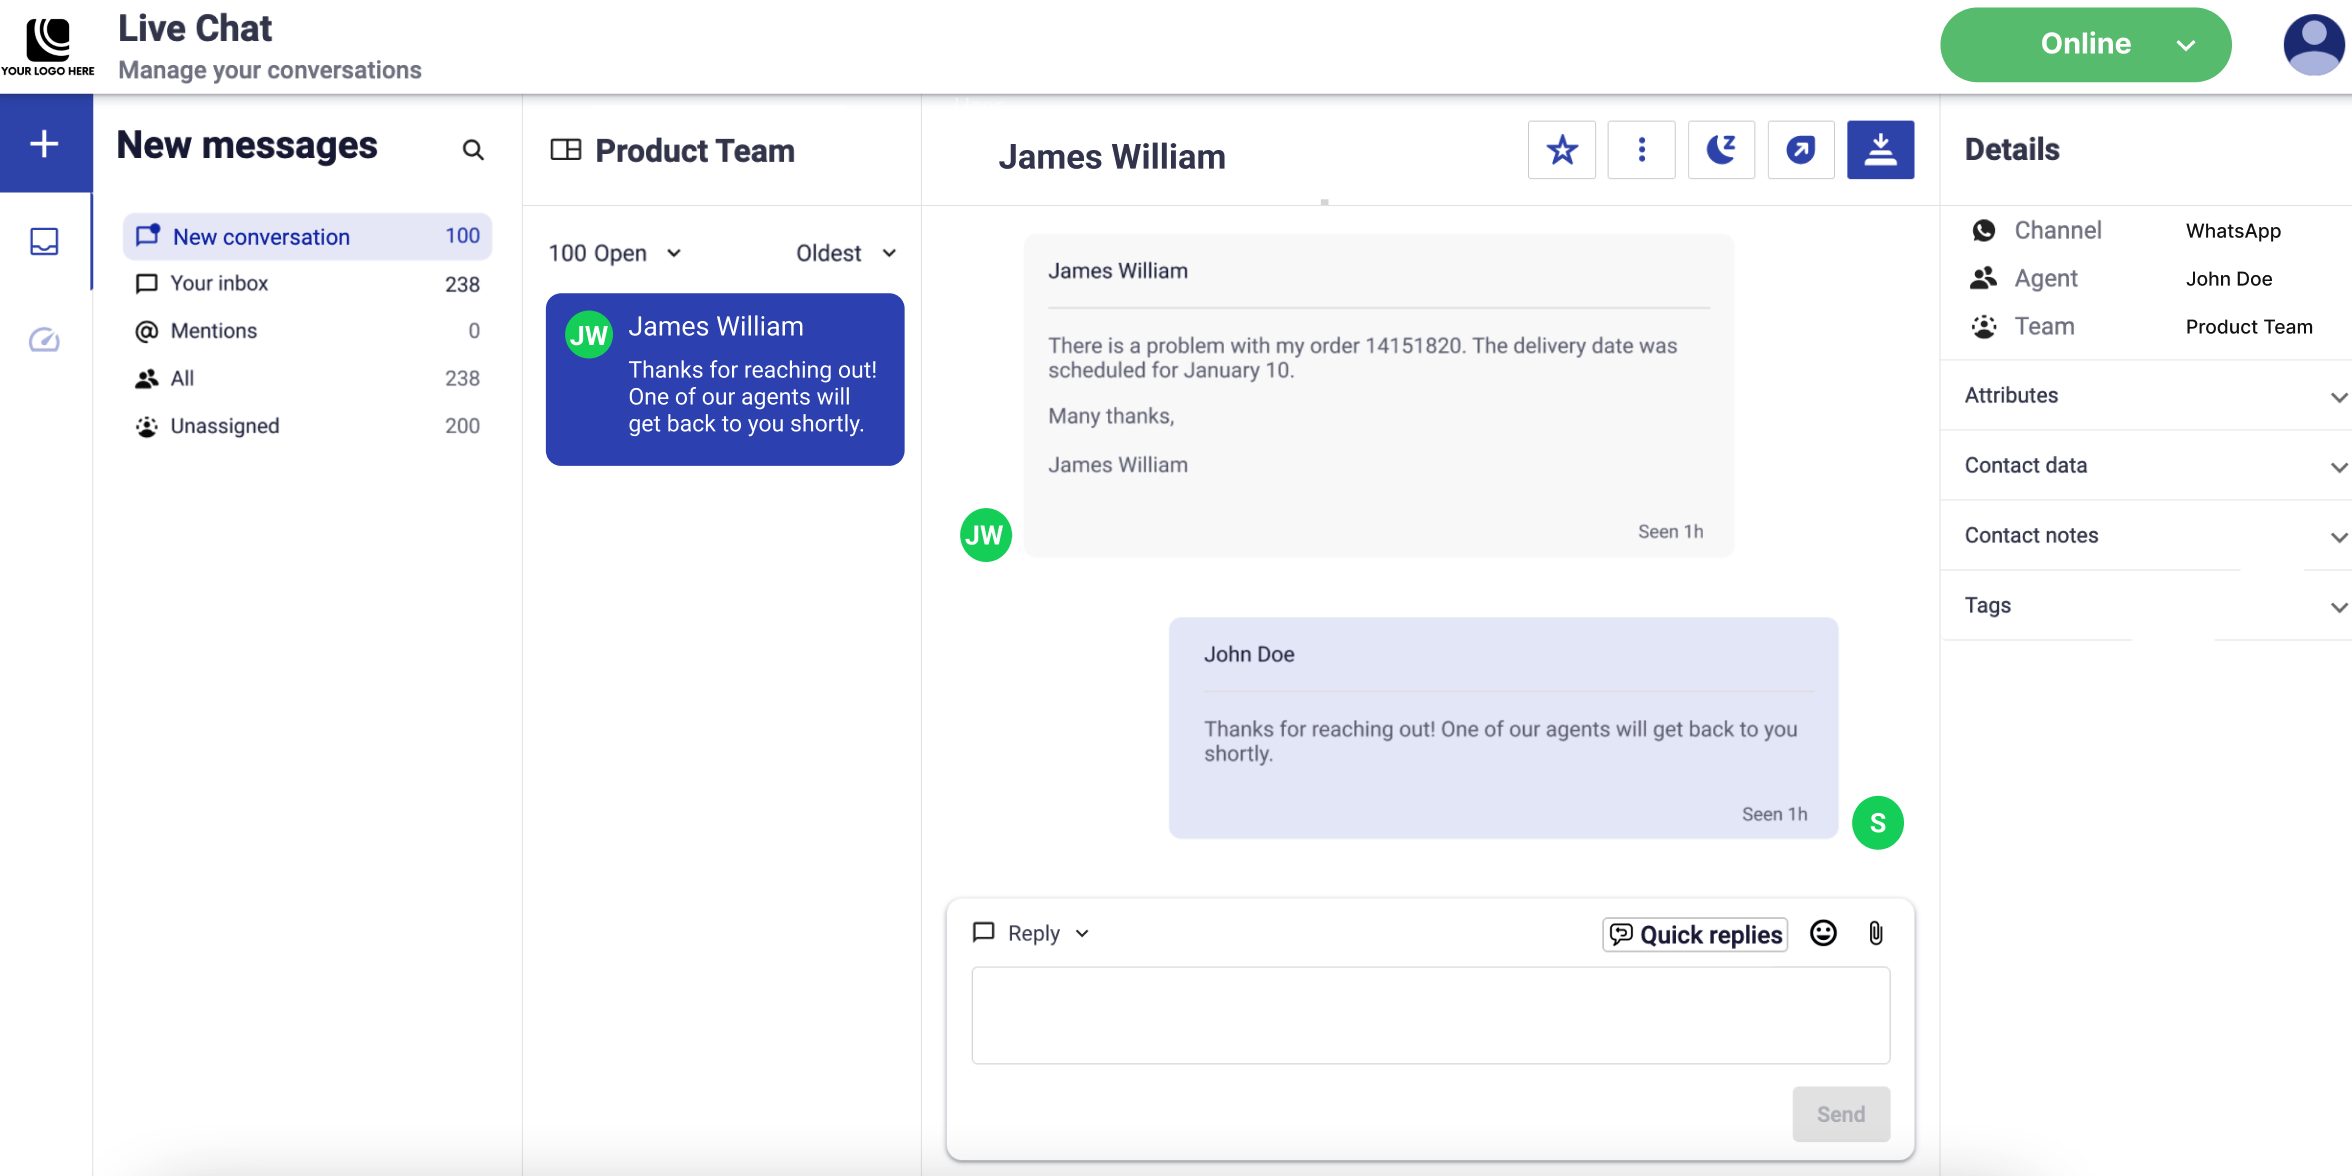
The team reply message is an automatic response sent when a new conversation is assigned to the team and agents are available to handle it. It replaces the standard Conversation start message from Automatic Replies settings.
Select Team reply message, then enter the message you want customers to receive. For example: “Thanks for reaching out! One of our agents will get back to you shortly.”
If you do not select Team reply message, no team-specific automatic reply is sent.
NOTETo avoid duplicate messages, the platform sends either the team reply message or the Conversation start message:
- If the team reply message is configured, it is sent instead of the Conversation start message.
- If the team reply message is not configured, the platform sends the Conversation start message.
- The Conversation start message is sent only when the conversation begins. It is not triggered when a conversation is transferred to a team mid-conversation.
The team reply message only replaces the Conversation start message. Other automatic replies still apply:
- If the conversation is received outside office hours, the Message outside office hours is sent.
- If the conversation is unassigned to an agent, the Awaiting agent assignment message is sent as configured.
-
Click Save to create the team.
Optional: Route all new conversations to a team
After you create a team, you can automatically route all incoming conversations to a specific team.
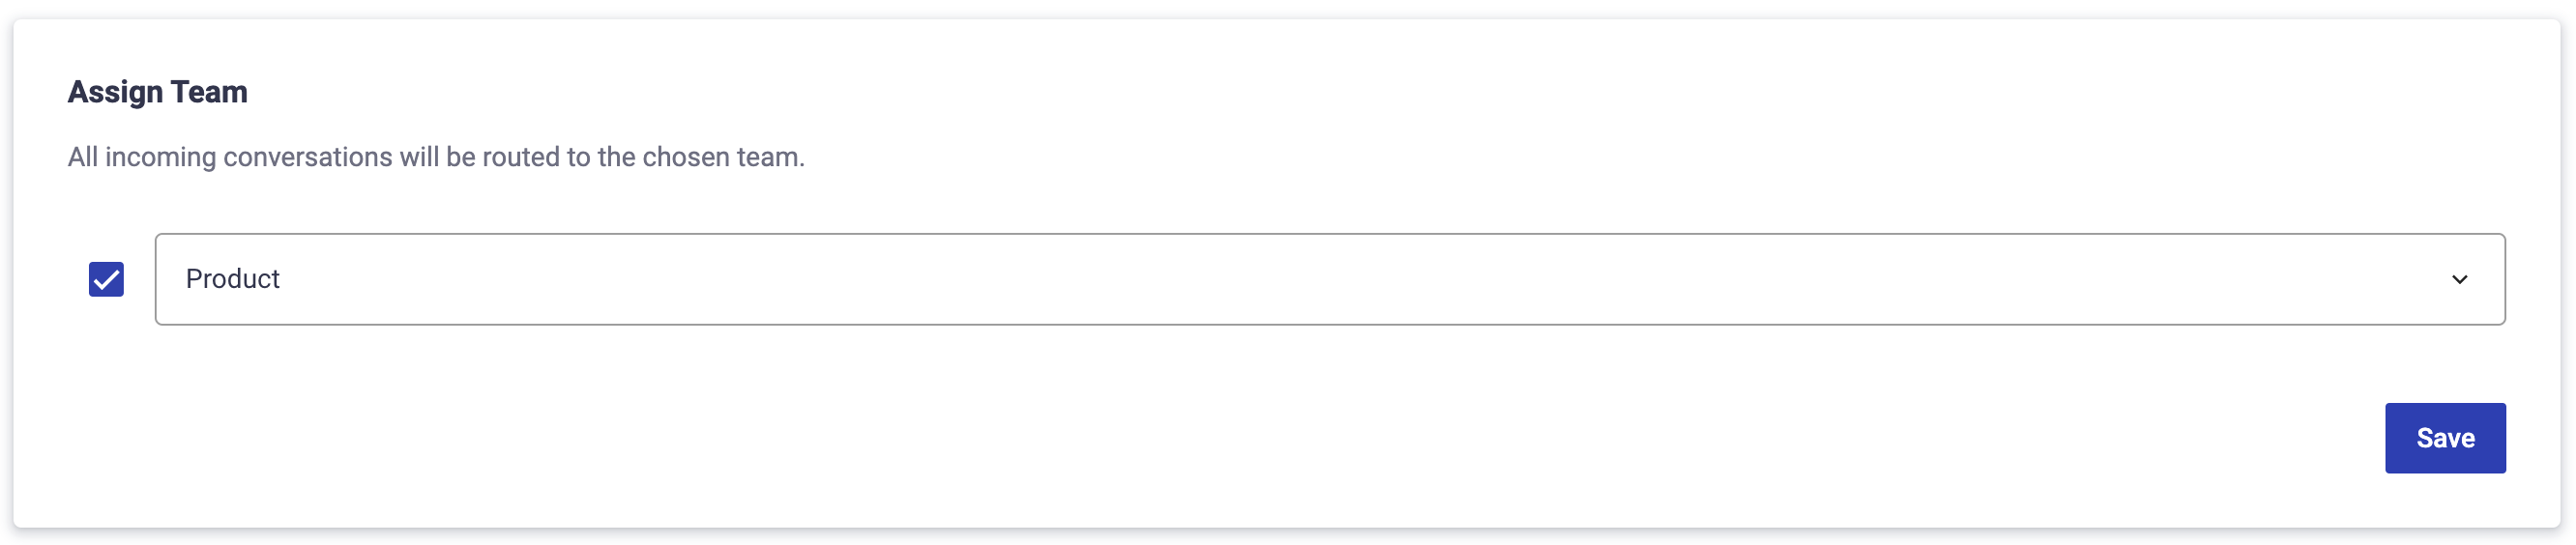
- Go to the Assign Team section.
- Select the checkbox next to the team that should receive all new conversations.
- Click Save.
New conversations are assigned to the selected team without manual intervention.
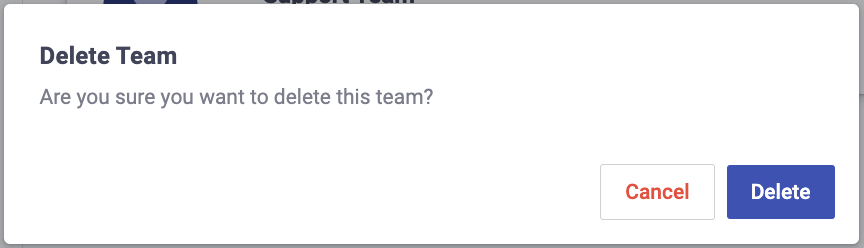
Optional: Edit or delete a team
Created teams appear in the main Teams section.
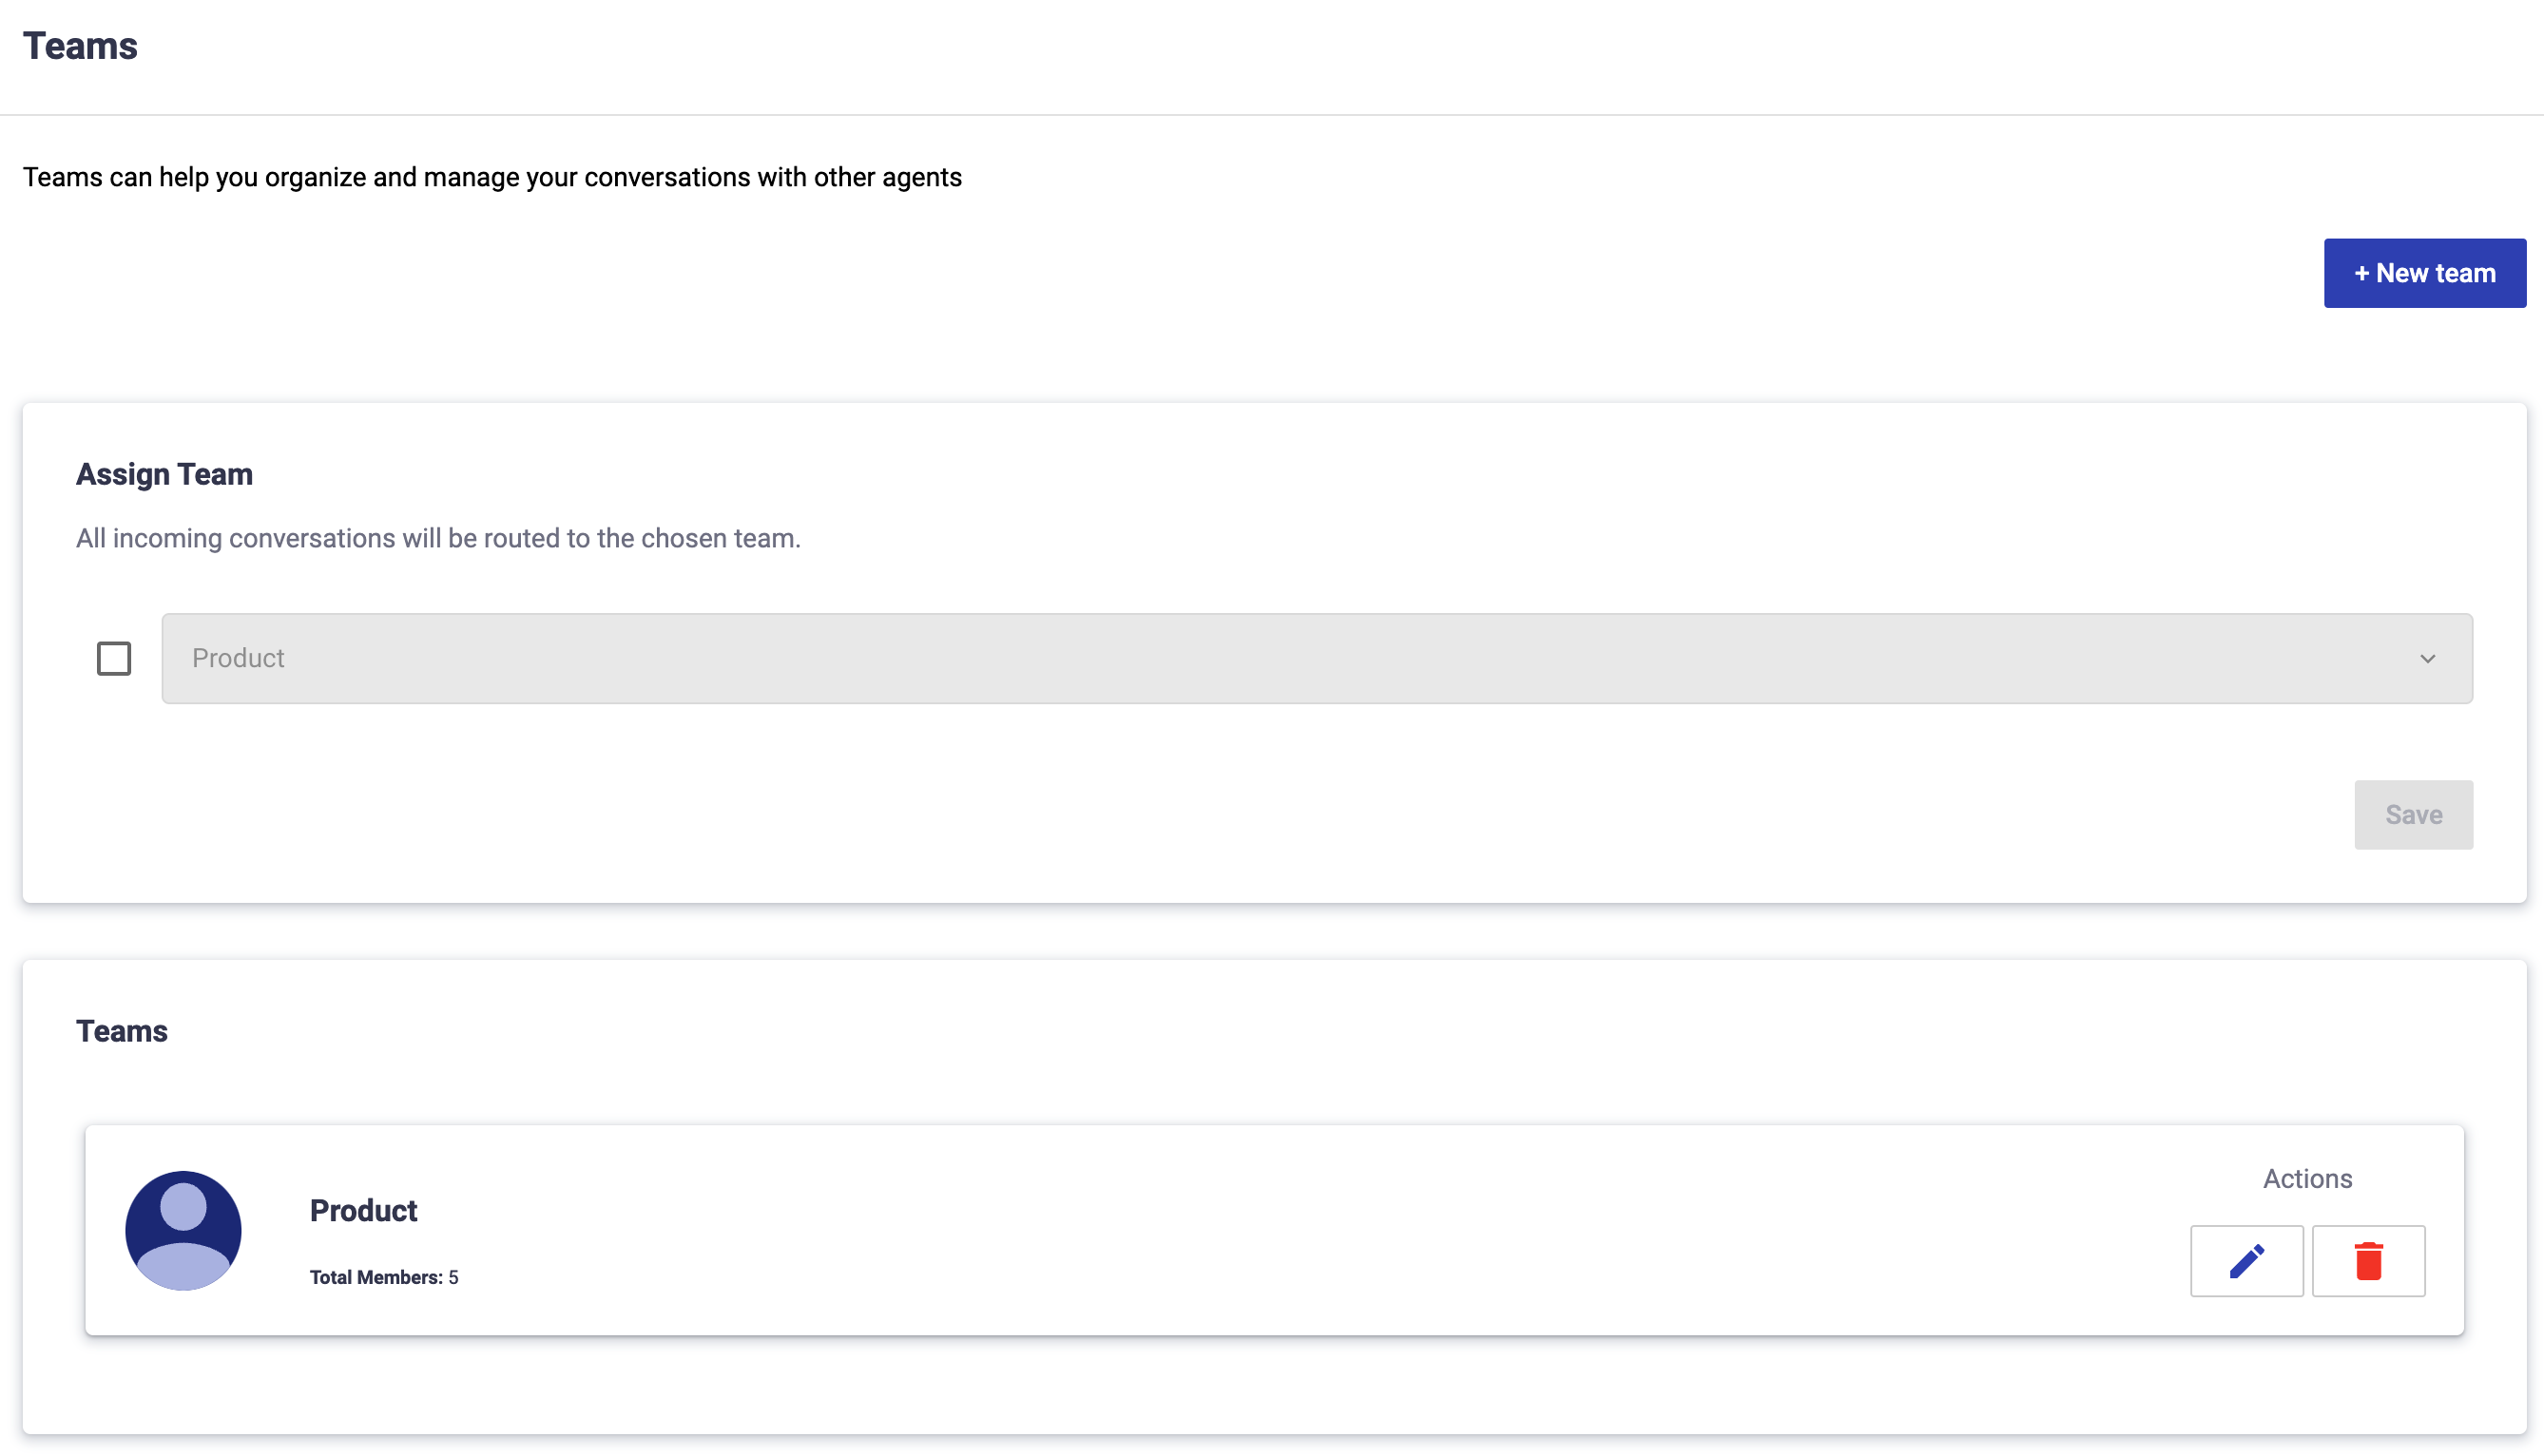
To edit a team, click Edit next to the team and update the fields you want to change.
To delete a team, click the Trash icon next to the team. In the confirmation dialog, click Delete.
Updated 11 days ago