
Consent management
Configure automated response messages for bidirectional SMS, WhatsApp, and RCS senders.
Configure automated response messages for bidirectional SMS, WhatsApp, and RCS senders.
Prerequisites
Complete these steps before you configure sender responses:
- Use an SMS or WhatsApp sender that supports bidirectional messaging (MT/MO, messages sent to and received from contacts).
- Choose an RCS or WhatsApp channel if you want bidirectional messaging enabled by default.
- Confirm that the sender is not already dedicated to live chat, another broadcast, or an automation that uses auto-reply.
Open the sender response section
-
Find the sender ID you want to configure.
-
In the Actions column, click the edit icon.
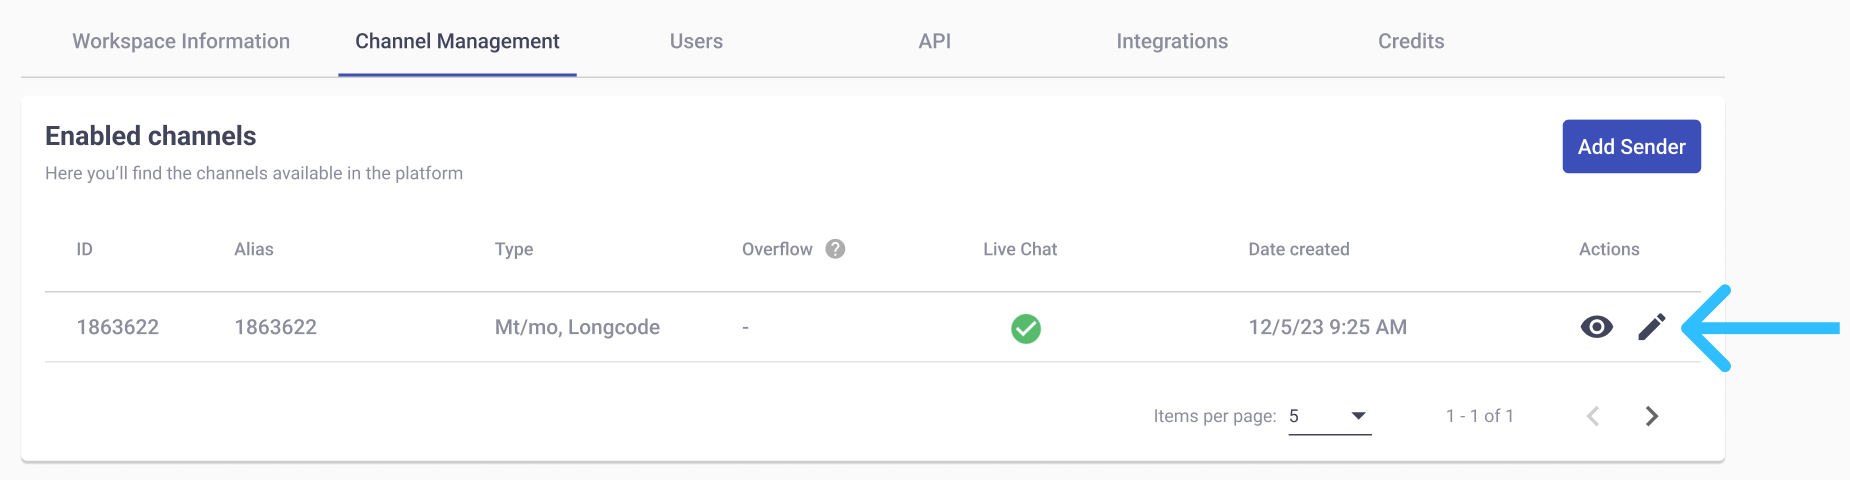
The platform opens the Sender Response section.
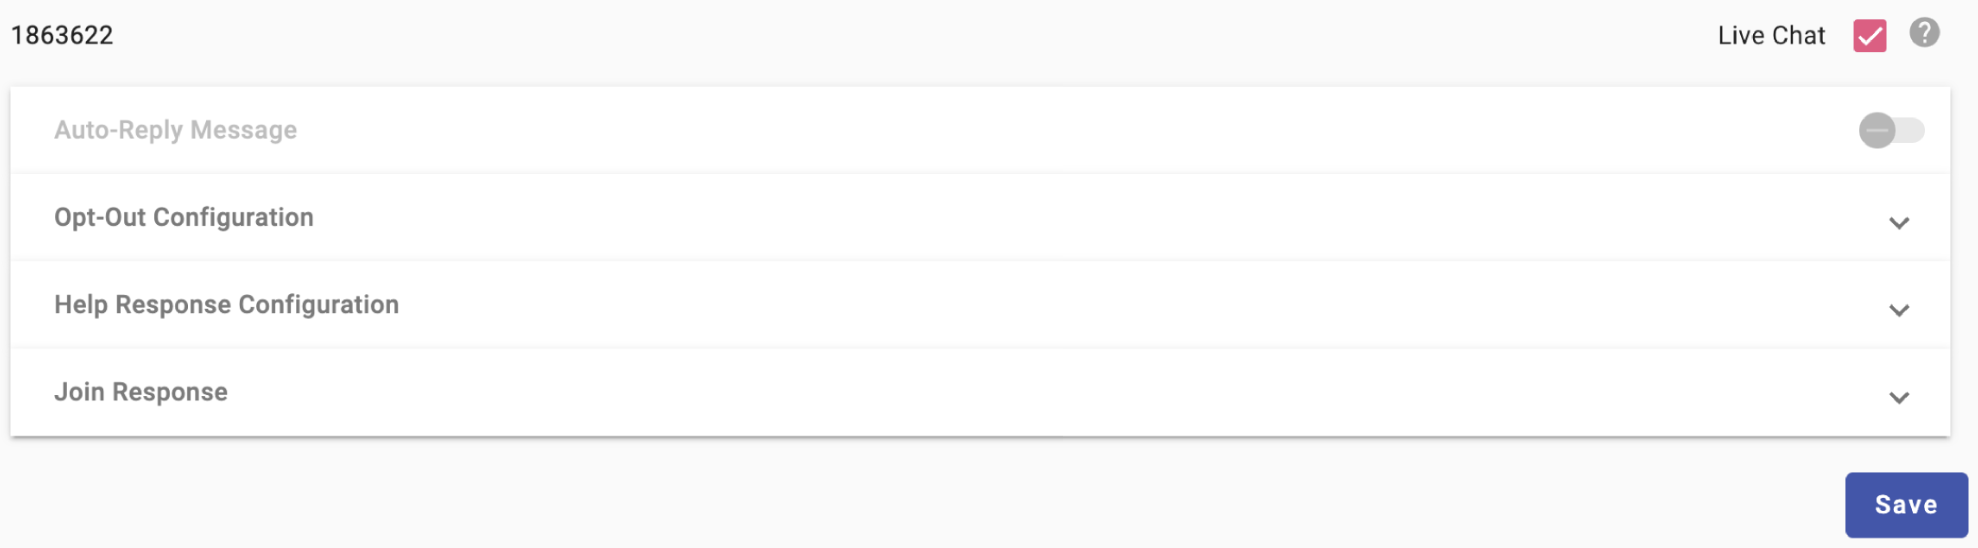
Configure one or more response categories:
- Live Chat Connection
- Auto-Reply Message
- Opt-Out Configuration
- Help Response Configuration
- Join Response
Live Chat connection
Contacts can reach a live chat agent in two ways.
Option 1: Use chatbot automation
Create a chatbot automation when you want the chatbot to handle initial requests and route specific messages to a live chat agent.
- Create a chatbot-type automation.
- Select the communication channel that contacts will use.
- Configure the keywords that route contacts to a live chat agent.
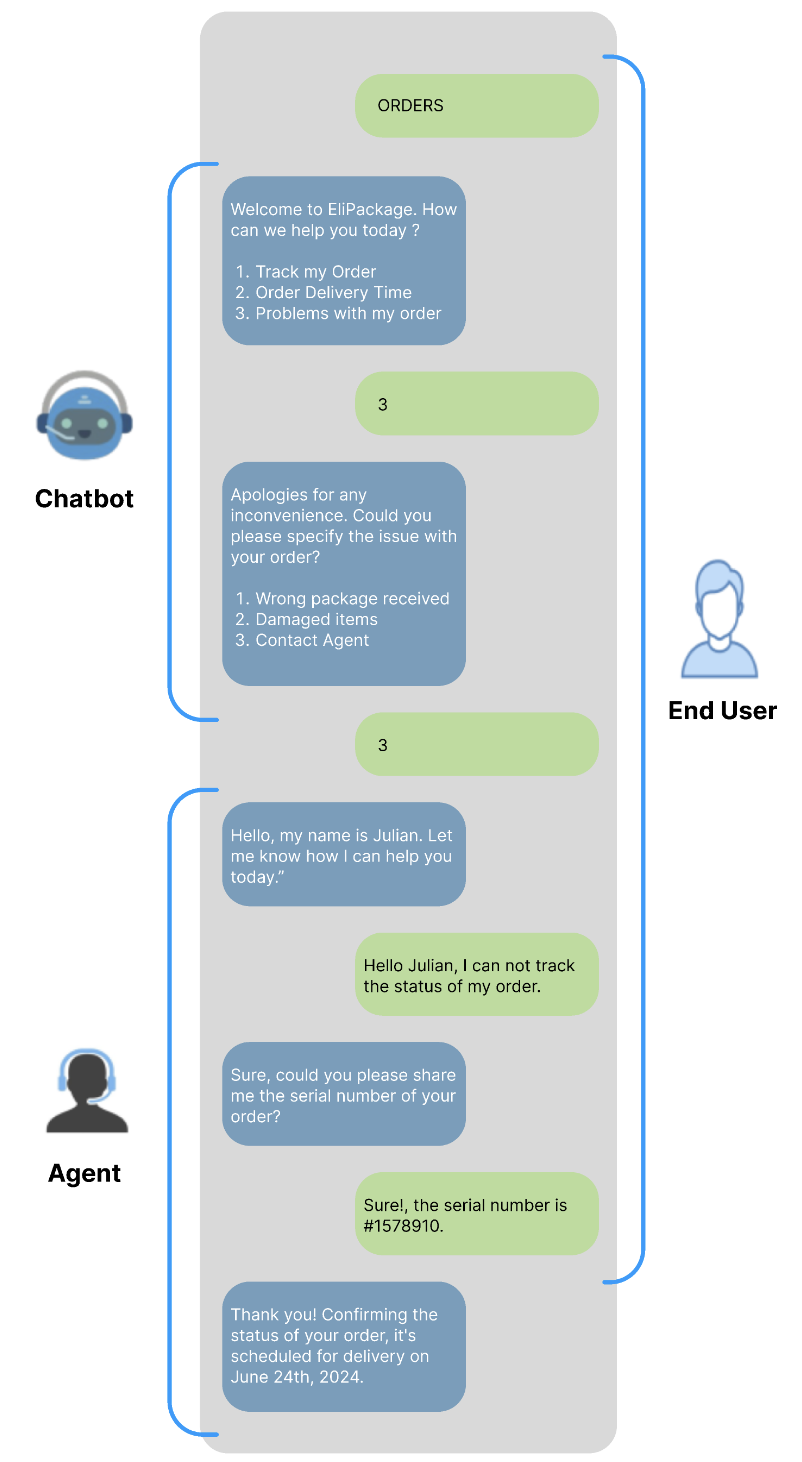
For more information, see Integrate Chatbot with Live Chat.
Option 2: Use direct communication
Enable Live Chat for a sender when you want all messages sent to that sender to go directly to a live chat agent. You do not need to configure a chatbot first.
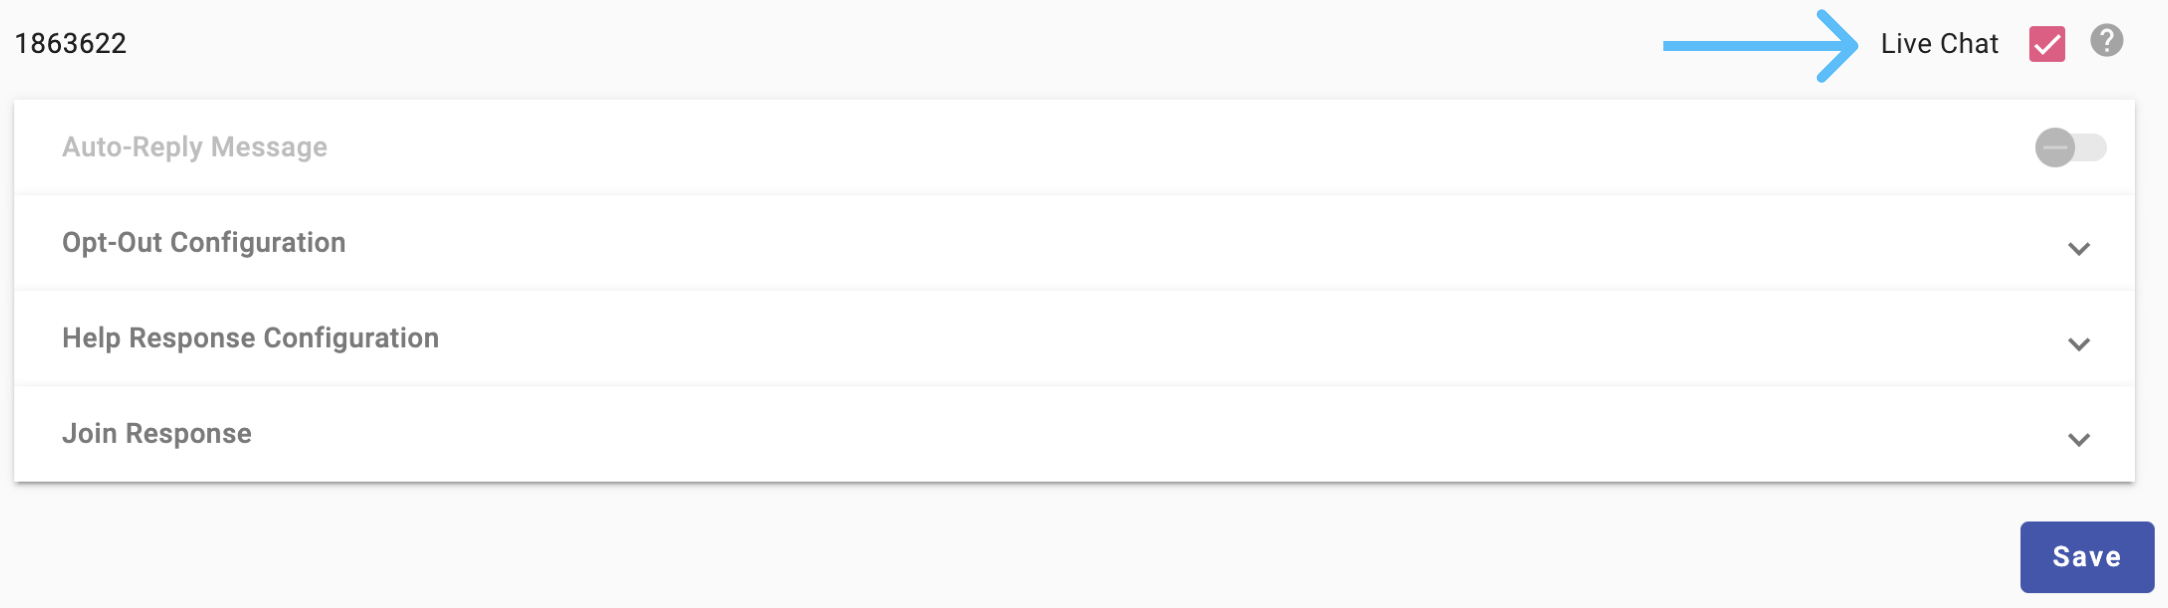
For example, if you use the WhatsApp sender ID 178273 only for live chat, any message sent to that sender is routed directly to a live chat agent.
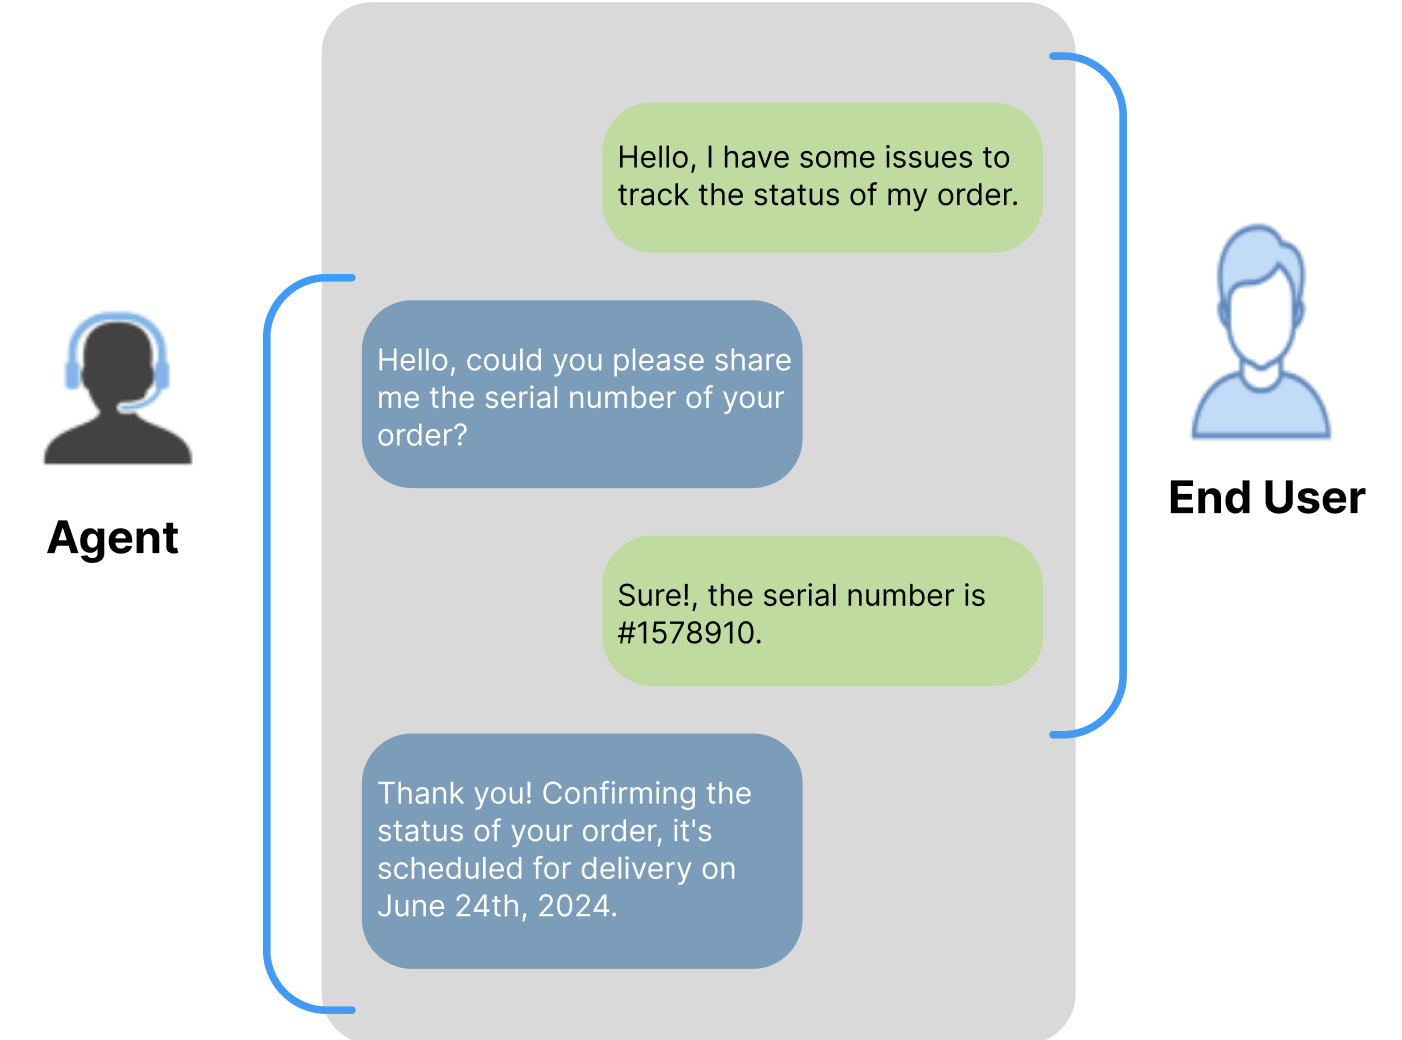
Important considerations for live chat
- Auto-reply restriction: After you enable Live Chat, you cannot configure an auto-reply message for the same sender.
- Exclusive use: The selected sender ID is dedicated to live chat and cannot be used for other broadcasts or automations.
- Channel requirement: The SMS or WhatsApp channel must support bidirectional messaging (MT/MO).
Auto-Reply Message
Use Auto-Reply Message to send a default response when an incoming message does not match a configured keyword. For example, if a contact sends an unmatched keyword, the platform sends the auto-reply message.
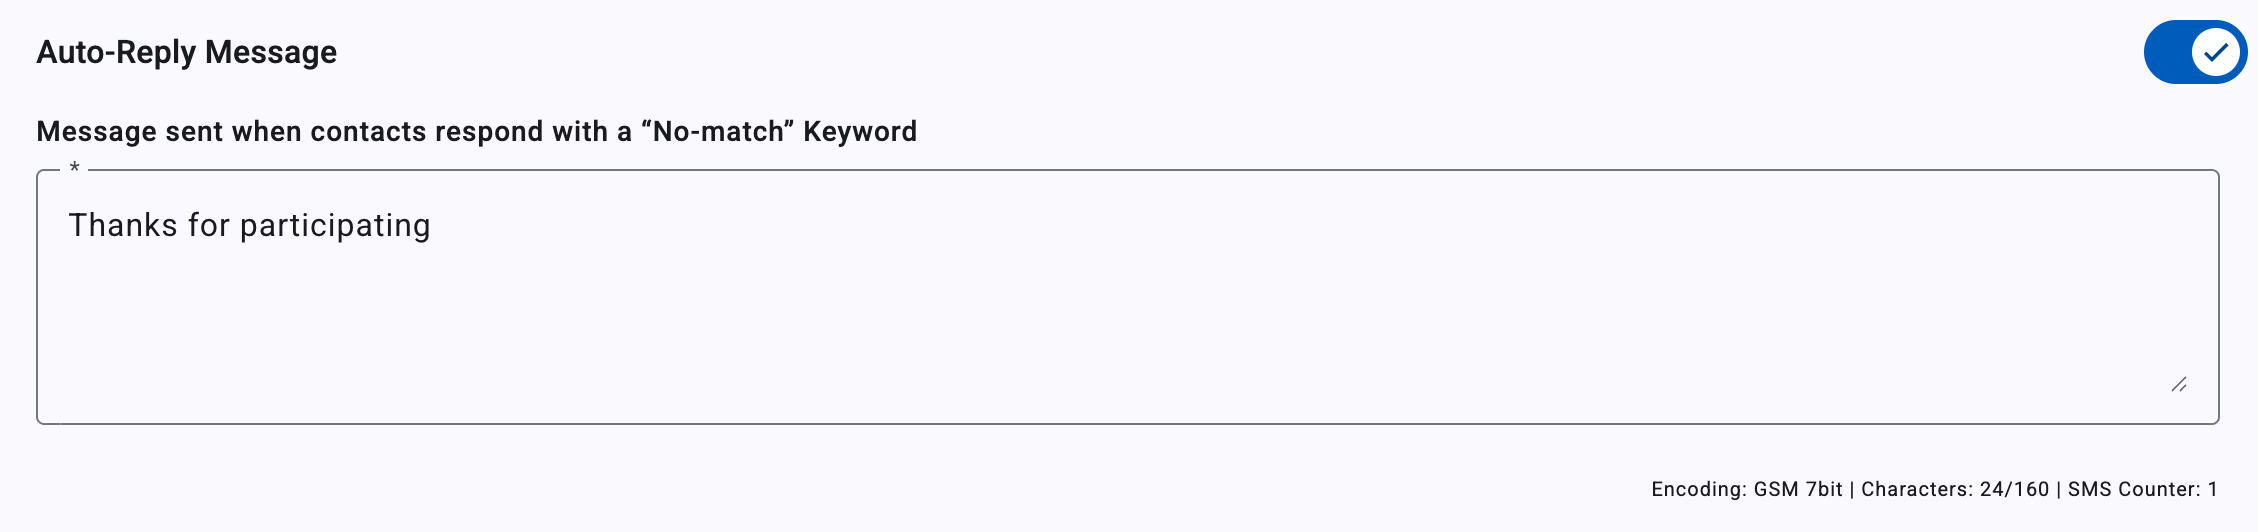
To enable auto-reply:
- Enter the auto-reply message.
- Turn on the auto-reply toggle.
- Click Save.
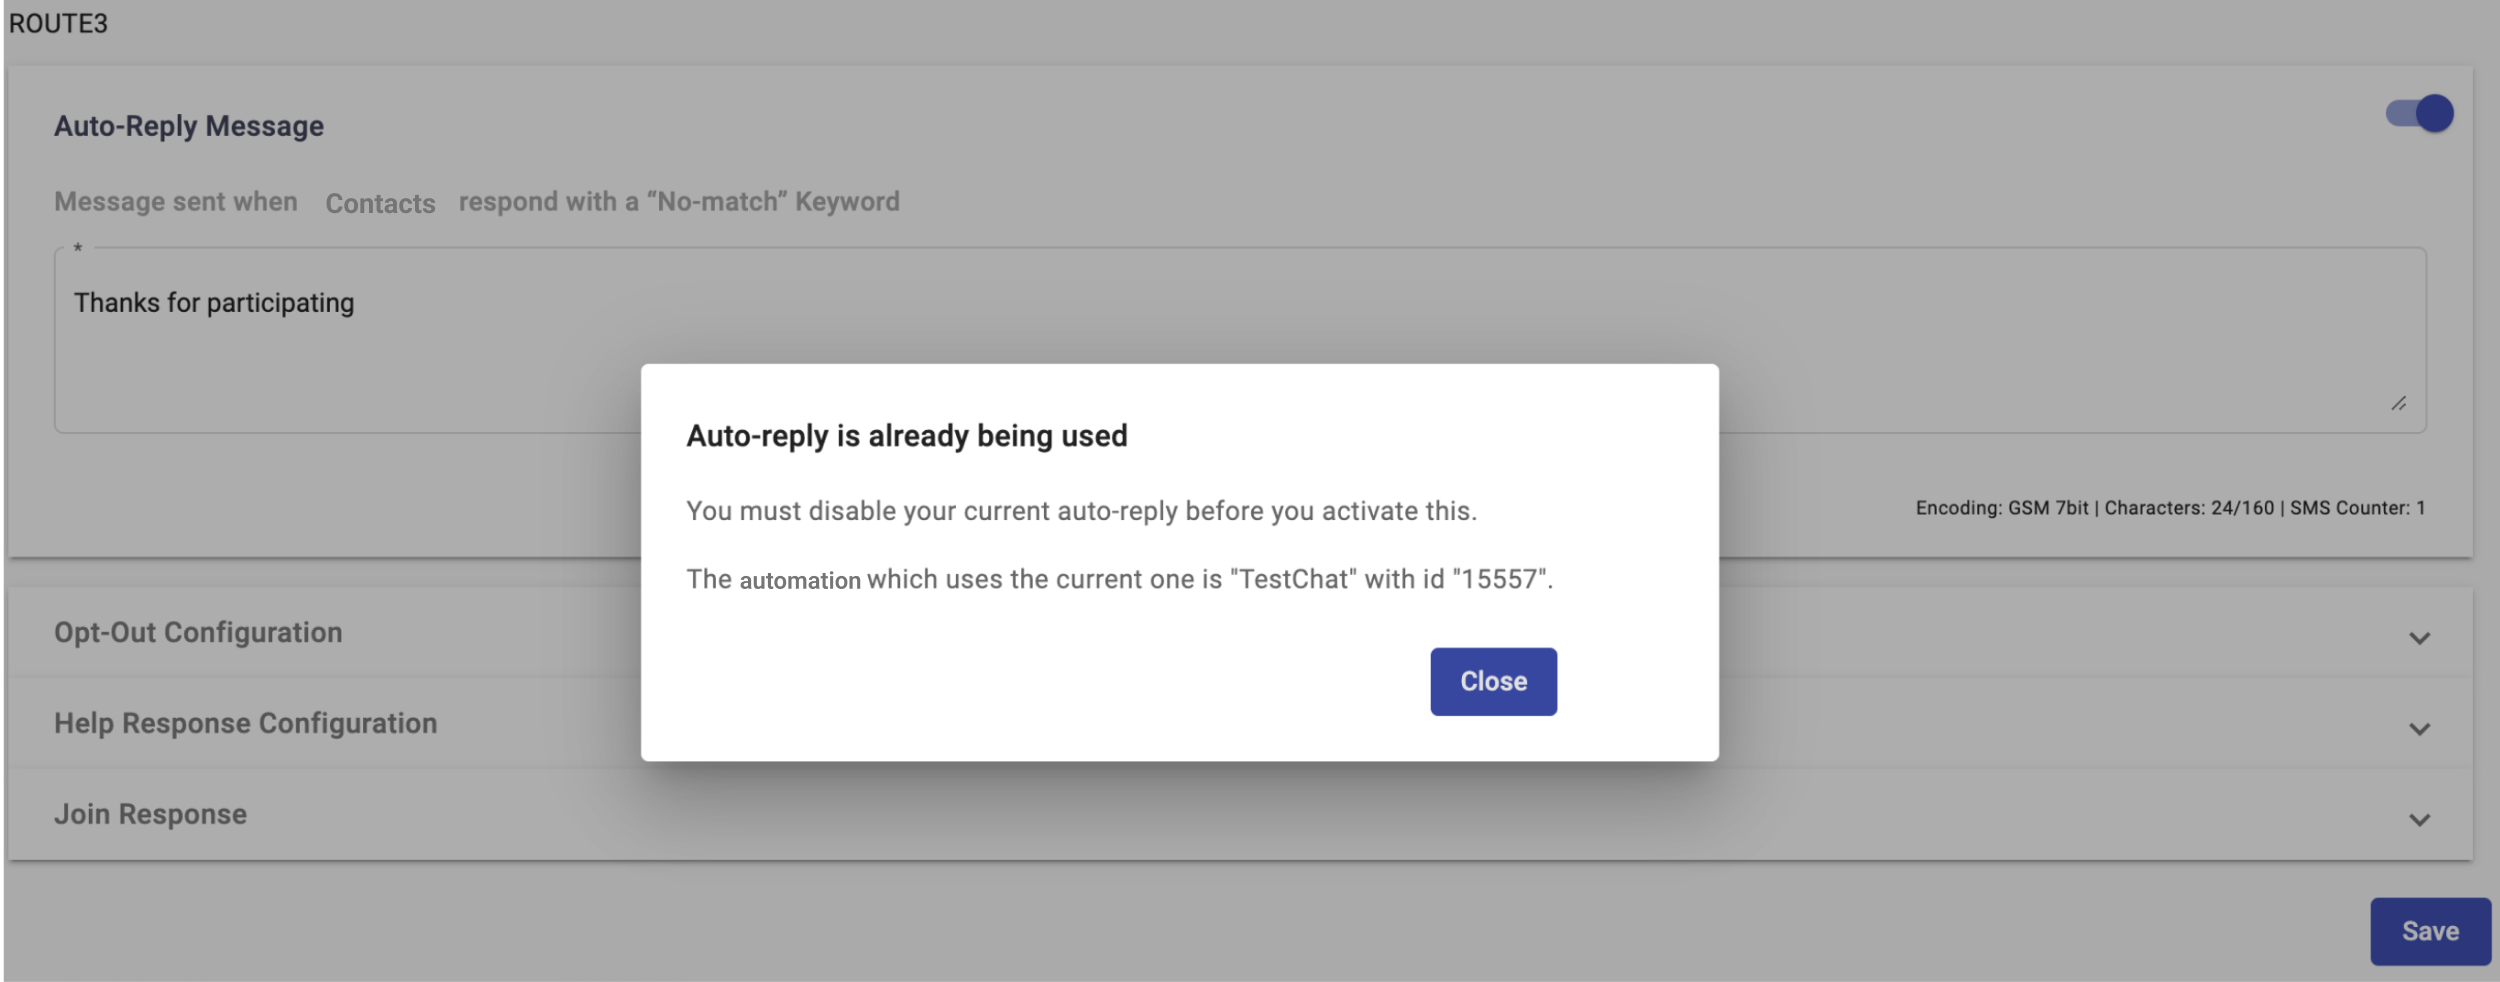
If another broadcast or automation already uses Auto-Reply with the same sender number and defined recipients in the keywords subsection, you cannot enable auto-reply for this sender. Disable auto-reply in the existing automation before you use it here.
To identify the automation that already uses auto-reply, try to save the auto-reply configuration. The platform displays the automation name and ID.
Opt-Out Configuration
Use Opt-Out Configuration to manage the keywords contacts send when they want to stop receiving messages.
The default opt-out keywords are Stop, Cancel, Unsubscribe, and Quit. Add custom keywords, such as End and Discontinue, by entering them in the Type to add a Keyword field.
Keep the default keywords in place. Delete custom keywords when you no longer need them.
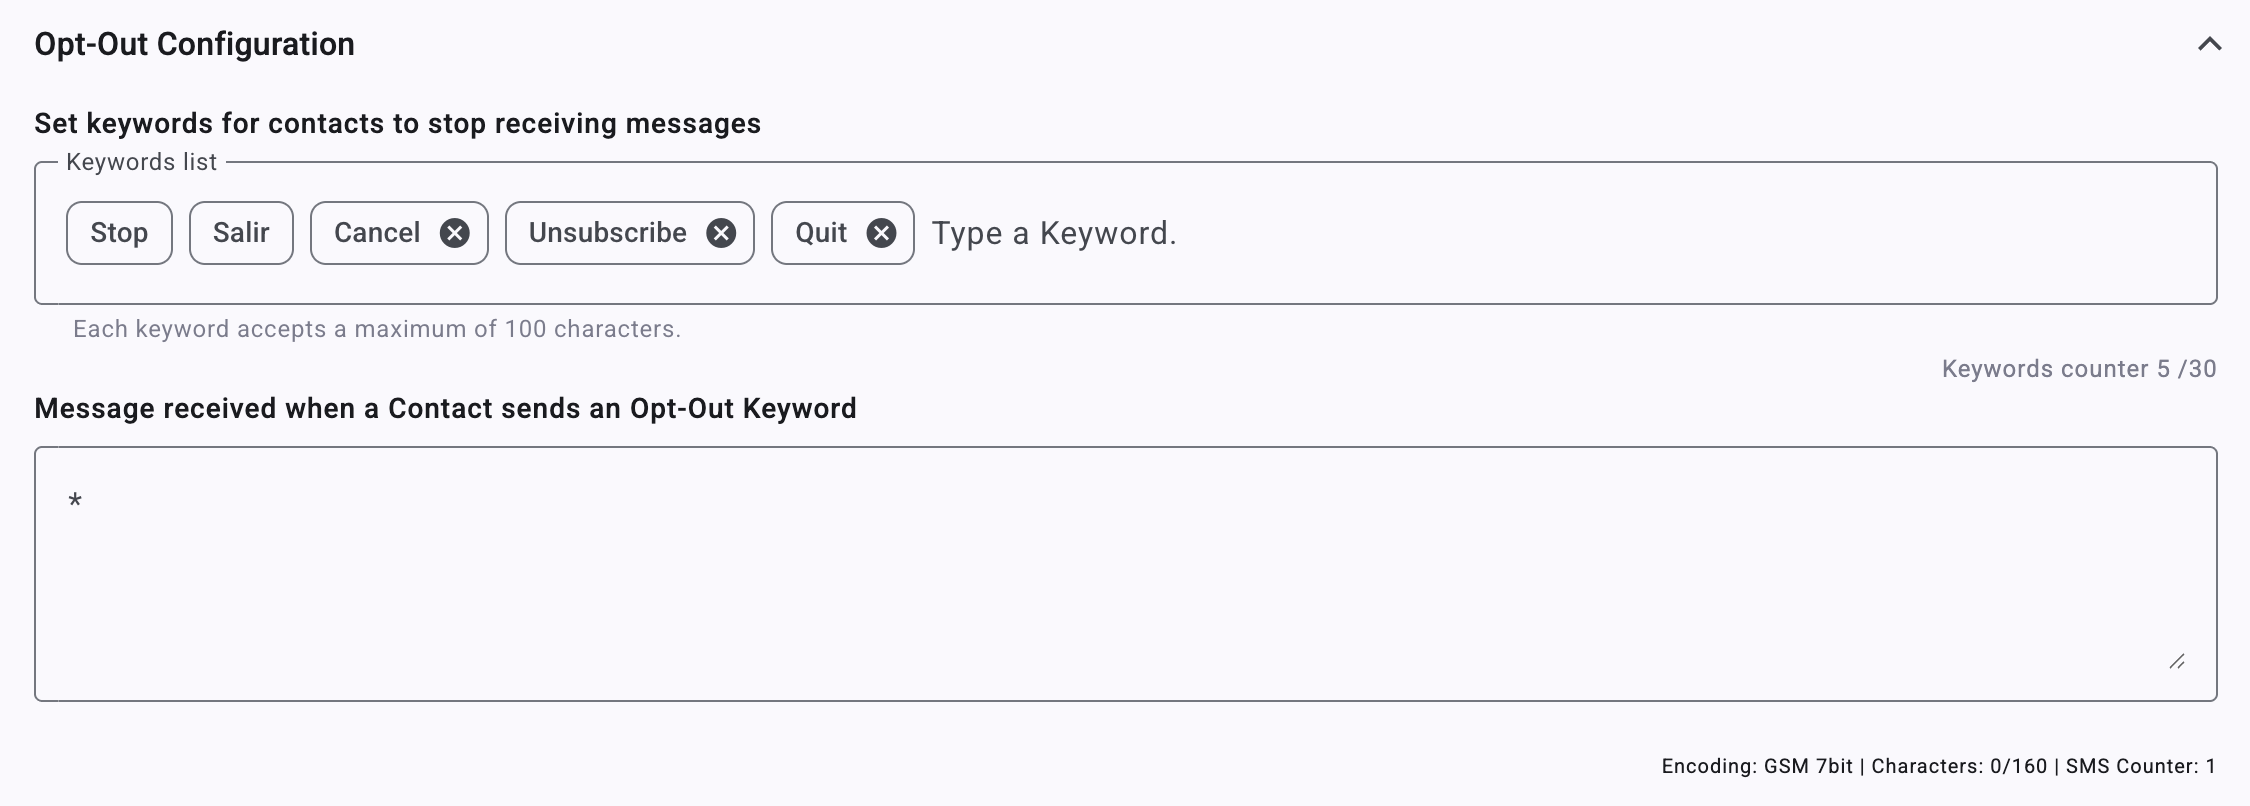
Enter the opt-out response message in the message field under the keyword list.
Help response configuration
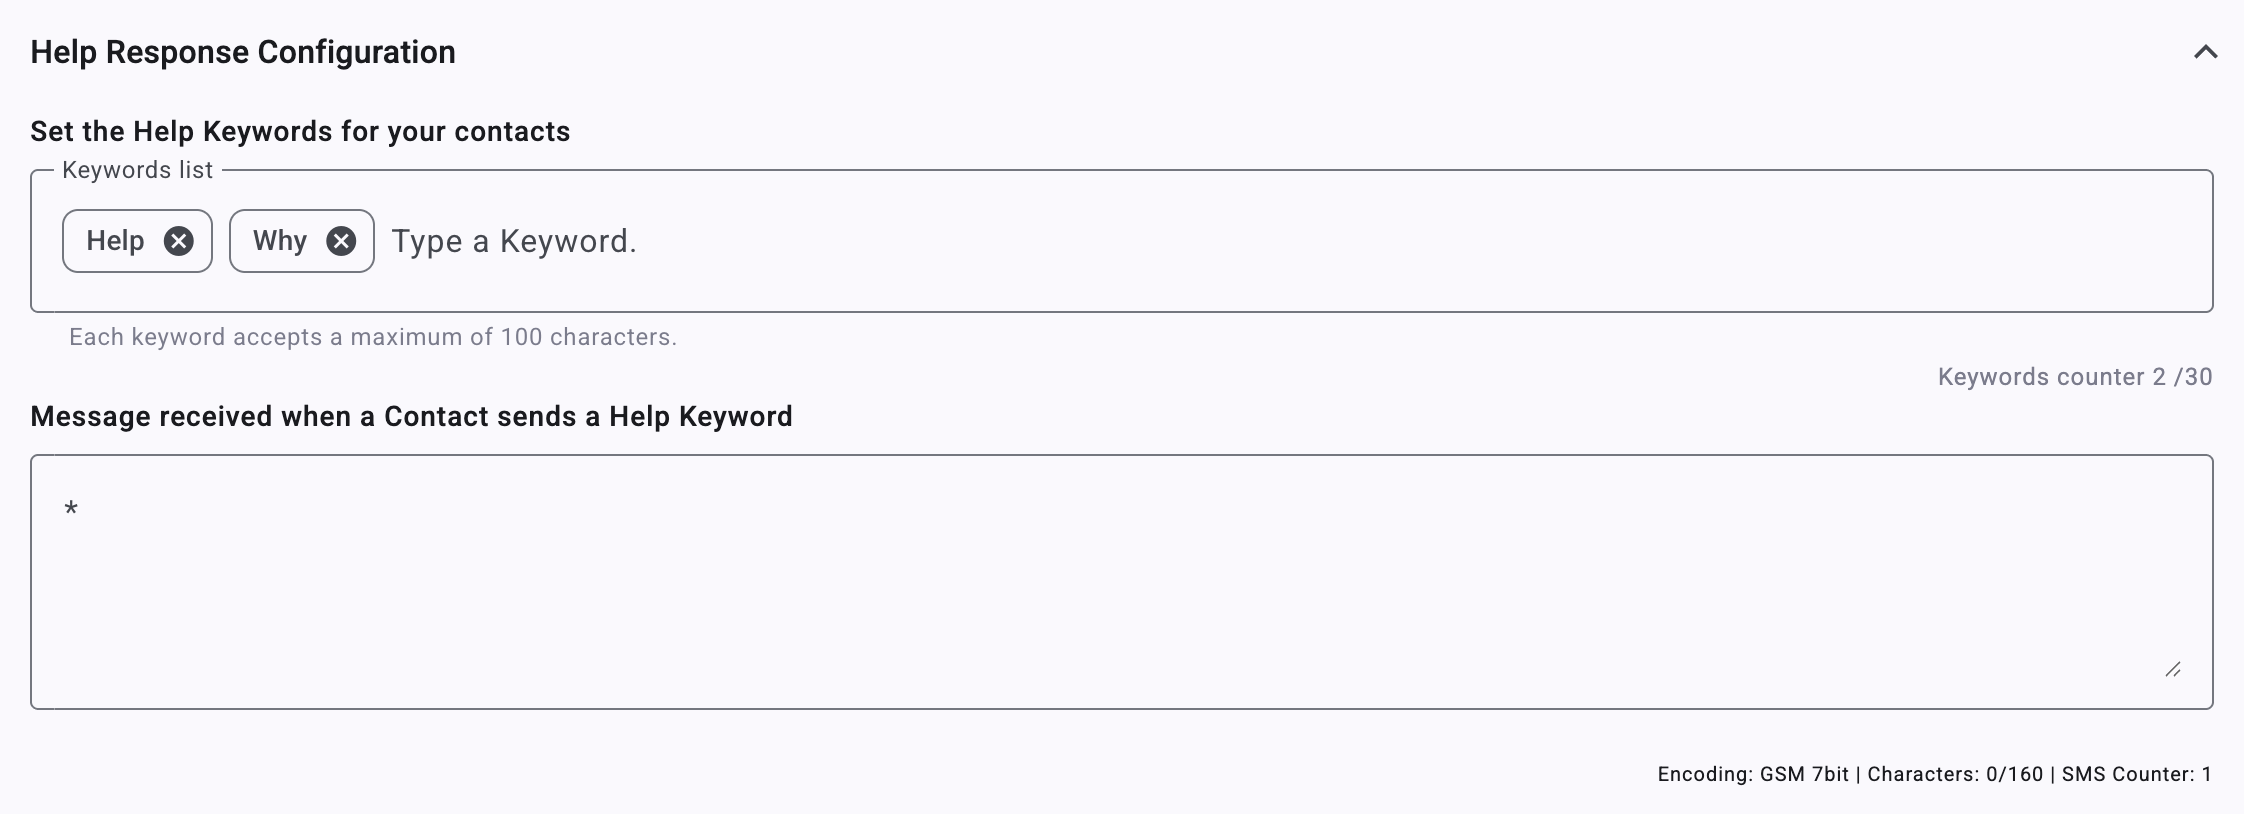
Use Help Response Configuration to manage the keywords contacts send when they need assistance.
- Add the help keywords contacts can send.
- Enter the help response message.
- Save your changes.
Join Response
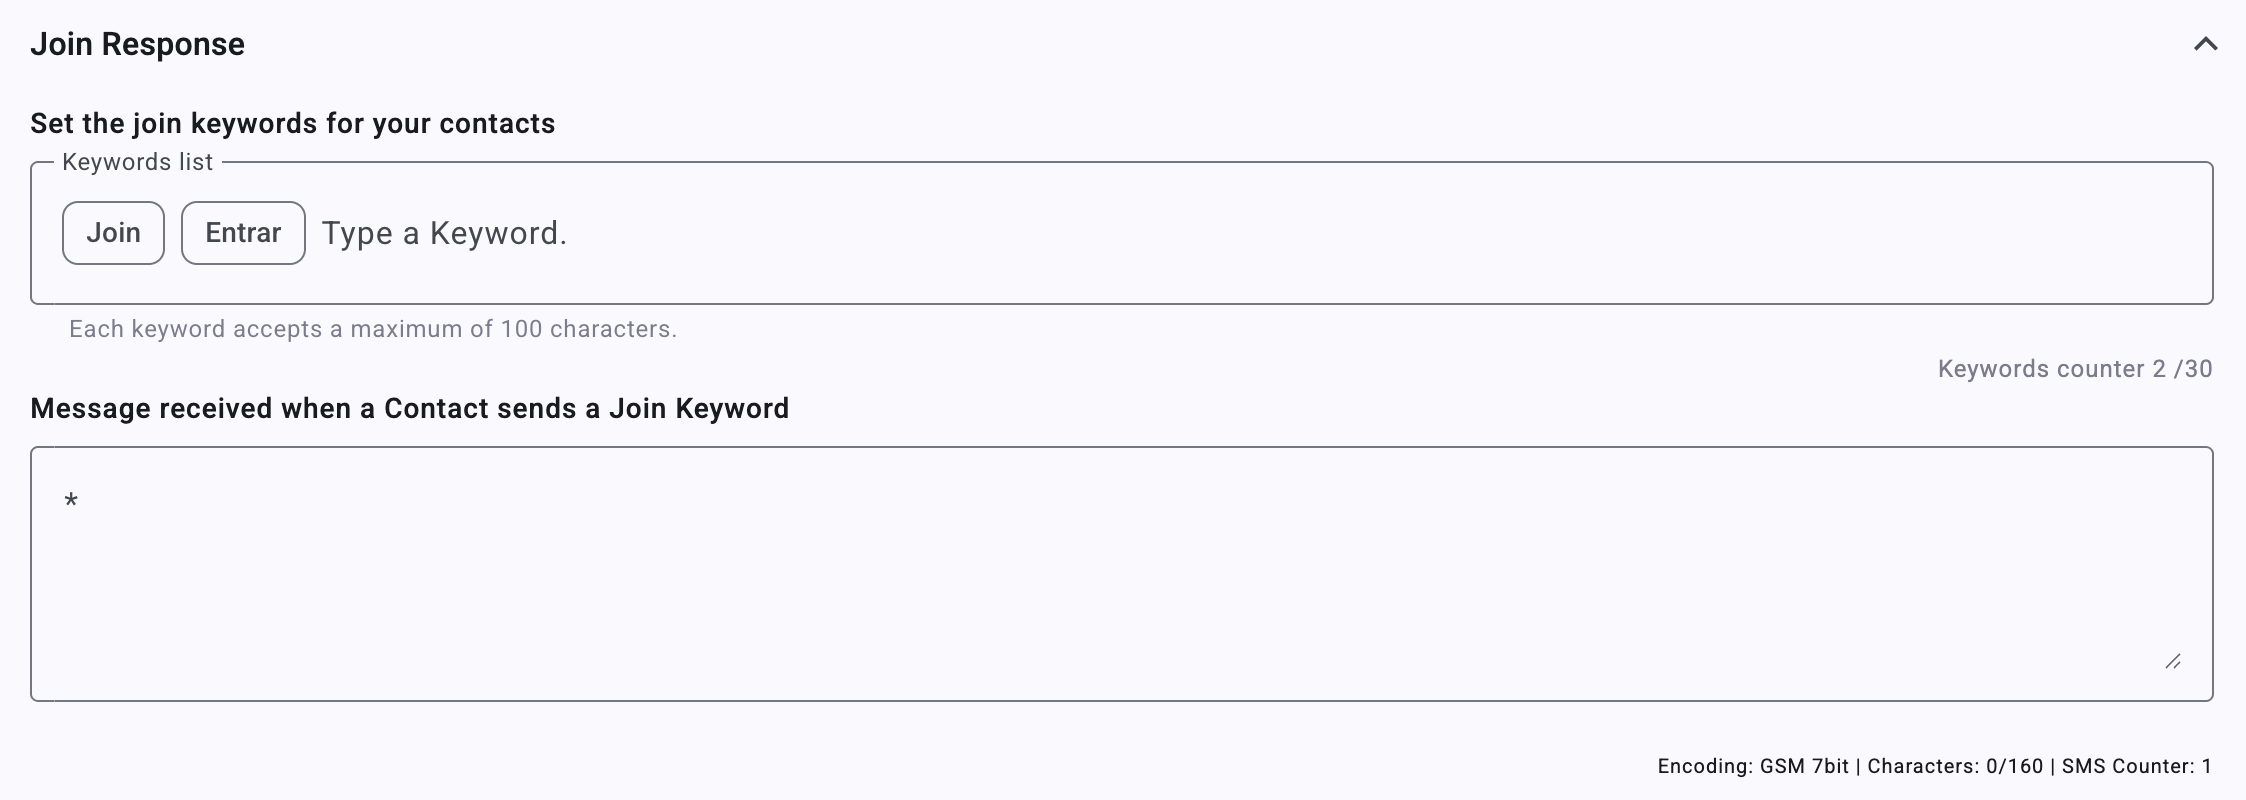
Use Join Response to manage the keywords contacts send when they want to join the service.
- Add the join keywords contacts can send.
- Enter the join response message.
- Save your changes.
Save your changes
After you configure the actions for incoming messages and keywords:
- Click Save.
- Click Back to return to the Preferences section.
Updated 22 days ago