
Personalize marketing & utility message template
Configure the content and device preview for a marketing or utility WhatsApp Message Template in the Personalize section. For teams writing per-language template content that matches the Metadata step.
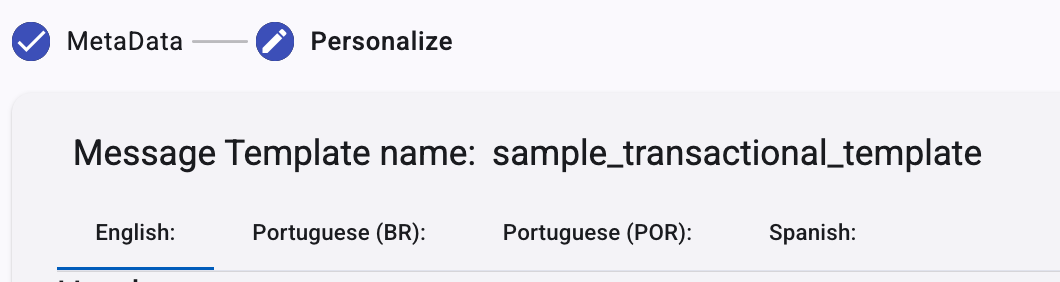
Configure the content and preview for a marketing or utility message template in the Personalize section. The Personalize pane shows the message template name, language tabs that match your Metadata selection, and an emulated device preview.
NOTEIn case you want to create an Authentication message template, go to the Personalize Authentication section
IMPORTANTThe platform attempts to send marketing message templates through the Marketing Messages API for WhatsApp, and Meta decides whether each message is completed through this route. When Meta processes a marketing message through this route and your WhatsApp Business Account (WABA) meets Meta's requirements, Meta can apply automatic optimizations to the text or format of the message before delivering it. In that case, the message that the recipient receives may differ slightly from the message template that you create and Meta approves.
Keep this in mind when you design your message. For more information, see Marketing Messages API for WhatsApp.
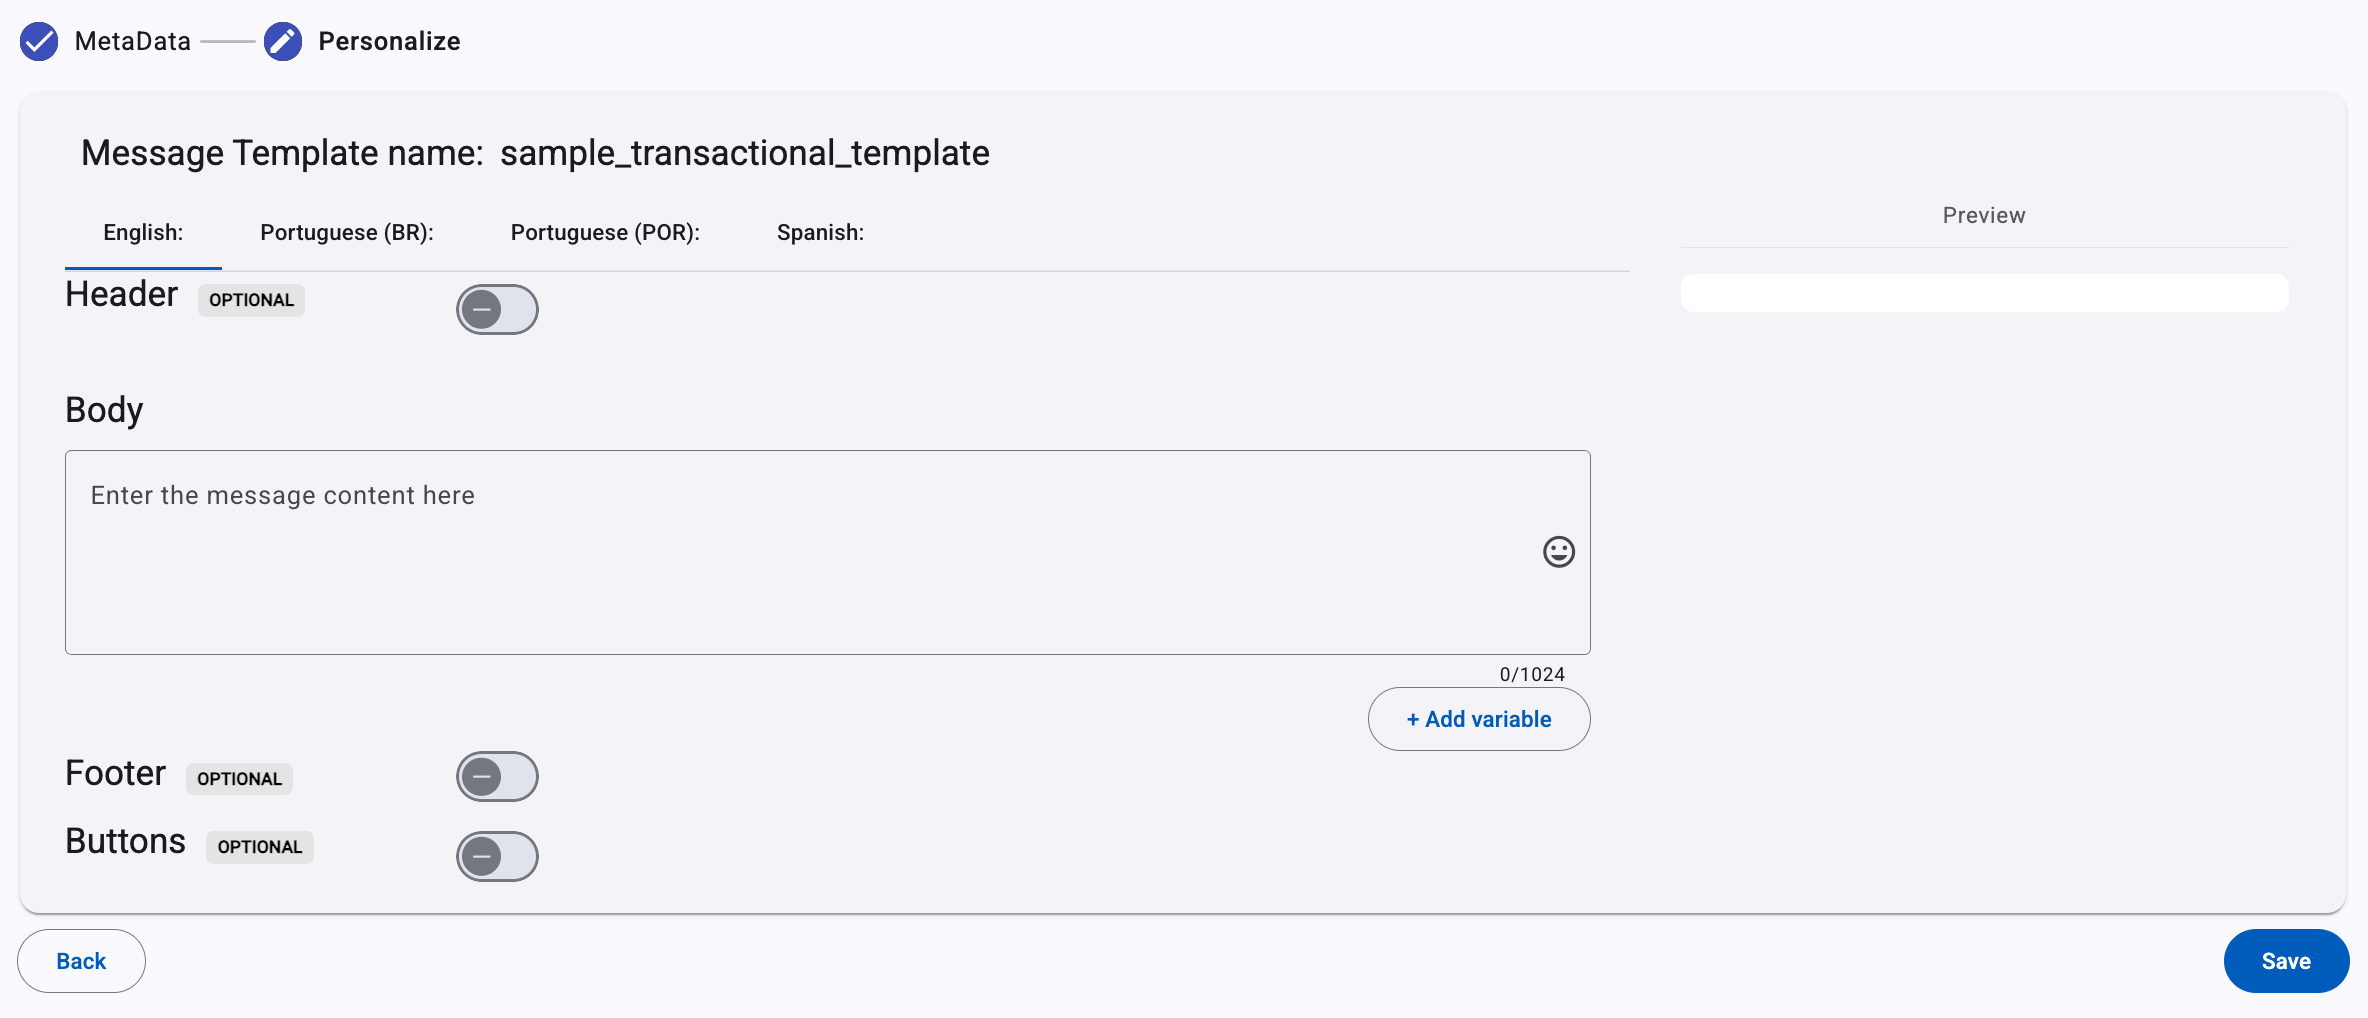
Add content in the language assigned to each tab. For example, enter English content on the English tab and Spanish content on the Spanish tab.
The following table lists the components available for marketing and utility message templates.
| Main Components | Options | Required |
|---|---|---|
| Header |
| No |
| Text Message (Body) | Contains text, variables (personalized fields/placeholders), and emojis. | Yes |
| Footer | A short line of text at the bottom of your message template. When creating a message template, you may include a footer at the end of the message. A footer may only contain text. No personalized fields (placeholders) or emojis are allowed. A footer has a limit of 60 characters. | No |
| Buttons |
| No |
WARNINGWhen creating a message template, you must have the following:
Fill in the message template with the text and/or media components (Header, Body, Buttons, Footer), including parameter placeholders (variable), as required. Make sure the value of the placeholders (variable) do not contain newlines, or more than 4 consecutive spaces.
- Newline or Tab Characters: WhatsApp restricts the use of newline (\n) and tab (\t) characters in placeholders. Ensure that your message does not contain any unexpected line breaks or tab Workspaces.
- Excessive Workspaces: WhatsApp also prohibits more than four consecutive Workspaces. This is to maintain a consistent look and feel for messages and avoid formatting issues.
Here's an example to illustrate how to adjust the value of the placeholder (variable) in the message template message that might cause this error:
Incorrect Value
The following message constains only a variable:
Hello {{name}}, thank you for reaching out!The incorrect value of the variable is the following:
Hello Dear Victor, thank you for reaching out!Issues: The placeholder
{{name}}is replaced by" Dear Victor"There are more than four consecutive Workspaces between"Hello","Dear", and"Victor", which does not compliant with WhatsApp's formatting requirements.Correct Value
The following message constains only a variable:
Hello {{name}}, thank you for reaching out!The correct value of the variable is the following:
Hello Victor, thank you for reaching out!The placeholder value for
{{name}}is"Victor", without any unnecessary Workspaces, making it compliant with WhatsApp's formatting requirements.
Markdown syntaxMarkdown syntax is a powerful tool that can help you make your messages stand out and capture the attention of your recipients. You can create visually appealing and easy-to-understand messages. making your messages more readable. In the world of short attention spans, properly formatted messages can help ensure that your content is understood and remembered. Therefore, markdown is a lightweight markup language that you can use to add formatting elements to plain text text.
Markdown for WhatsApp message templates refers to a simplified text formatting system that allows you to apply basic styles to text in WhatsApp components ( Header, Body, Footer).
WhatsApp only supports a limited set of basic formatting options, such as bold, italics, strikethrough, and monospace:
- Bold Text: To make text bold, place asterisks
*around the text. (e.g.,*this text is bold*).- Italic Text: To italicize text, use underscores
_around the text. (e.g.,_this text is italic_).- Strikethrough Text: To strike through text, place tildes
~around the text. (e.g.,~this text is Strikethrough~).- Monospaced Text: To display text in a monospaced (fixed-width) font, use three backticks (
).</code>) around the text. (e.g.,<code>
Message template components
Header
The header is optional and appears at the top of the message. Select either a text header or a multimedia header.
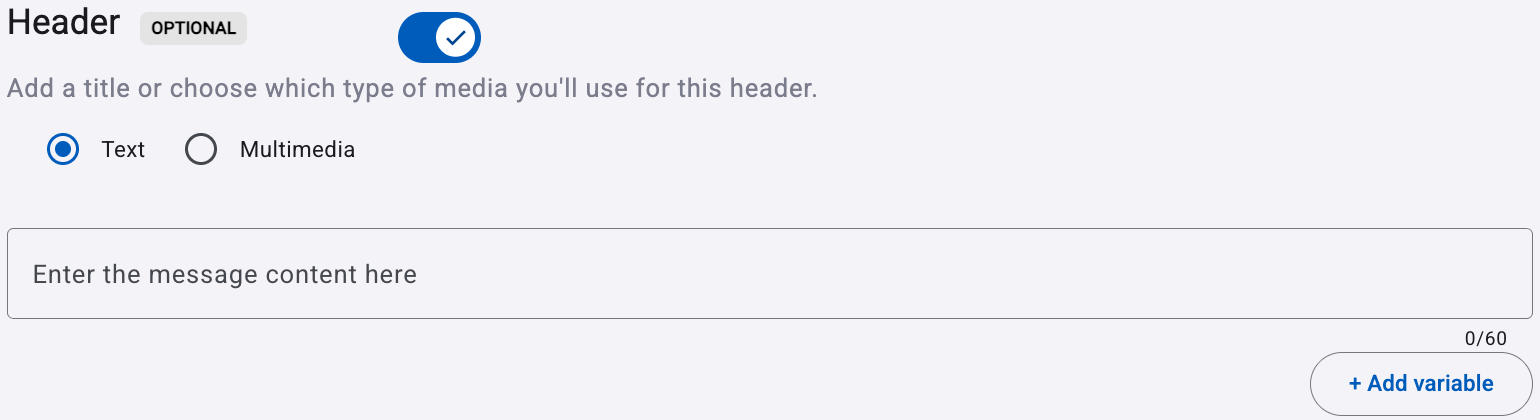
When you select a text header, enter up to 60 characters and optionally add one variable. The resolved variable value counts toward the 60-character limit. See Adding Variables to add a personalized field.
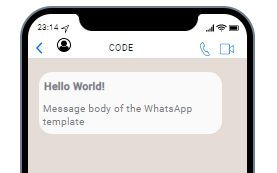
The recipient sees the header in bold as the first message element. Use the emulated device preview to confirm how it appears.
When you select Multimedia, choose an image, video, document, or audio file.
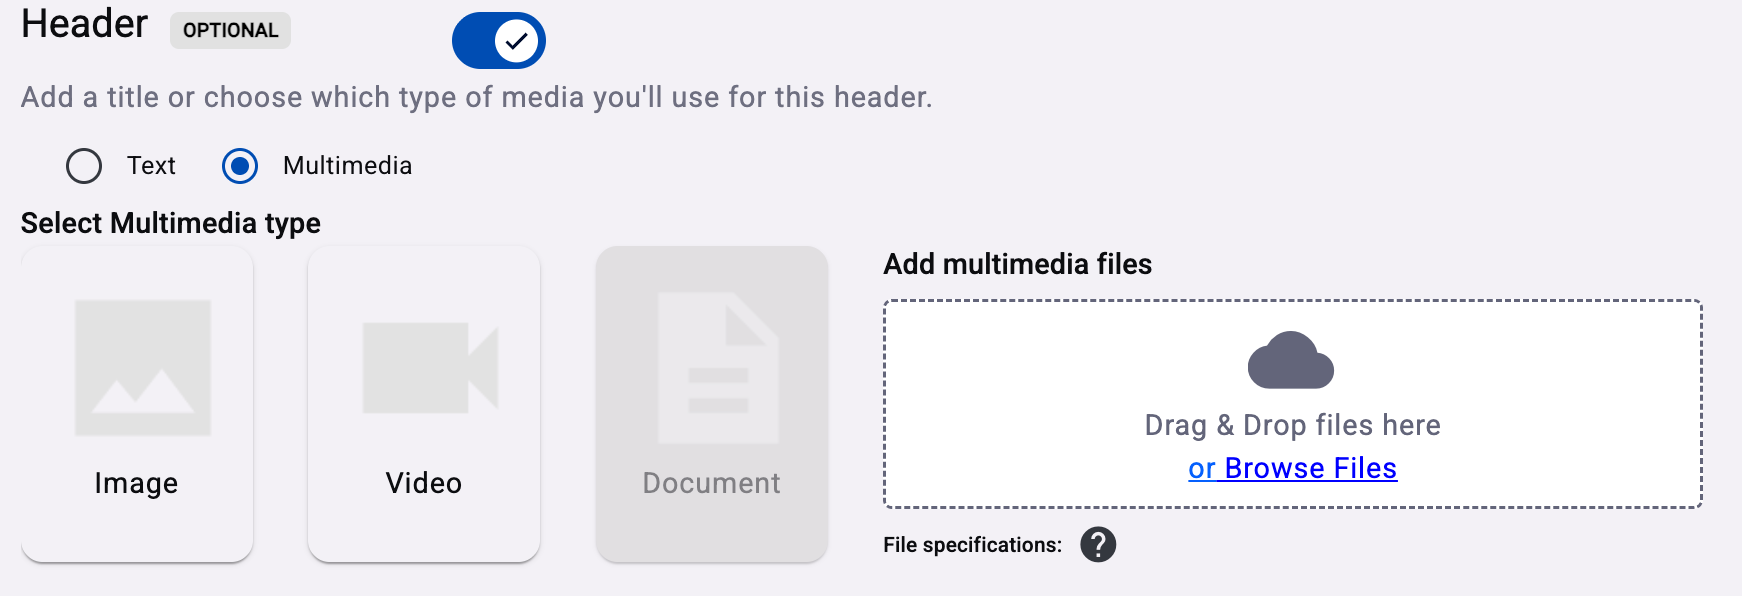
The Header supports the following multimedia file types and size limits:
| File type | Supported formats | Maximum file size |
|---|---|---|
| Image | .jpeg, .jpg, .png | 5 MB |
| Video | .mp4 | 16 MB |
| Document | .pdf | 100 MB |
| Audio | .aac, .mp3, .amr, .mpeg | 16 MB |
NOTES:
- Images must be 8-bit, RGB or RGBA.
- Video files must use the H.264 video codec.
- Audio tracks in video files must use the AAC codec.
See Adding Variables to add a variable to a text header.
Body
The message body is the only required element. Enter up to 1,024 characters, including user-defined field variables and emojis.
All body content counts toward the character limit. Monitor the character count as you write.
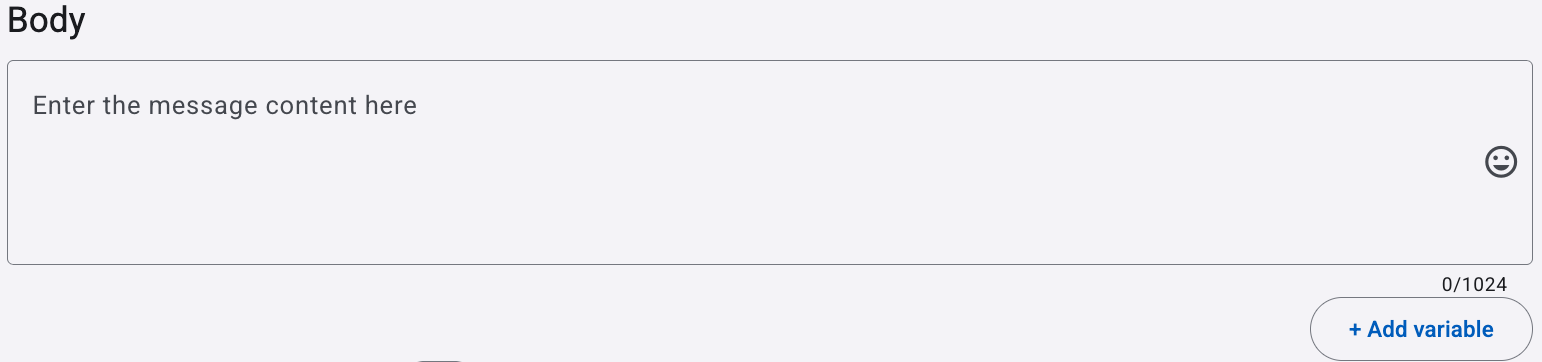
NOTEThe minimum number of characters you can enter into the text body is 10 characters.
The maximum number of characters that you can enter into the text body is 1024 characters.
ON MESSAGE VARIABLESVariables to be added to the message body, are platform defined fields and those that you have defined and added to the platform.
To know how to add variables (placeholders) to the text body, go to the Adding Variables section.
Review the fields section of the platform here.
Footer
The footer is optional and supports up to 60 characters. Use it for a closing message or call to action; it appears after the body and before any buttons.

Buttons
WhatsApp message templates support two optional button types: Quick Reply and Call to Action. These buttons let recipients respond or take an action directly in the chat.
-
Call to Action — Recipients can call a phone number or open a static or dynamic URL.
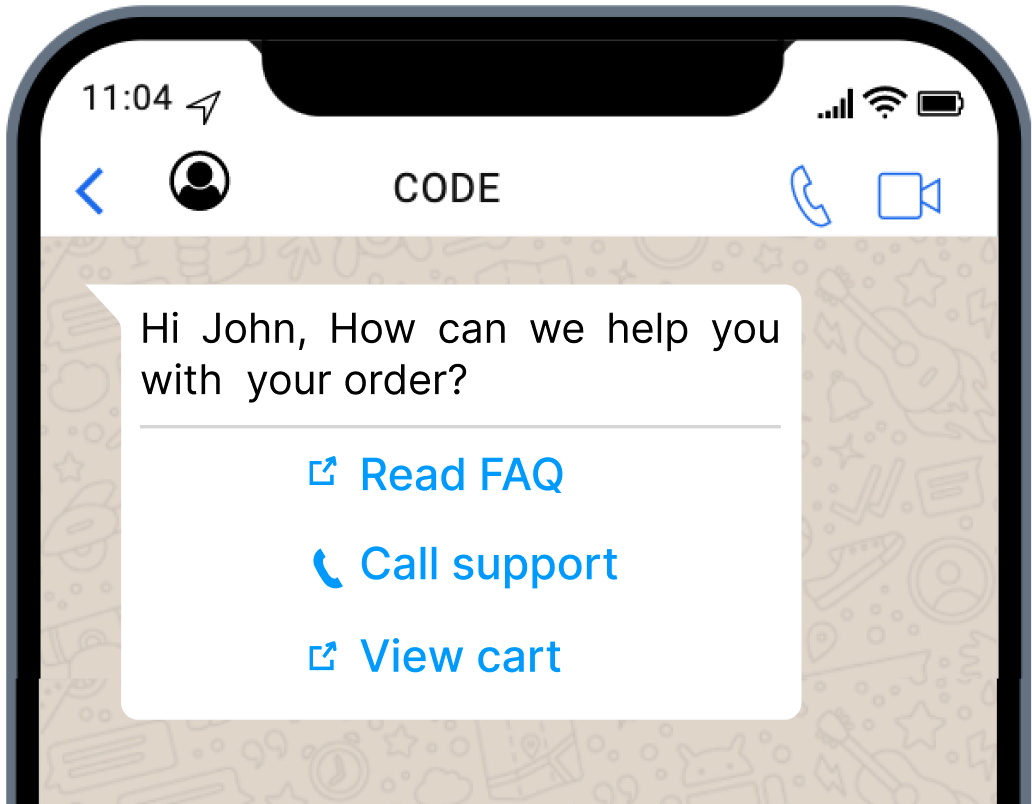
Up to three (3) call-to-action buttons are allowed per message template. These buttons can be either a phone number button or URL buttons (dynamic or static).
Only one phone number button is permitted per message template. The remaining buttons can be URL buttons, either dynamic or static, but the total number of call-to-action buttons must not exceed three.
-
Quick Reply — Recipients tap a predefined response instead of typing. Each reply can match a value that triggers an automation.
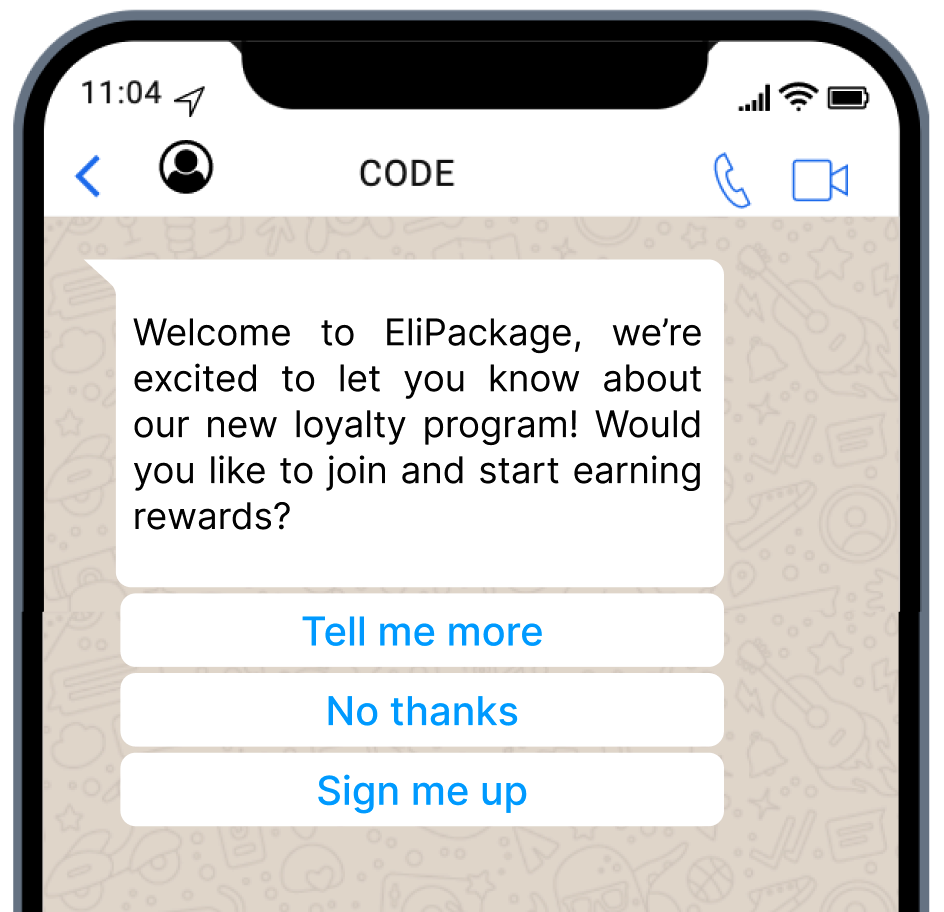
Up to ten (10) quick reply buttons are allowed per message template. Each button includes a visible label (Button Text) and a value that is sent back to the platform when the user selects it.
For example, this configuration adds two buttons to the message content:
Button Text = Yes, Button payload: agree
Button Text = No, Button payload: NotAgreeIf the recipient selects Yes, the platform receives the
agreepayload.Map button payloads to Consent Management automations, such as Auto-Reply, Opt-Out, Help Response, or Join Response.
The button value must exactly match the keyword configured for the automation. If it does not match, the automation will not run.
For example,
Button Text = Tell me more
Button Text = No thanks
Button Text = Sign me upThese three button texts (Tell me more, No thanks, Sign me up) are keywords that were defined when creating the automations. This action triggers an automated response that directs the user to the corresponding automation. When the end user selects one of these options, the platform redirects them to the linked automation.
Add buttons to a WhatsApp message template:
- Enable the Buttons section. After composing the message body, select the Buttons toggle.

- Choose a button type. A message template supports up to 10 buttons in total, subject to the limits for each button type. Select the Button Type dropdown to view the available types.
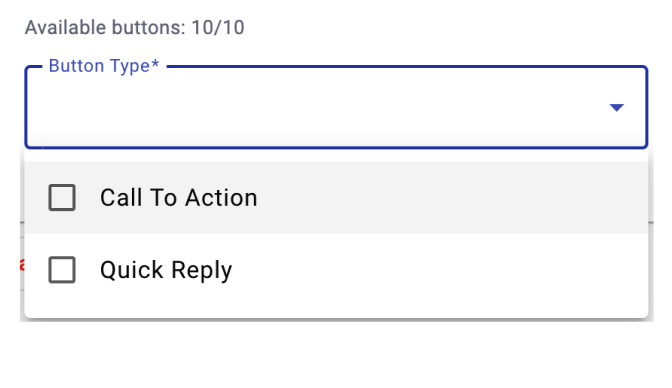
NOTEWhen you add the first button to the message template, regardless of whether it is a Call to Action or Quick Reply button, it will be placed in the first position. For example, if you start with a Call to Action button like "Call to Phone Number," this will be the topmost button in the list.
When you decide to add a second button of a different type (e.g., after adding a Call to Action, you now add a Quick Reply), the system automatically creates a division between the button types. This division ensures that buttons of different types are grouped separately.
Each new button you add will be placed under the correct group according to its type. For instance:
- If you add a Quick Reply button after having already added a Call to Action button, the Quick Reply button will be positioned below all Call to Action buttons, and a clear separation will exist between the two groups.\
That is, buttons of the same type will always be grouped together in the final message template. For example, if you add three Call to Action buttons first, they will all appear together, one after the other, at the top of the message. If you then add Quick Reply buttons, they will all be grouped together below the Call to Action buttons.
It's worth noting the counter located at the top of the Button Type dropdown menu plays a crucial role in managing the number of buttons you can add to a WhatsApp message template.
The counter indicates the total number of buttons allowed in your message template. In this case, the message template can accommodate up to 10 buttons. It also shows how many buttons have already been added.
For example, the counter reads "10/10," meaning that 10 buttons are available to be added to the message template. When the counter turns to "0/10" meaning that all 10 available button slots have been used.
This counter ensures that you do not exceed the maximum number of buttons allowed in the message template. As you add buttons, the counter will update to reflect the remaining slots

- Configure a Call to Action button. In the Button Type dropdown, select Call To Action.
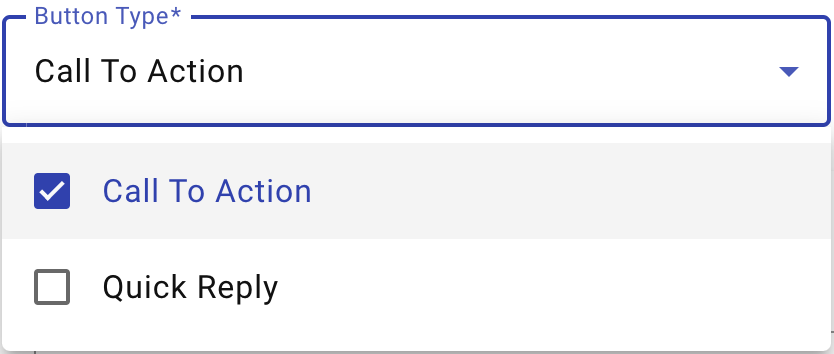
Then select a CTA type from the Type of Action dropdown: Call to Phone Number or Visit Websites.
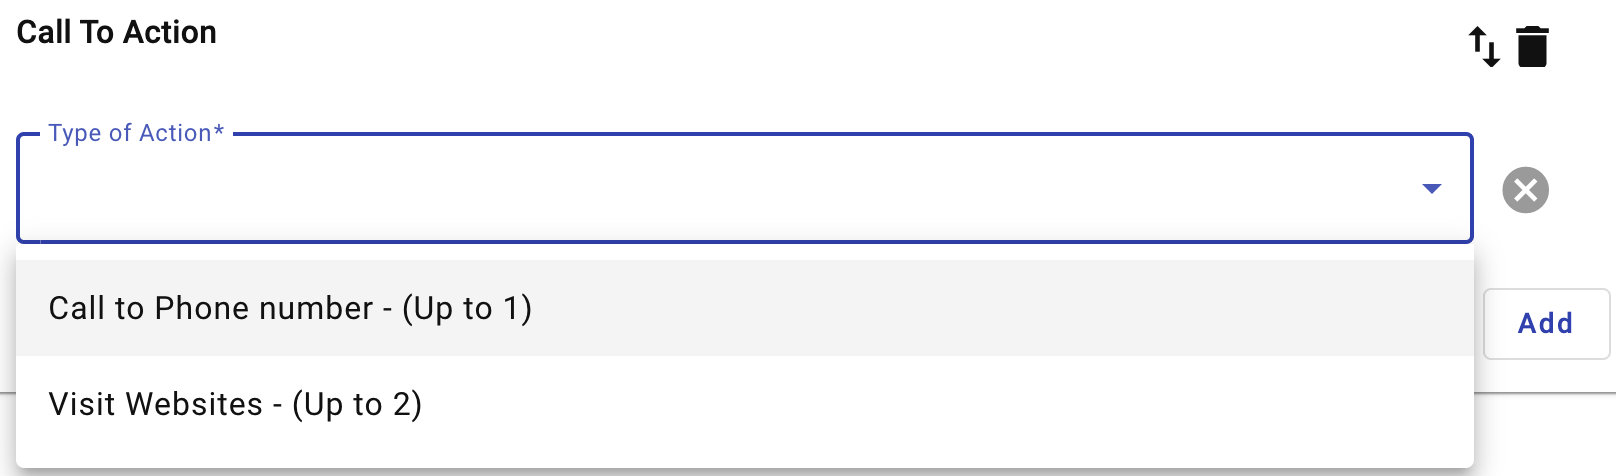
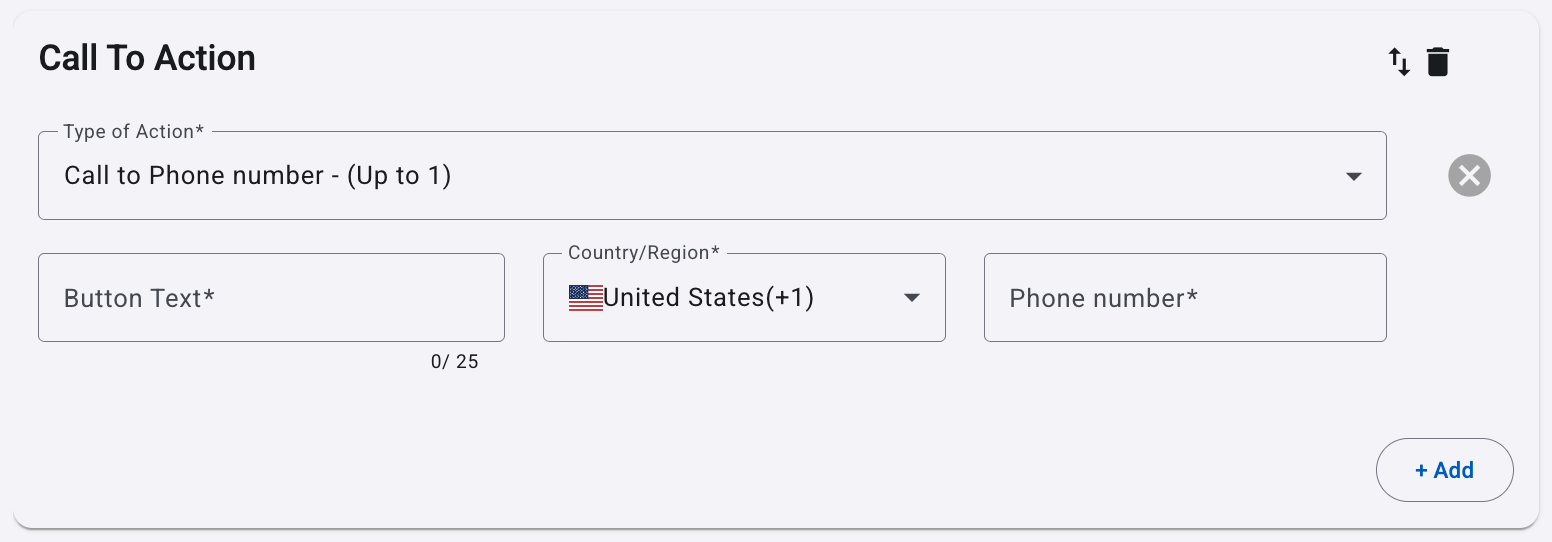
Call to Phone Number — Recipients can call a configured phone number from the WhatsApp message. You can add one phone-number button per message template.
-
Button Text: Enter the text that will appear on the button in the WhatsApp message. This text should be concise and indicate the action, such as "Call Now" or "Contact Us". The text field allows up to 25 characters.
-
Country/Region: Select the country code for the phone number.
-
Phone number: Enter the specific phone number that users will call when they click the button. Make sure the number is accurate and formatted correctly for the selected country.
Only one "Call to Phone Number" button is permitted per message template. If you try to add another, the system will prevent it.
Visit Websites — Directs recipients to a webpage. You can add up to two website buttons per message template.
Choose either a Static or Dynamic website button.
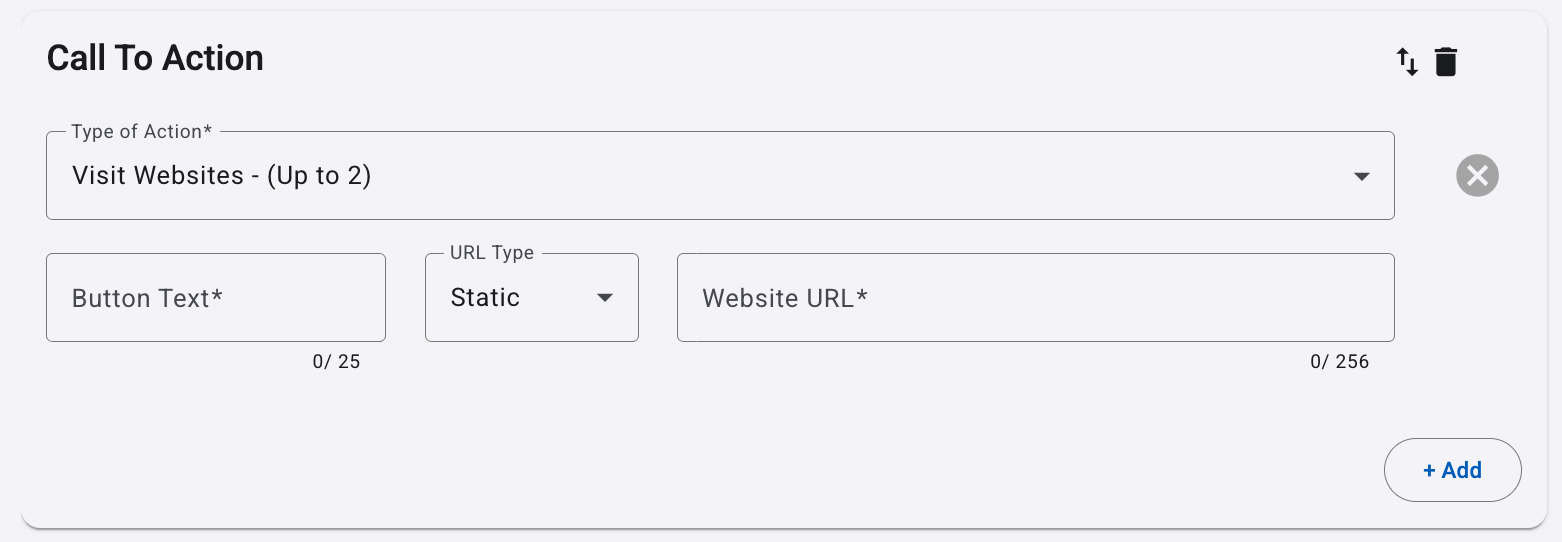
Static — Every recipient opens the same URL. For example, select Static and enter your homepage URL in the Website URL field.
-
Button Text: Enter the text that will appear on the button in the WhatsApp message. This text should be concise and indicate the action, such as "Visit Our Website" or "Learn more". The text field allows up to 25 characters.
-
URL Type: Select the Static URL type option from the dropdown menu.
-
Website URL: Enter the URL that users will be directed to when they click the button. Ensure that the URL is correct and active (e.g.,
https://elipackage.com). The URL should start withhttp://orhttps://to redirect the user to the website. The text field allows up to 256 characters.WARNINGWhatsApp does not allow direct links to WhatsApp in Call-to-Action buttons.
Call-to-Action buttons can only be used to open external websites. If you need to share a WhatsApp link (for example, a wa.me link), include it directly in the message body instead of using a button.
Example:
❌ Not supported (CTA button) - Using a Call-to-Action button with a direct WhatsApp link:
Button URL:
https://wa.me/XXXXXXXX✅ Supported (message body) - Including the WhatsApp link directly in the message body:
Message text: Chat with us on WhatsApp (
https://wa.me/XXXXXXXX)
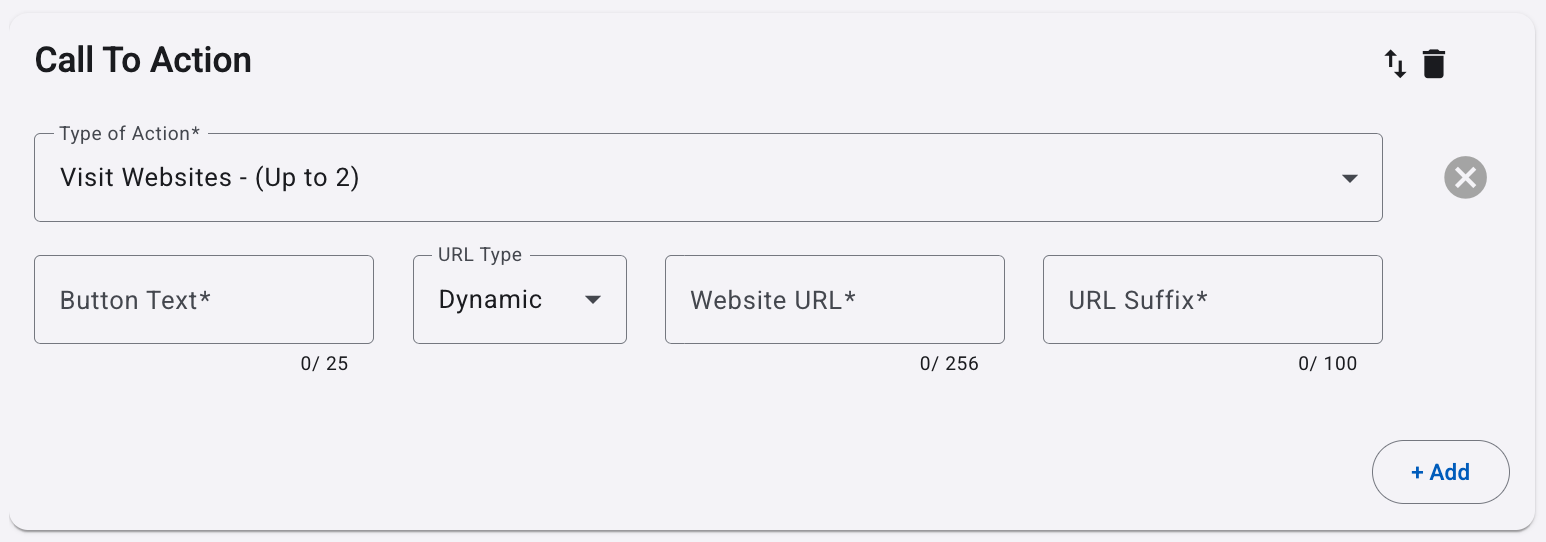
Dynamic — Customize the destination URL for each recipient with parameters. For example, append a unique identifier to direct recipients to personalized landing pages.
-
Button Text: Enter the text that will appear on the button in the WhatsApp message. This text should be concise and clearly indicate the action, such as "View Your Offer" or "Track Your Order". The text field allows up to 25 characters.
-
URL Type: Select the Dynamic URL type option from the dropdown menu.
-
Website URL: Enter the base URL where users will be directed. This is the primary website address without the personalized parameters (e.g.,
https://example.com/user). The URL should start withhttp://orhttps://. The text field allows up to 256 characters. -
URL Suffix: Select the URL Suffix field and add a placeholder for the dynamic URL portion. At send time, the platform replaces the placeholder with its value and appends it to the base URL. The suffix can include variables, such as
?userID=12345or&utm_campaign=sale2024. See Adding Variables to add a URL-suffix variable.
After entering the CTA details, select Add to add another CTA button.
- Configure a Quick Reply button. In the Button Type dropdown, select Quick Reply.
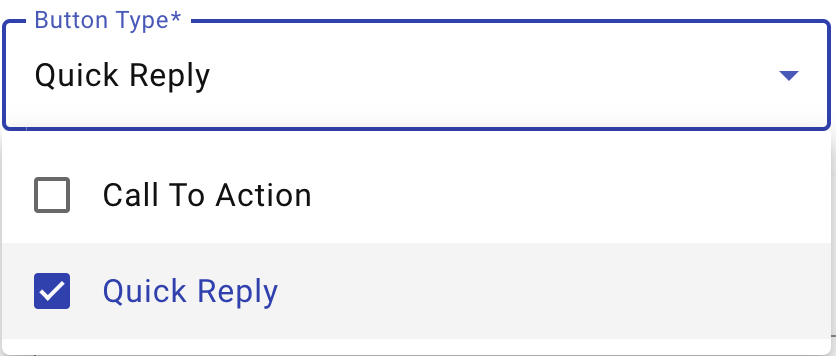
Quick Reply buttons let recipients choose from up to 10 predefined responses per message template.
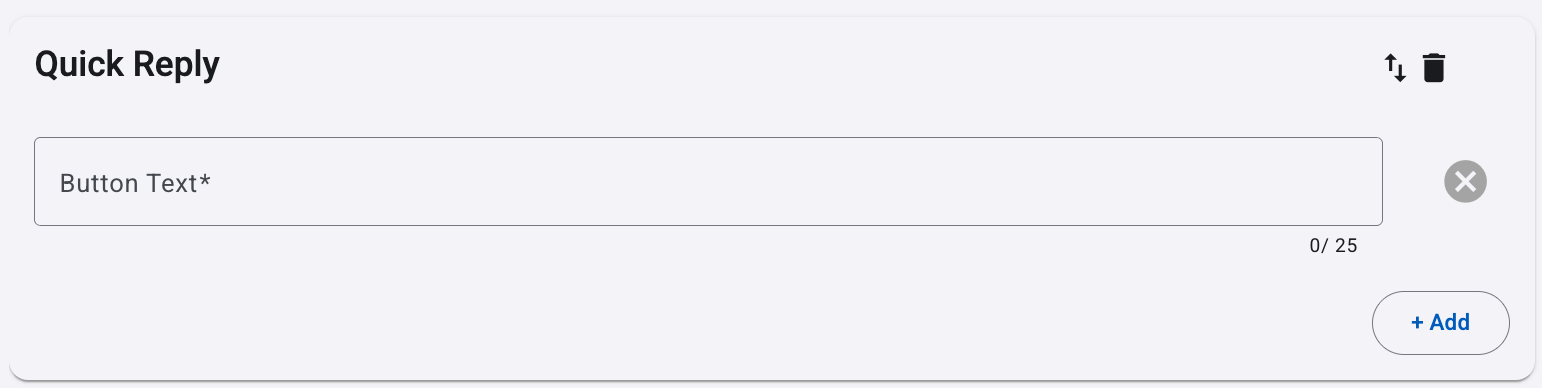
- Button Text: Enter the keyword or payload that recipients see and tap. Button text is limited to 25 characters. For example, enter
Track Orderto route recipients to a Chatbot automation configured with the same keyword.
After entering the Quick Reply details, select Add to add another Quick Reply button.
- Save the template. Select Save to create the message template. The template must be approved before you can use it to send messages.
WhatsApp can take up to 48 hours to review and approve a message template. During review, WhatsApp evaluates whether the template complies with its messaging policies and guidelines.
WhatsApp Template StatusOnce the WhatsApp message template has been created, Meta will assign a quality status to the WhatsApp message template, to know more about these status we recommend you go to the WhatsApp Message Template Quality Status section.
Click Tracking (buttons)
If a WhatsApp message template includes a URL-linked Call to Action or Quick Reply button, enable click tracking to monitor interactions with each button.
After you add at least one eligible button, the Click Tracking toggle appears at the top of the message template preview.
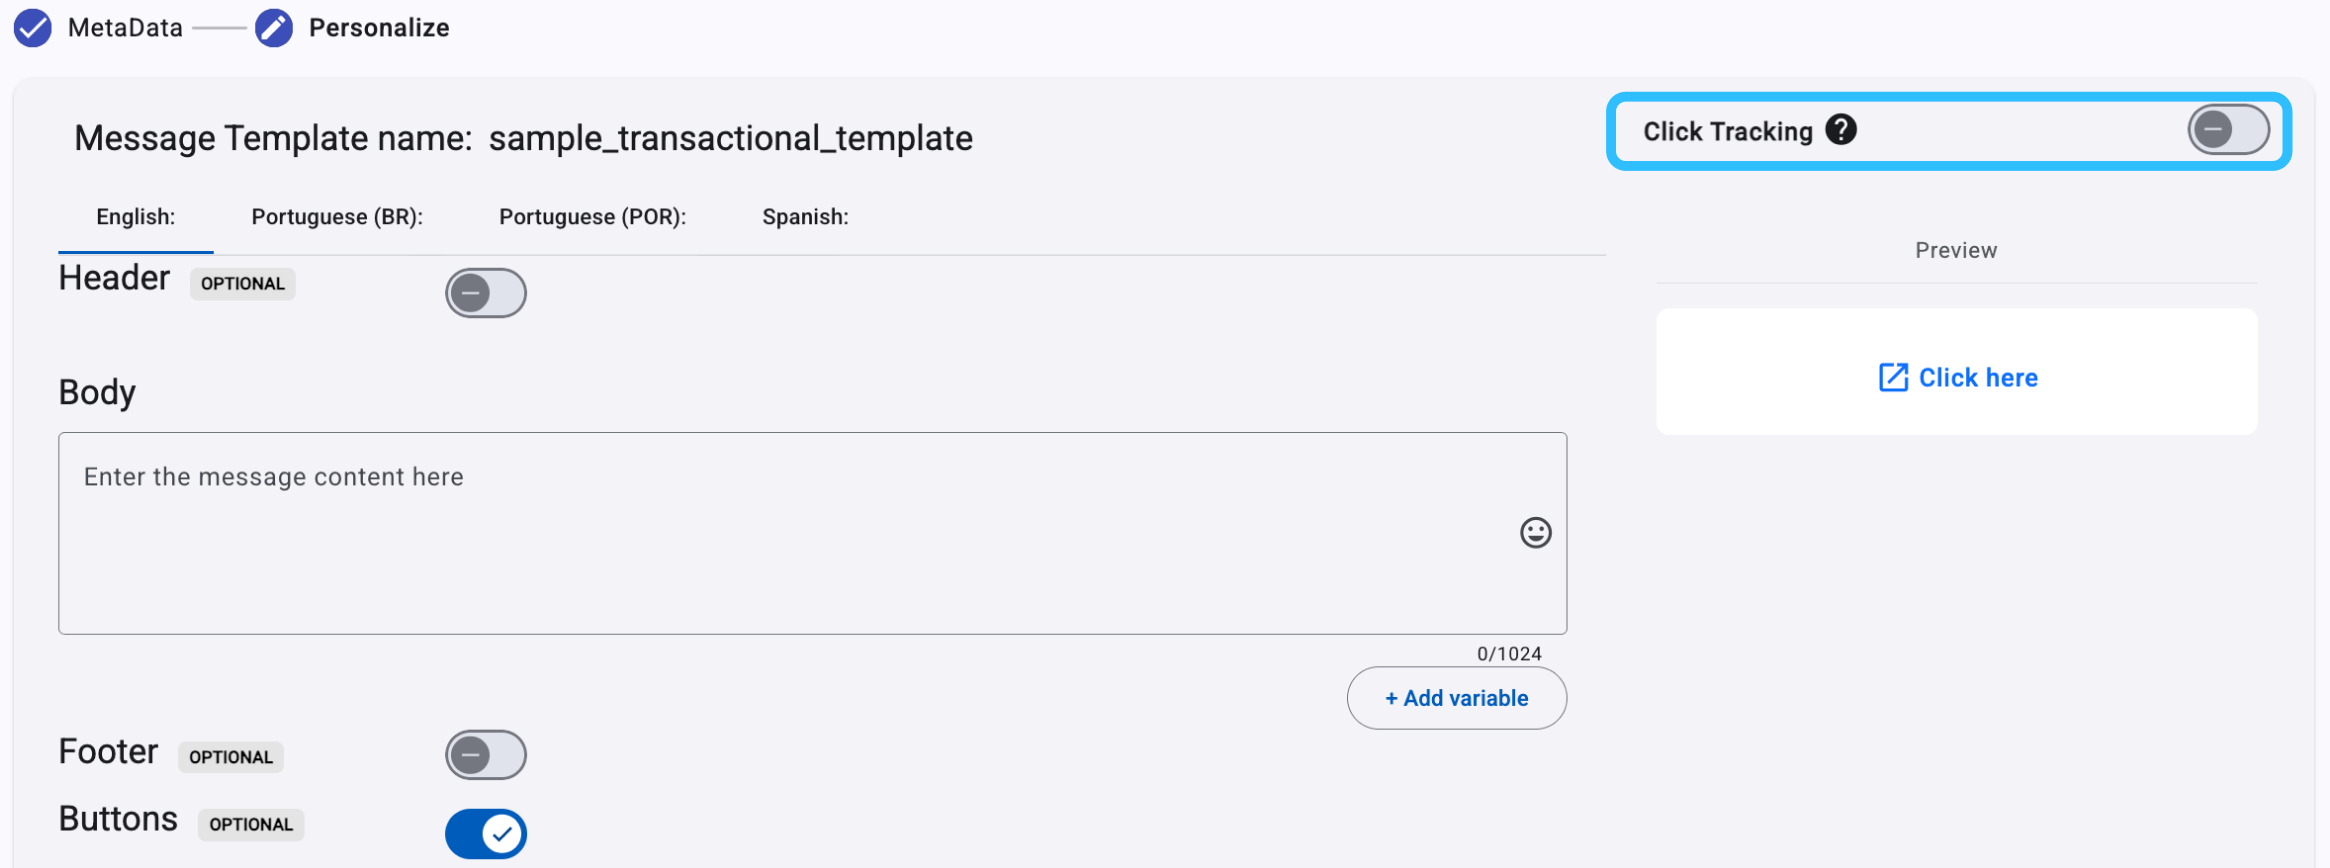
See Enabling Click Tracking for configuration instructions.
Updated 4 days ago