Scratch Card
The Scratch Card game is an interactive reveal campaign where users scratch a digital card to uncover a hidden prize or message. Unlike other reveal games, users only need to scratch one area to reveal the result, making it a fast and engaging experience.

In the Reveal Content section, select Scratch Card from the dropdown list.
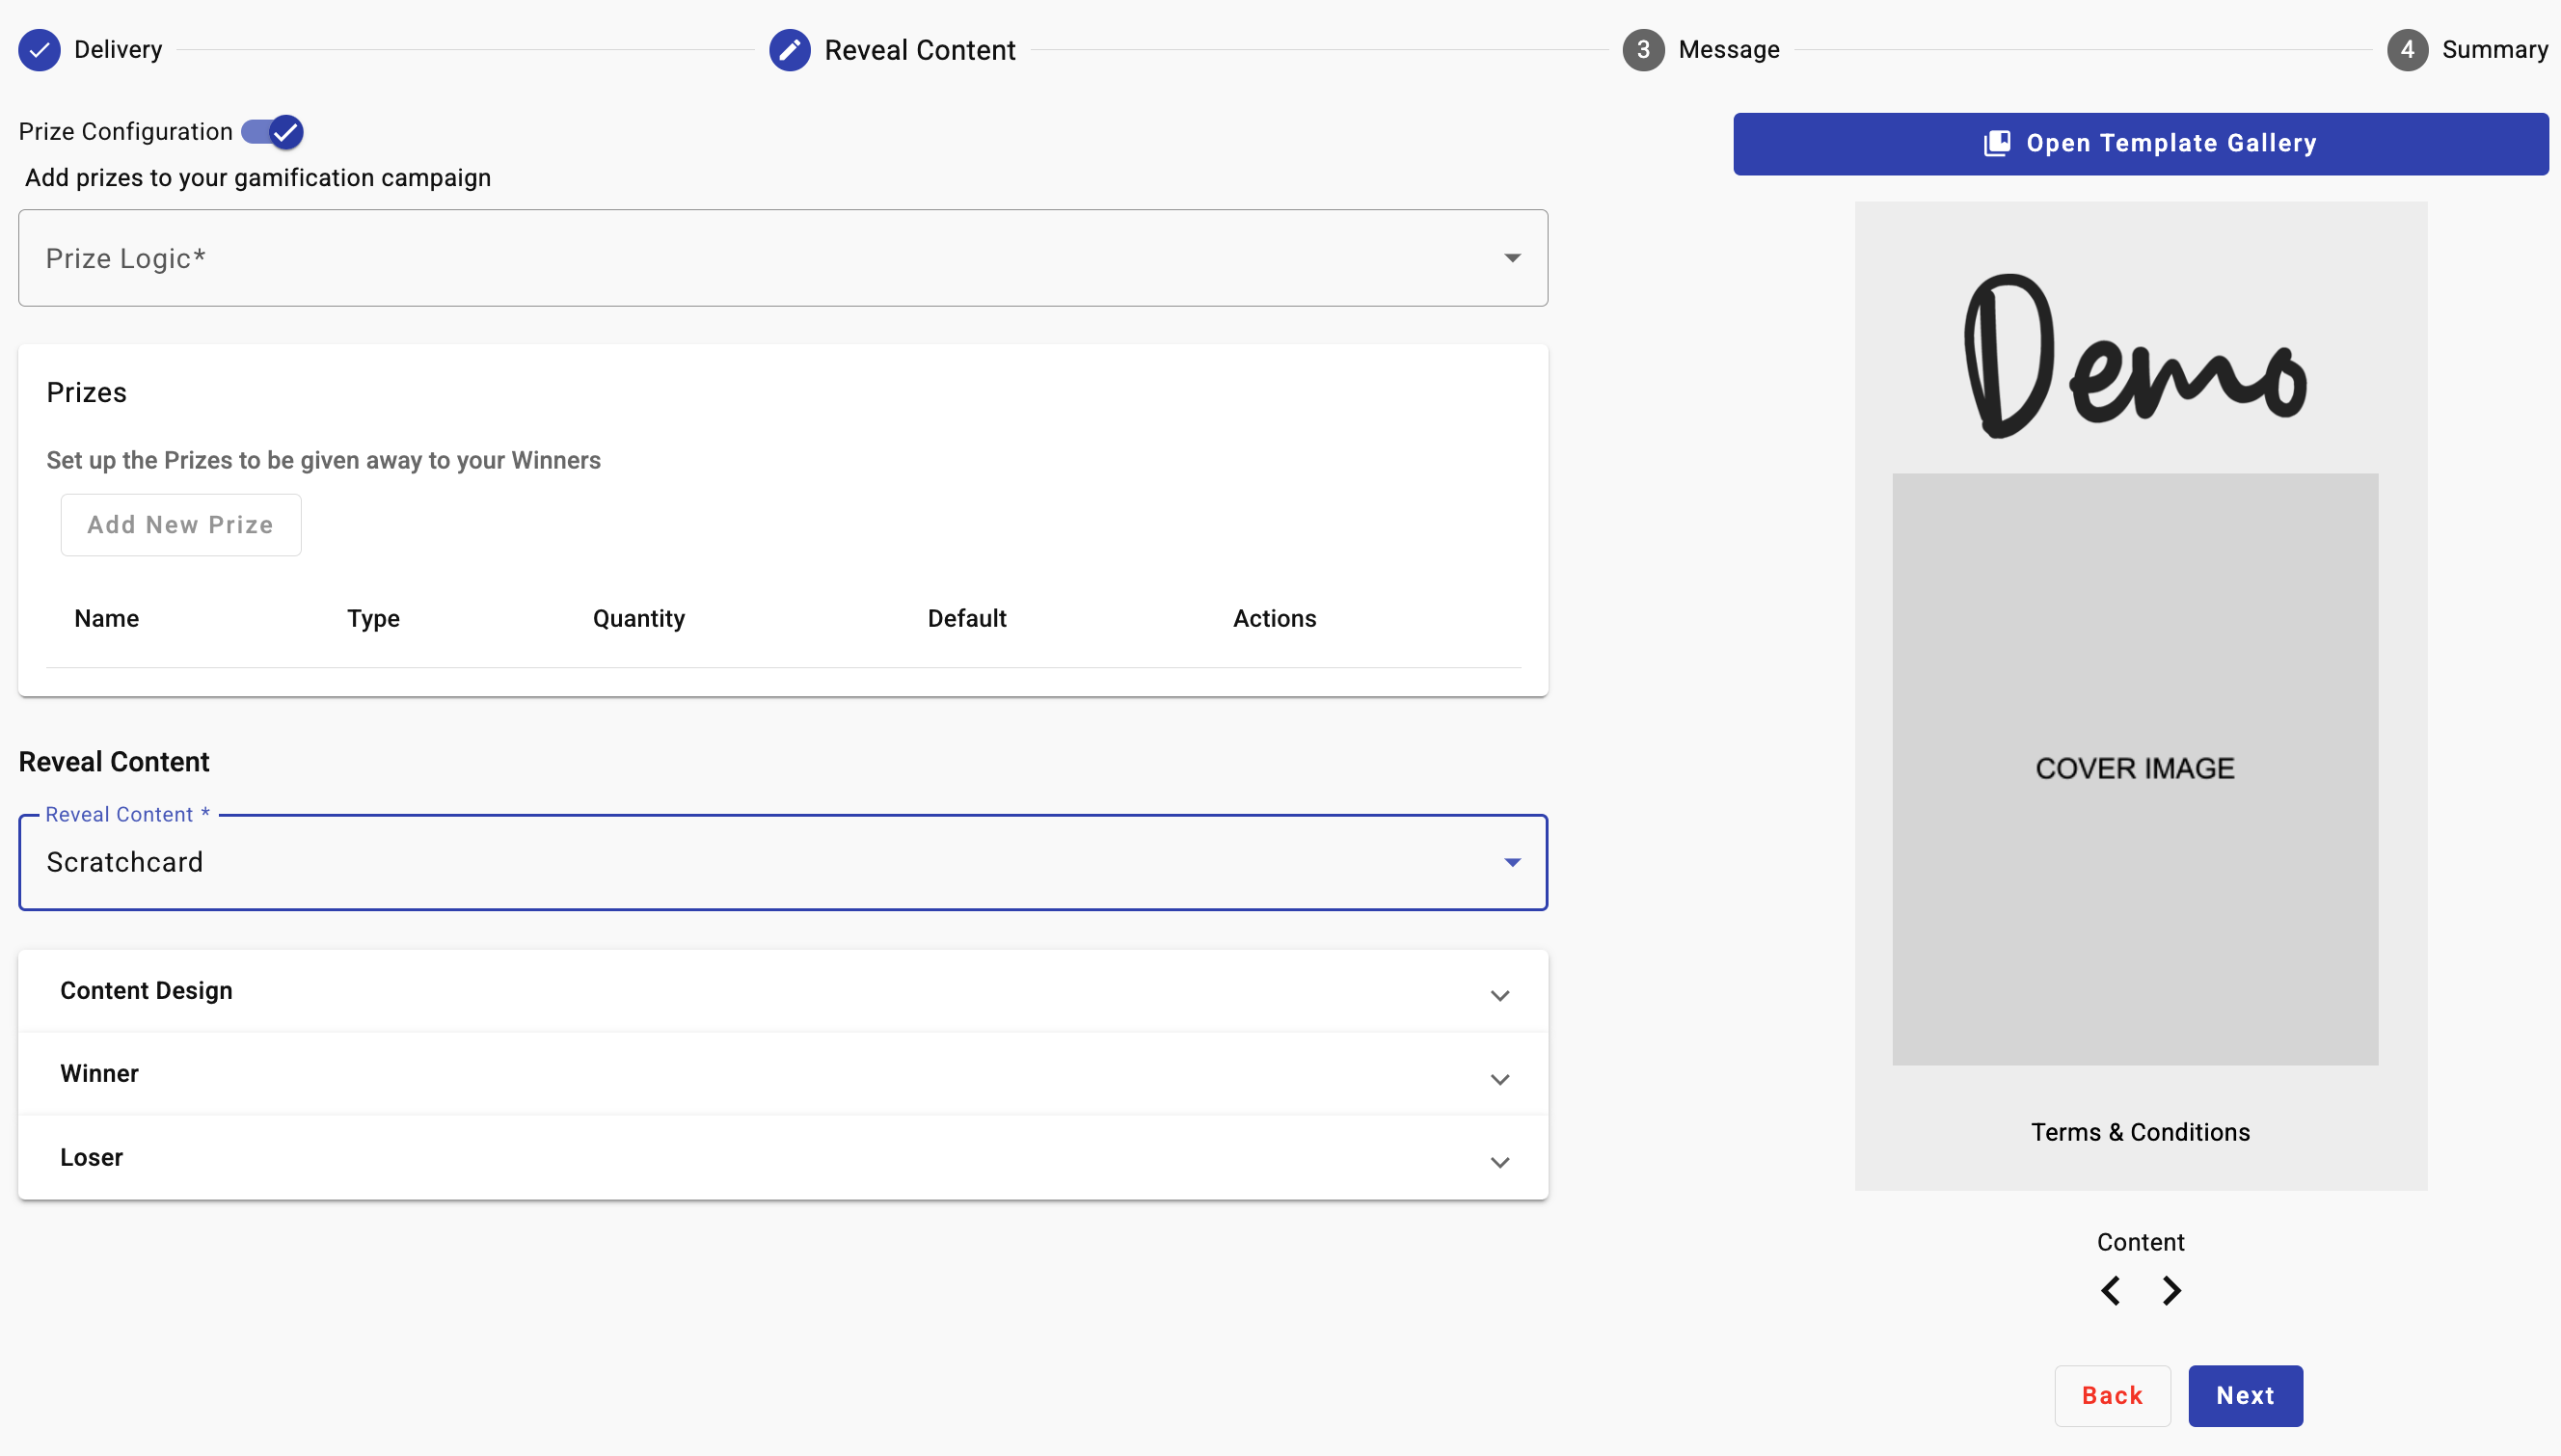
Once selected, the Reveal Content step will be divided into three sections:
- Content Design - Configure the look and feel of the game.
- Winner - Customize the message for winning users.
- Loser - Configure the experience for users who do not win.
In the following Reveal Content scratch card example, we mark out each content with their respective messages and colors.

Content Design
From the Content Design section, set the look and feel by defining the images and assets for the Scratch Card game and customize it to your branding.

The steps to configure the Content Design are the following :
-
Header Image: Drag & Drop the Header image to the specified area on the screen or click the Browse Files button to select the image from the computer. This image will be displayed at the top on the content’s screen.
-
Background Color : Choose a Background Color for the game screen using the Color Picker.
-
Cover Image: Drag & Drop the Cover image to the specified area on the screen or click the Browse Files button to select the image from the computer. The Cover Image represents the scratchable surface that users will scratch away.
-
Scratch Reveal: Enter the percentage of the card that must be scratched before revealing the prize. For example, if set to 100%, users must scratch the entire card to reveal the content.
-
Footer Content: To personalize the footer content of the game, select the Footer Content toggle.

To personalize the footer content, select the Add Action Link button. Once selected, the following Dialog will appear to select the desired action link.
Enter a Content Name (e.g., "Learn More" or "Visit Store") and select the desired action link by selecting the dropdown.

Click Add Action Link dropdown and choose one of the following options:
-
URL : Redirects users to a website. Select the URL option to add a link footer to the game.
The player selects the name of the footer you defined. Once selected, he will be redirected to the link you entered in the URL Link* text field.
-
Email : Opens the user's email app with a predefined email address. Select the Email option to add an email footer to the game.
The player selects the name of the footer you defined. Once selected, he will be redirected to the email you entered in the Send Email* text field.
-
Call : Allows users to call a predefined phone number. Select the Call option to add a phone number footer to the game.
The player selects the name of the footer you defined. Once selected, he will be redirected to the phone number you entered in the Phone number* text field. That is, if the player selects the content footer, he will call the phone number you defined.
-
Navigator Address: Redirects users to a physical location on maps. Select the Navigator Address option to add an address footer to the game.
The player selects the name of the footer you defined. Once selected, he will be redirected to the address you entered in the Search Address text field.
Once you have selected the desired Action Link, select the Save button, and the content name will be displayed in the Footer Content Editor.
In the Footer Content Editor, you can personalize the content by selecting the Bold and Cursive format or change the Footer Text Color by clicking on the Color Picker.

To change the content footer, delete the Content Name from the Footer Content Editor. Then select the Add Action Link.
-
Winner
The Winner section defines what happens when a user successfully breaks the ice and wins a prize. Configure the Winner screen to be displayed if the player gets the revealed prize from any of the Reveal Content games.

In the following Reveal Content games example, we mark out each winner's side images with their respective messages and colors.

The steps to configure the Winner Screen are the following :
-
Header Image: Drag & Drop the Header Image or click Browse Files to upload. This image will be displayed at the top on the winner’s screen.
-
Background Color: Choose a Background Color to make the winner's screen visually appealing.
-
Claim Button: Toggle Claim Button ON to allow users to claim their prize. Customize the Button Text, Button Text Color, and Button Background Color.
-
User Consent: Toggle User Consent ON to require users to accept Terms & Conditions before claiming their prize.
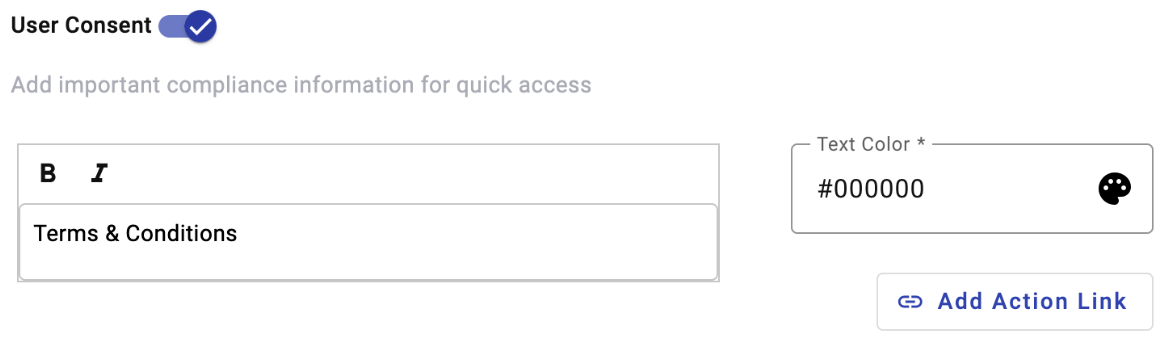
To personalize the content of the Terms & Conditions, select the Add Action Link button. Once selected, the following Dialog will appear to select the desired action link.

Click Add Action Link dropdown and choose the following option:
- URL - Choose a URL and enter the link to your Terms & Conditions page. For example, the player selects the name of the Terms & Conditions you defined. Once selected, he will be redirected to the link you entered in the URL Link* text field. The terms & conditions for claiming the price will be found in the URL.
Once you have selected the desired Action Link, select the Save button, and the content name will be displayed in the User Consent Editor.
In the User Consent Editor, you can personalize the content by selecting the Bold and Cursive format or change the Text Color by clicking on the Color Picker.
Loser
From the Loser section, configure the Loser screen to be displayed if the player doesn't get the revealed prize from any of the Reveal Content games.

In the following Reveal Content games example, we mark out each loser's side with their respective messages and colors.

The steps to configure the Loser Screen are the following :
-
Header Image: Drag & Drop the Header image to the specified area on the screen or click the Browse Files button to select the image from the computer. This image will be displayed at the top on the loser’s screen.
-
Loser Message (Optional): To display a custom message for non-winners, select the Loser Message checkmark.
Set the color of the Background, Button Text, and Button with the color selectors by using the Color Picker, and type the desired message for the loser with its respective message color.

-
Loser Image (Optional): To display a loser image instead of a text message, select the Loser Image checkmark.
Click the Browse Files button to select the image from the computer. This image will be displayed at the center on the loser’s screen.

- Redirect: Toggle Redirect ON if you want to send non-winners to another page after the game. Once you have activated the Redirect toggle, enter the redirect delay time in seconds and the redirect URL. This feature is useful for redirecting users to a discount page or a second-chance offer.
Updated 2 months ago