Integrations
Review available third-party integrations and open the Integrations window to add one to your customer interaction flow.
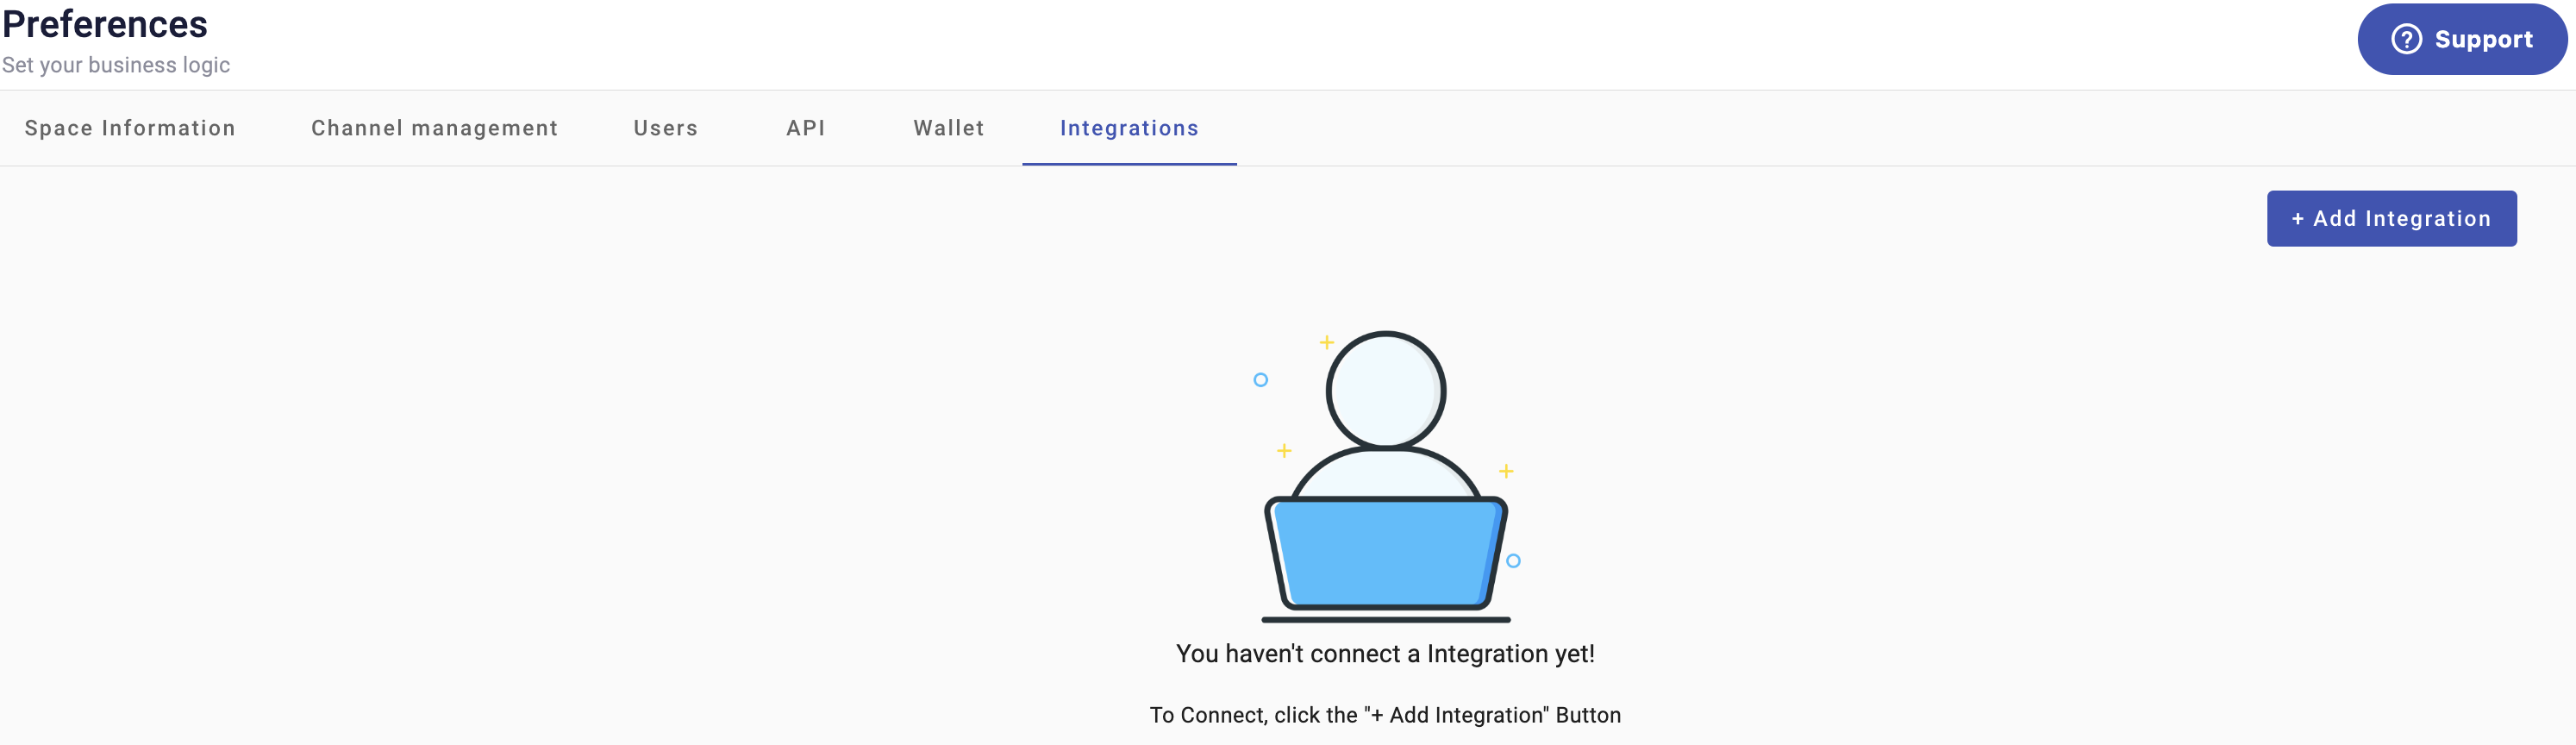
The pane is empty until you add an integration.
Add an integration
- In Preferences, open the Integrations tab.
- Select +Add Integration to open the Integrations window.
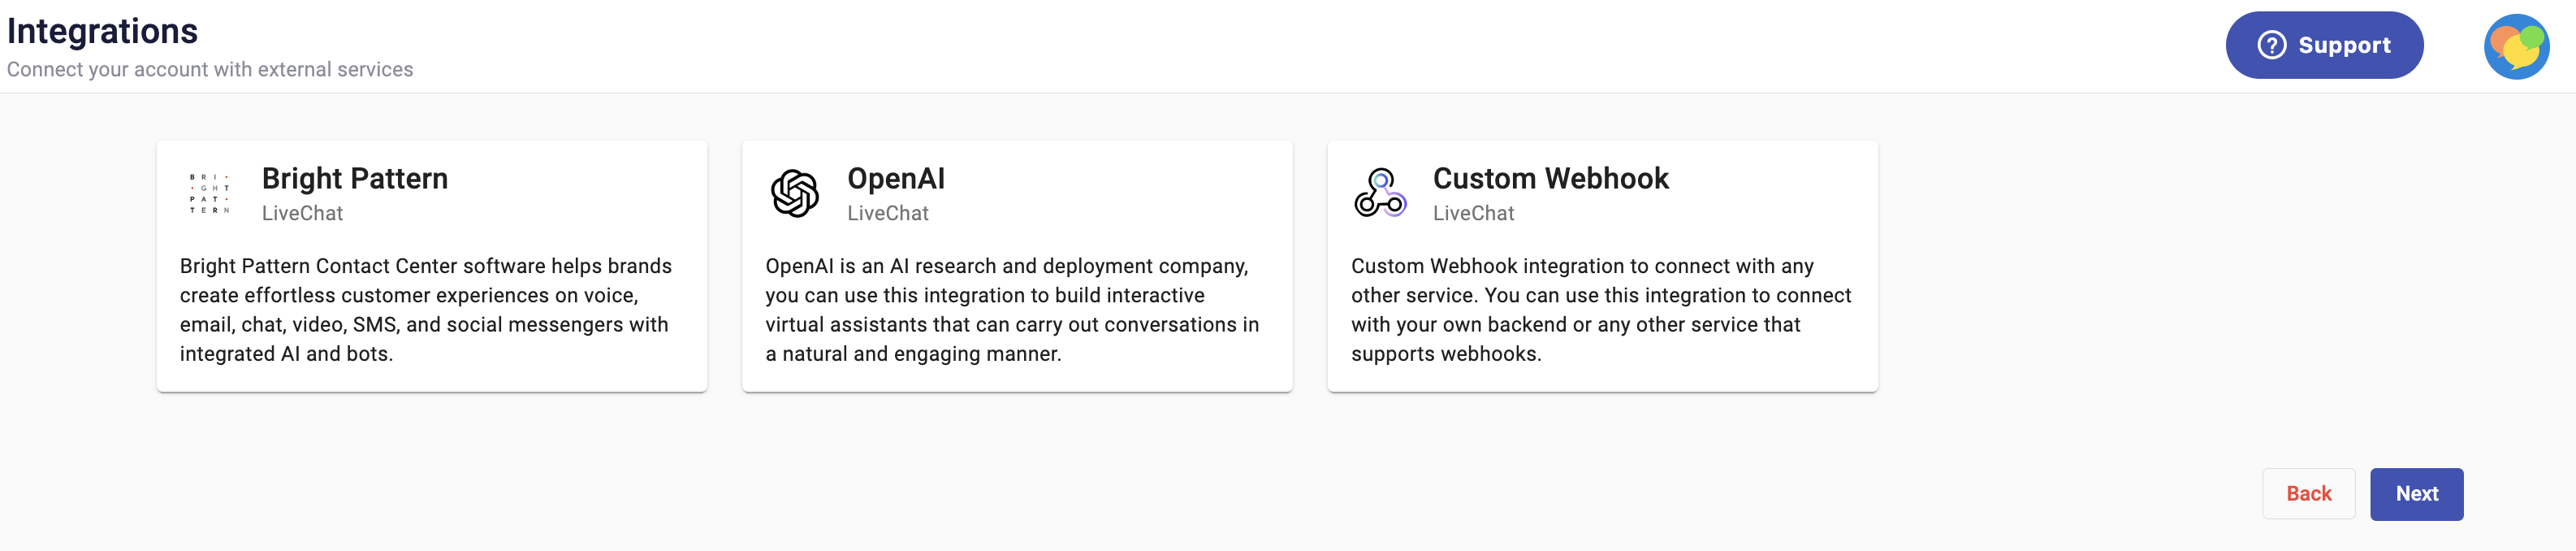
- Review the available integration options.
Available options include Slack Integration, Bright Pattern, OpenAI, and Custom Webhook. Additional options appear in this window when they become available.
Updated 1 day ago