Integrate Chatbot with Live Chat
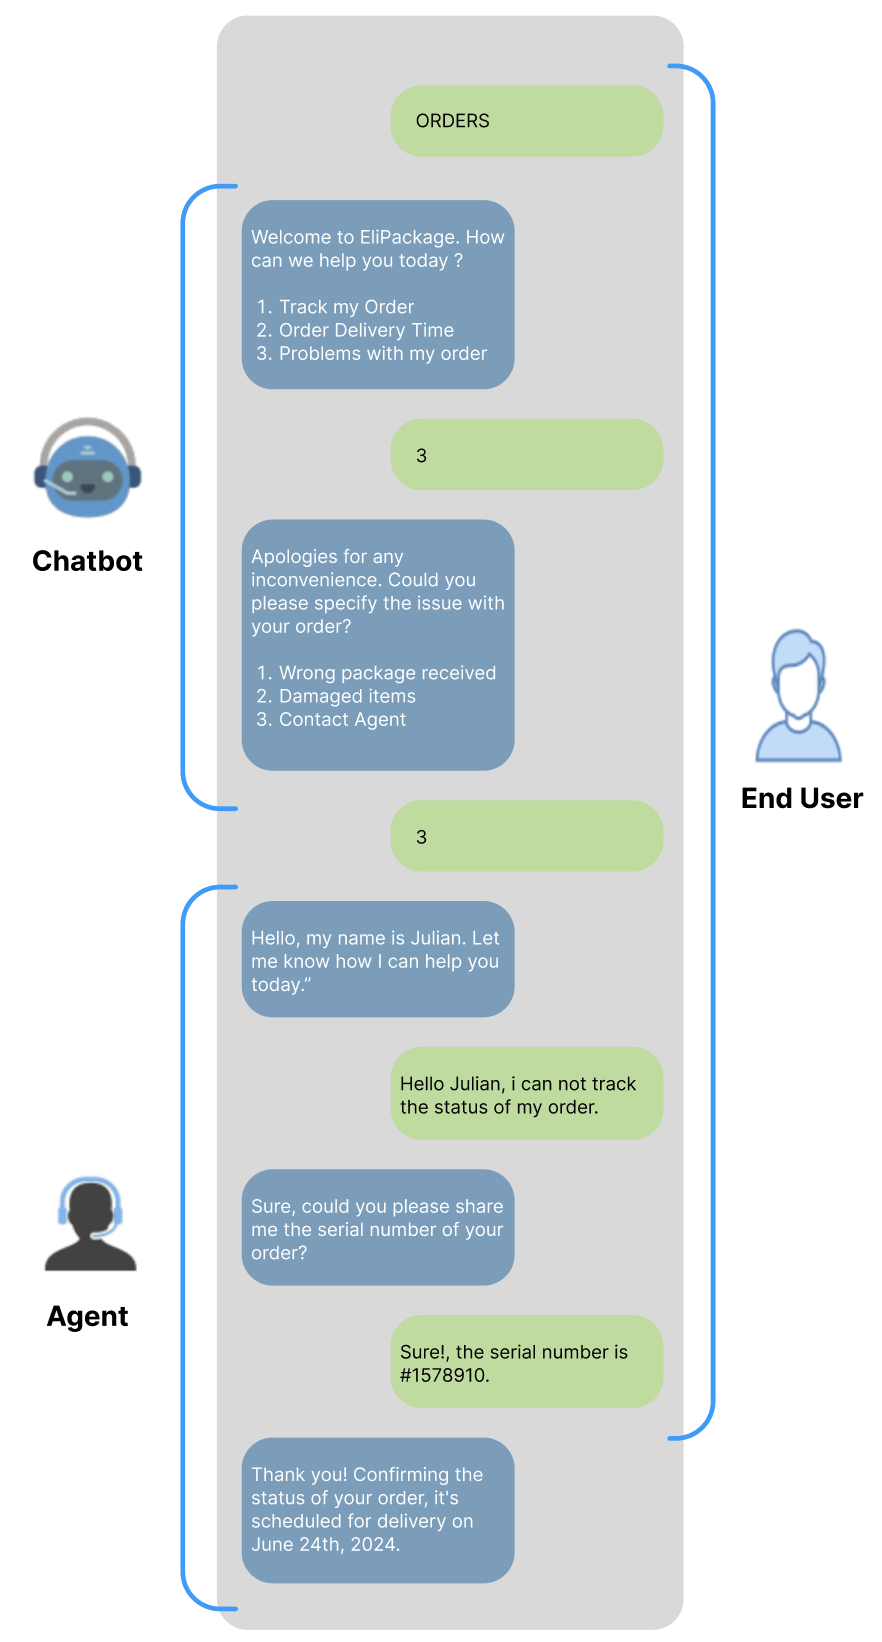
In this scenario, we'll explore the process of creating, building, and deploying a chatbot that connects to the Live Chat feature, as illustrated in the image below:
Let's follow the example provided above.
To start, it's essential to establish communication between the chatbot and the end user. This involves initiating a Chatbot automation as our initial step. The steps to accomplish this are the following:
-
Click on the +New Automation icon from the Navigation sidebar menu. Enter the automation name and select the Chatbot option.

-
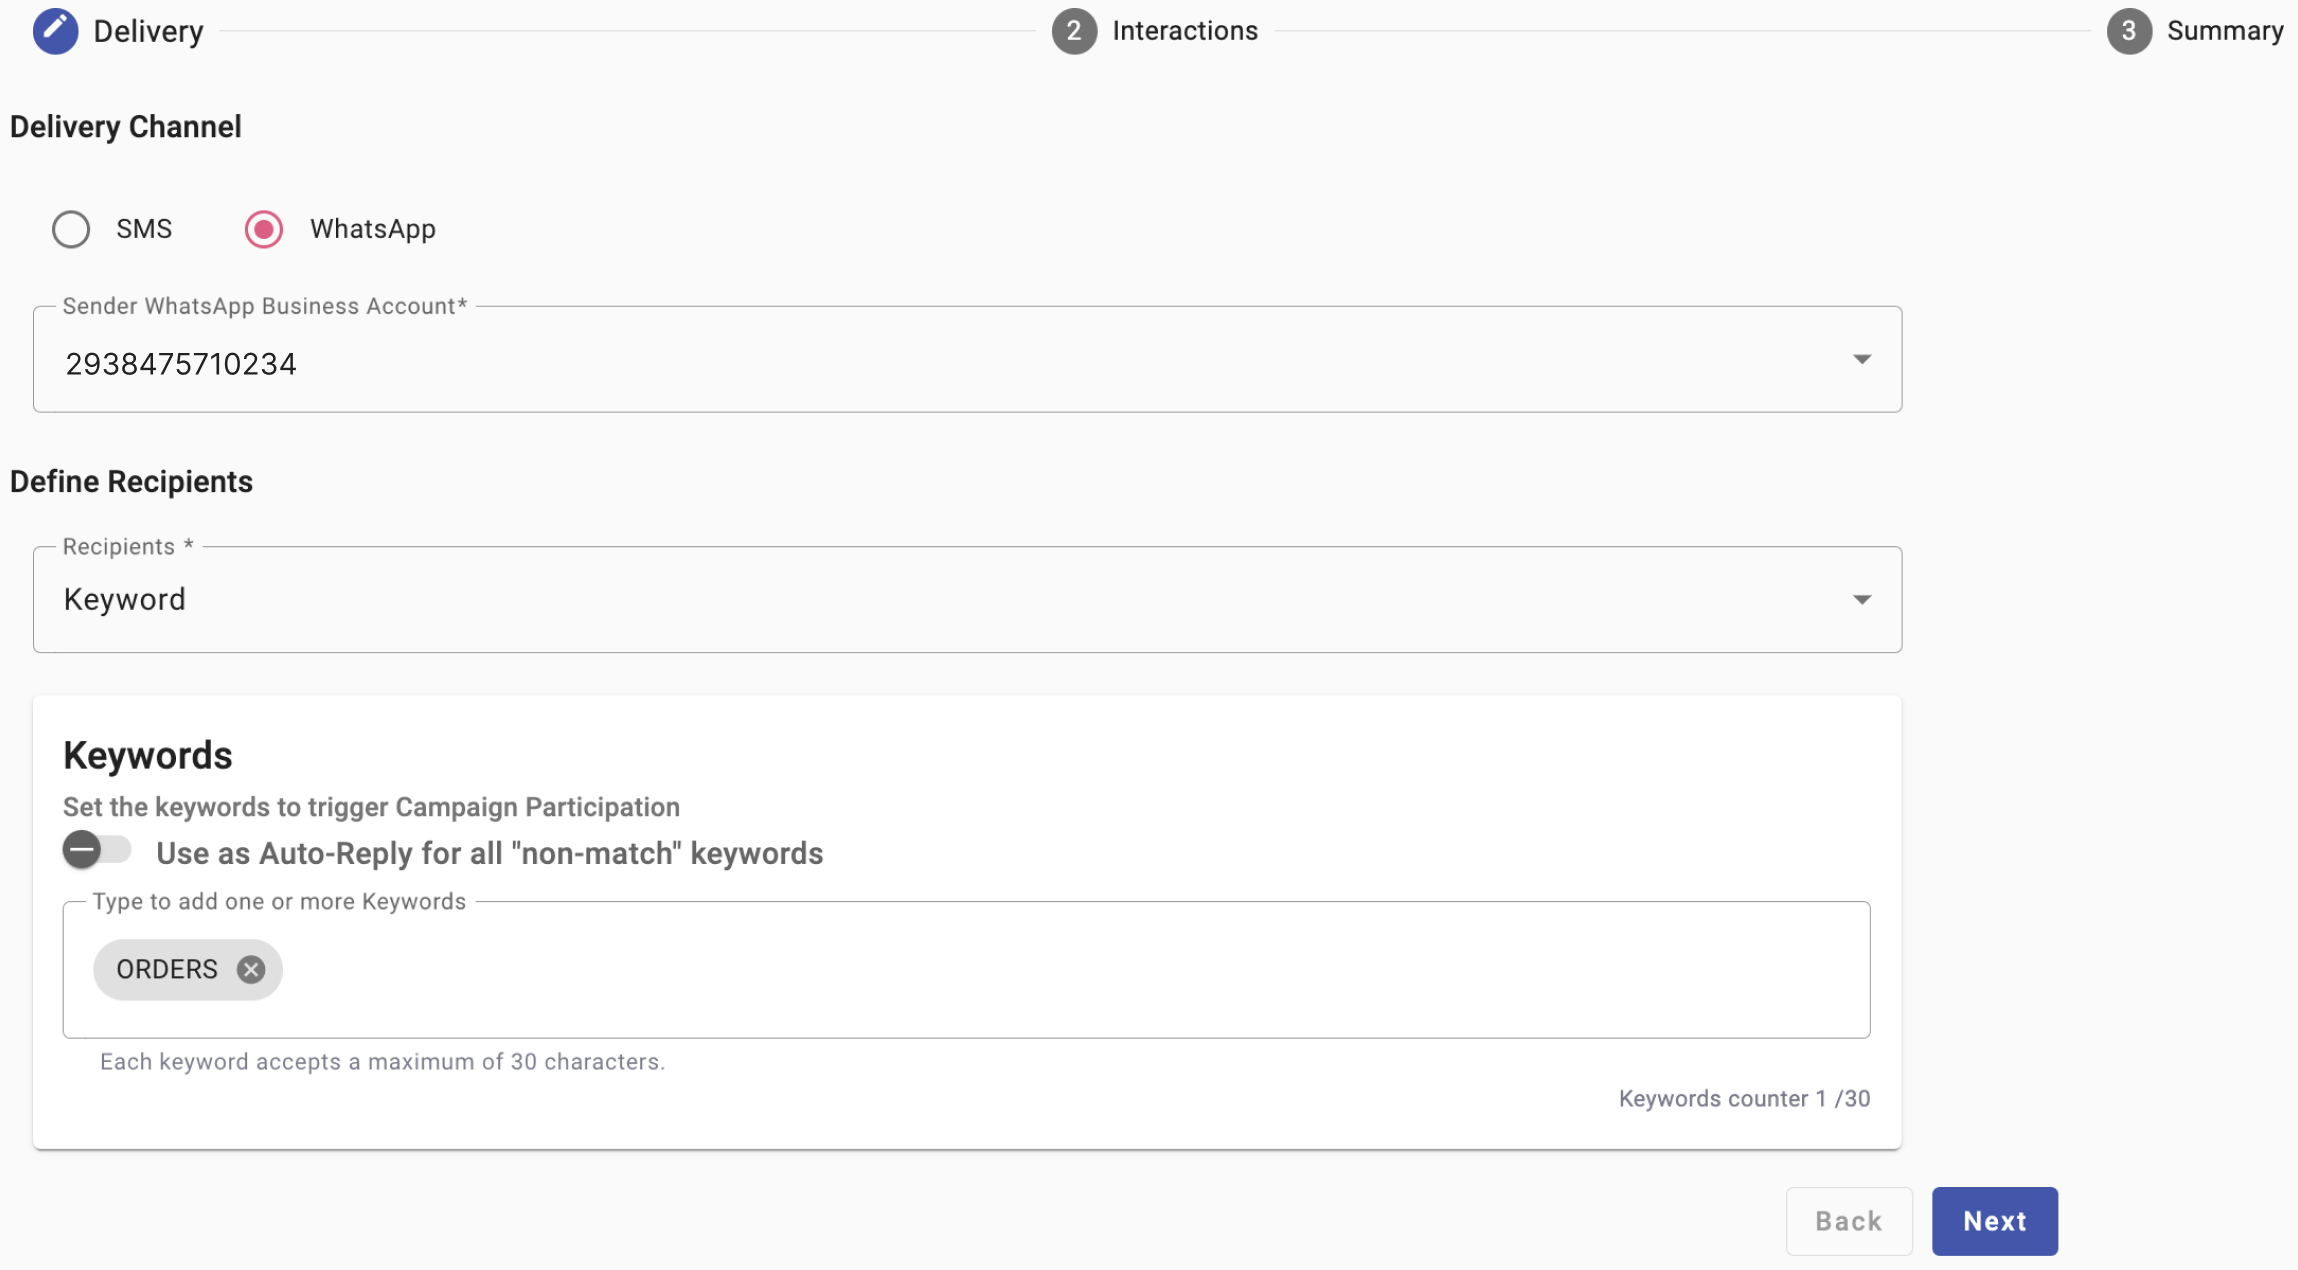
Choose the channel through which the end user will engage with both the chatbot and the agent. In this example, the communication will take place via WhatsApp.
Type one or more keywords to trigger the chatbot. In this example, we type the “ORDERS” keyword. Click the Next button.
-
Here (Interactions section), we are going to design and create the chatbot script and set up its flow.
From the Welcome Message, insert the greeting that the user will receive once the service is invoked by entering the keyword we set from the previous step. It also represents the starting point of the hierarchical decision tree.
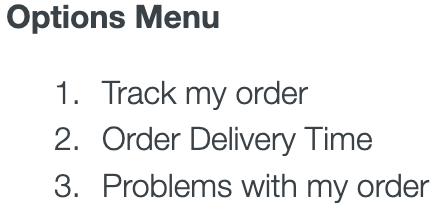
By following the example, we enter the next WhatsApp message along with the options menu.
Welcome Message: “Welcome to EliPackage. How can we help you today?”
For this example, selecting the menu option "Problems with my order" will redirect users to Interaction 1, while the remaining options will be redirected to Interaction 2.

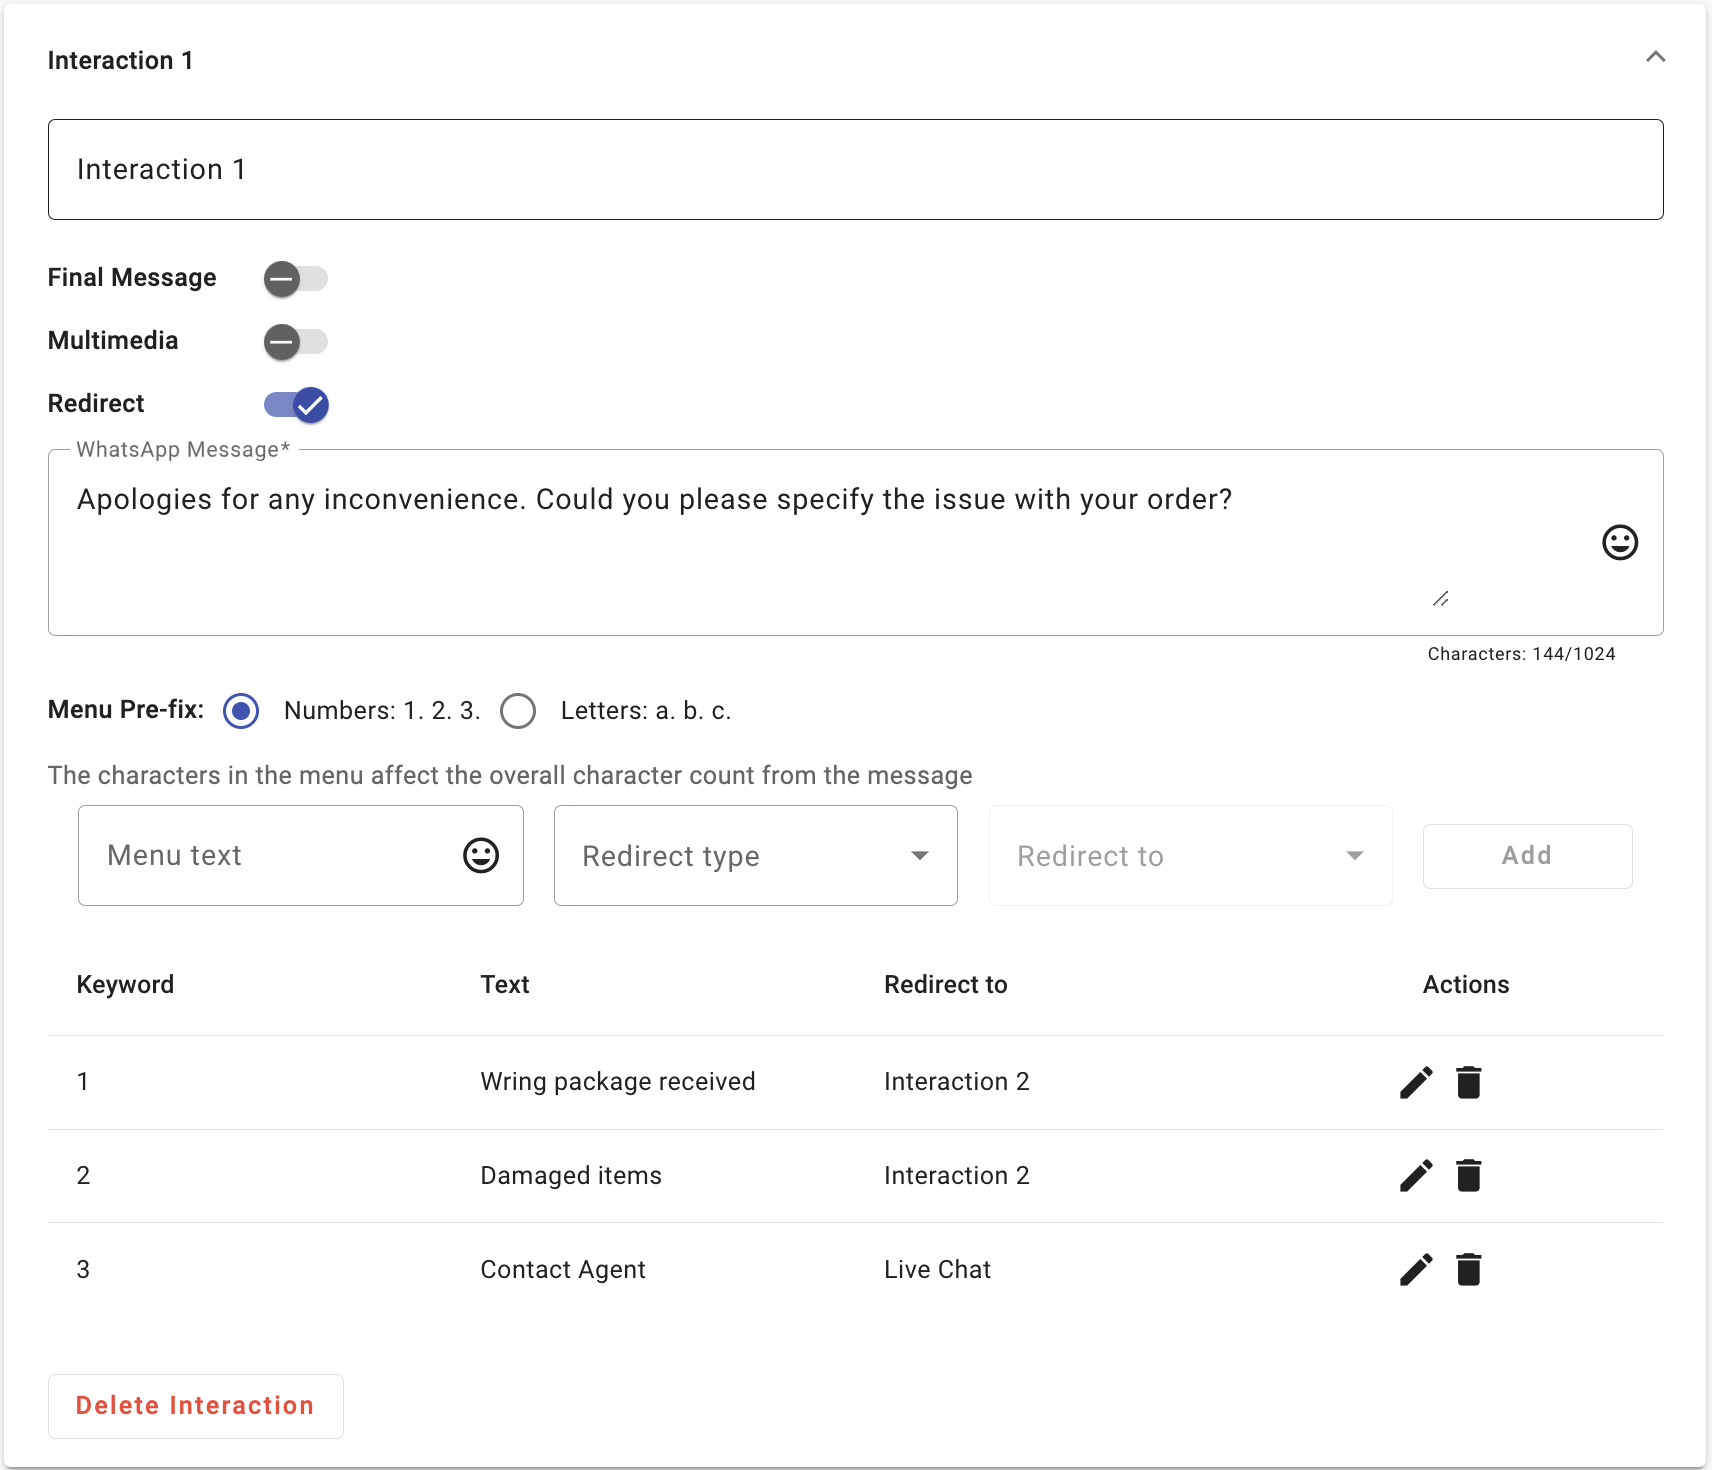
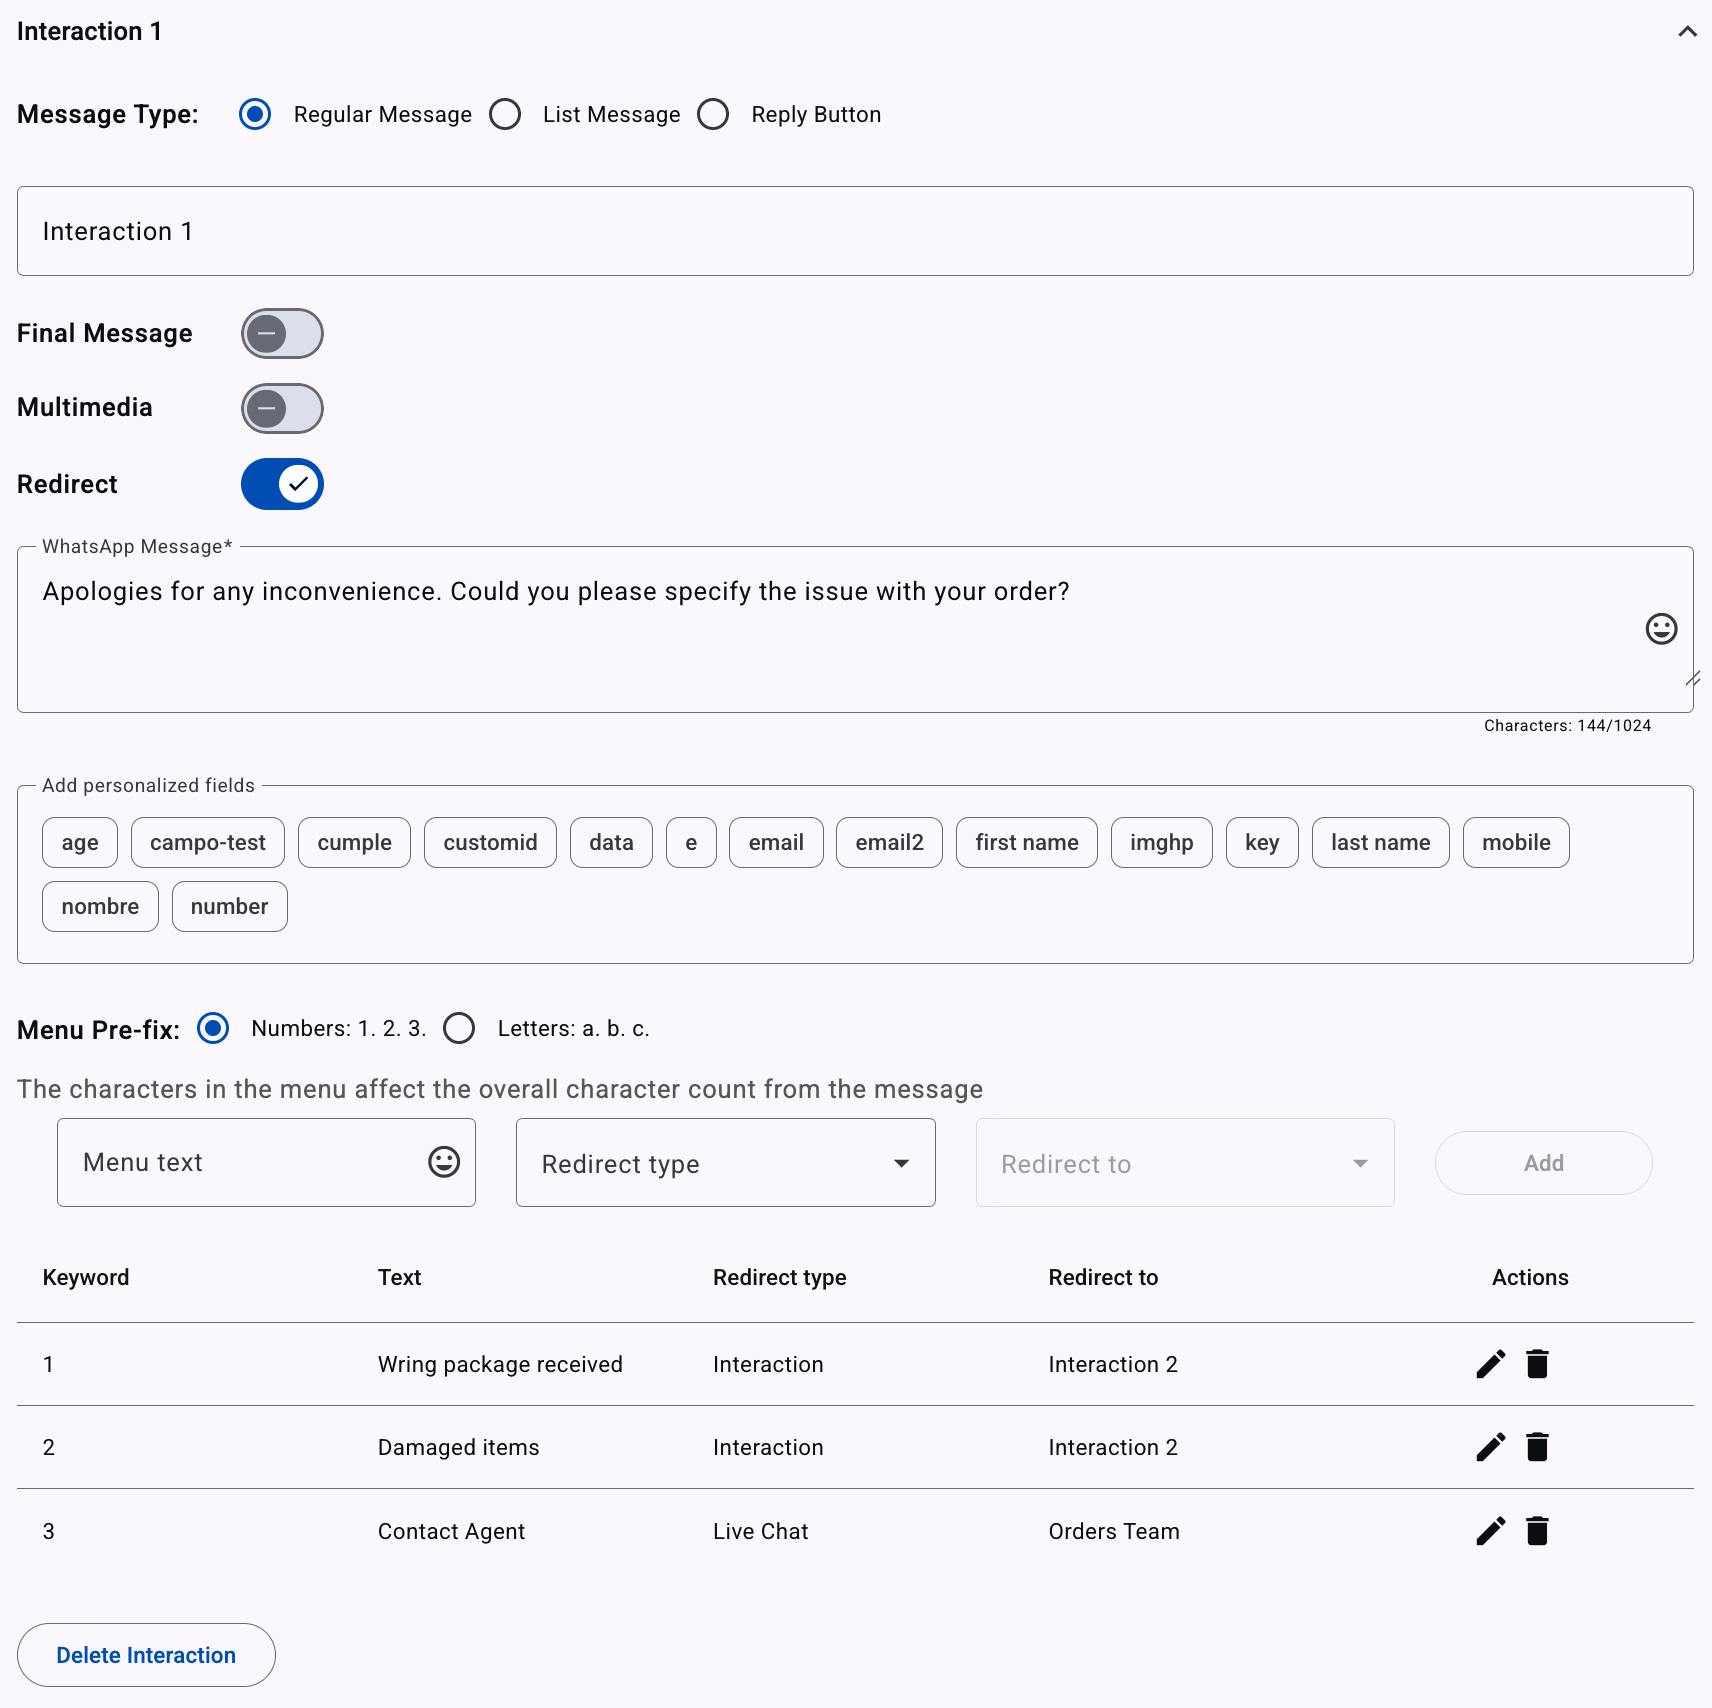
From the Interaction 1, type the WhatsApp message along with the menu options that will be available in case the end user selects the menu option “Problems with my order" from the welcome message.
WhatsApp Message: “Apologies for any inconvenience. Could you please specify the issue with your order?”

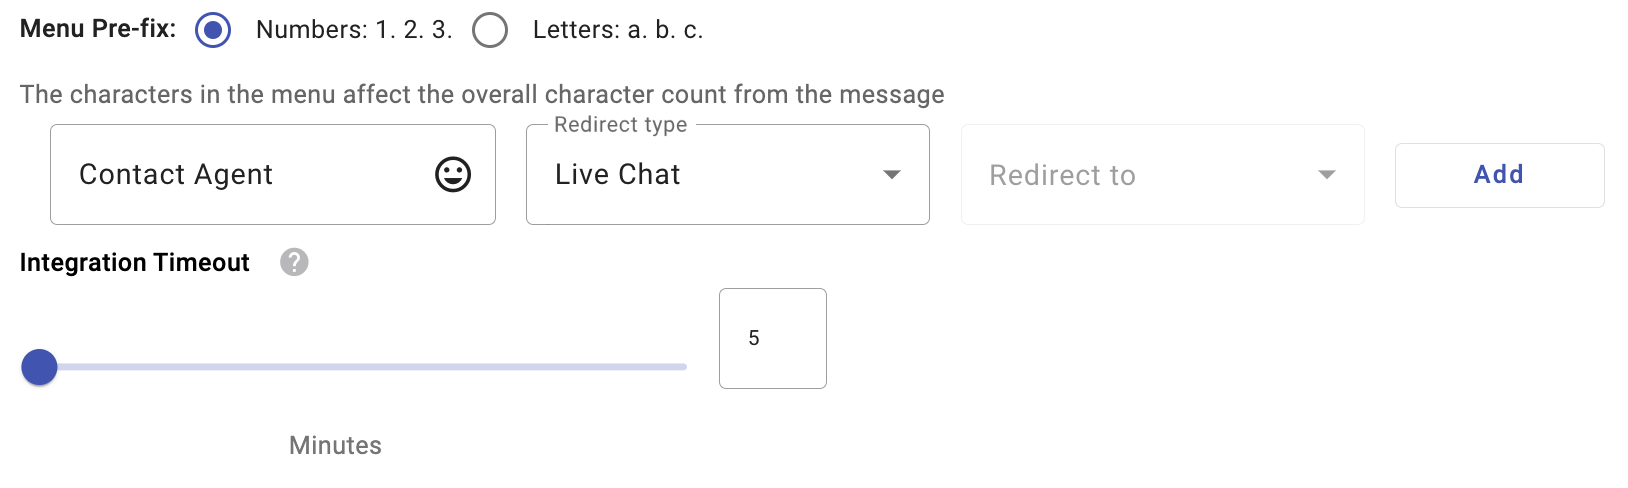
To redirect the end user to the agent that belongs to a specific team, for the menu option "Contact Agent", click on the Live Chat option located in the Redirect Type dropdown. Then, set the total minutes that must elapse due to inactivity. For example, if the end user selects option "3" to connect with the agent but doesn't respond to the agent within 5 minutes, the connection will be finished.
From the Redirect To dropdown, select the "Orders Team". All incoming conversations will be routed to the Orders Team.
For this example, selecting the menu option "Contact Agent" will redirect users to the agent that belongs to the Order Team, while the remaining options will be redirected to Interaction 2.
If the end user chooses an option that redirects to the interaction 2, the final message will be displayed. For it, activate the “Final Message” toggle.
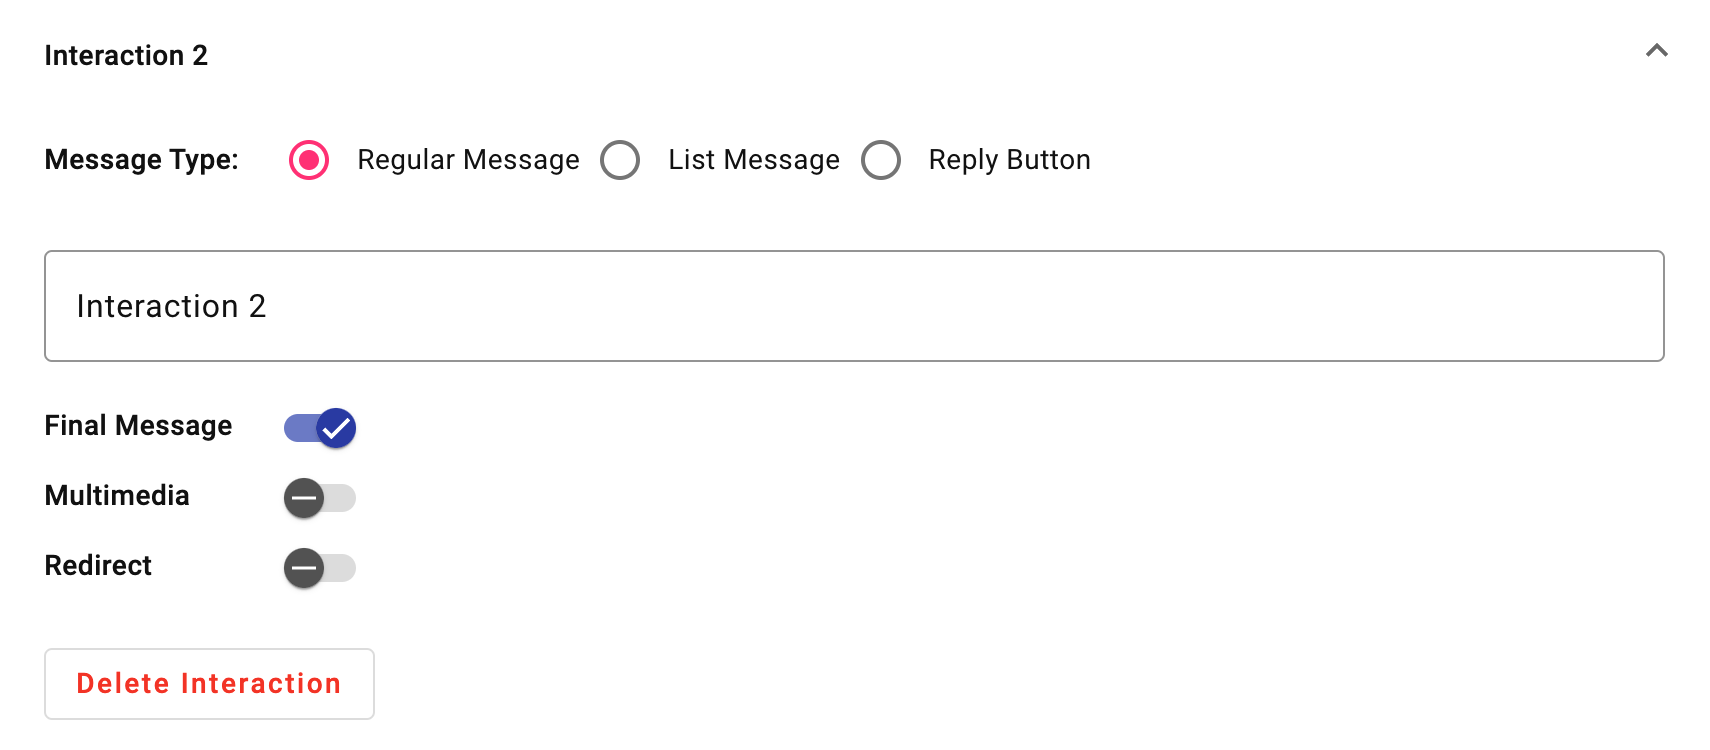
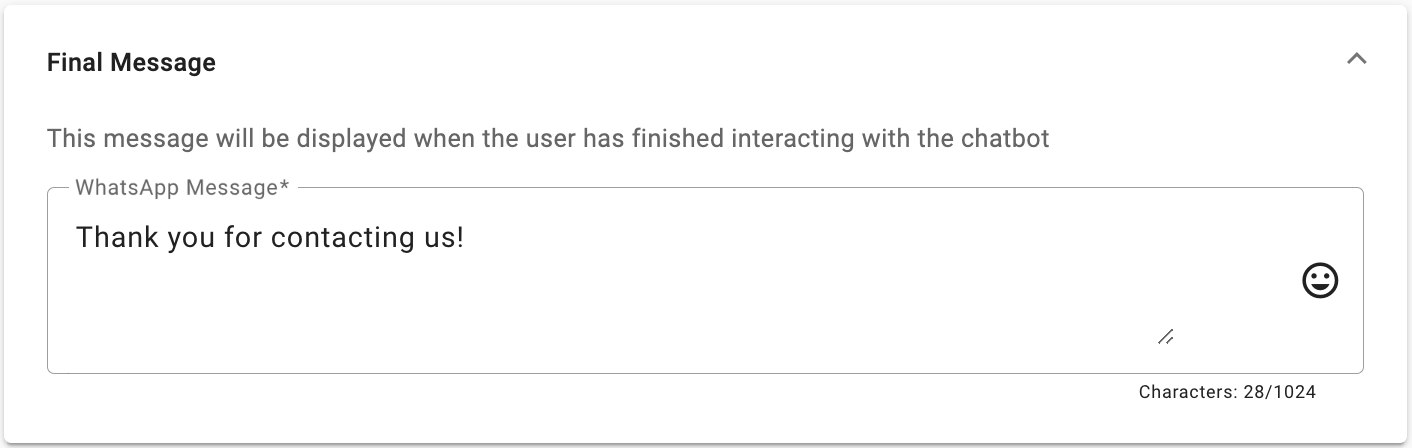
From the Final Message, define the message that will be displayed when the end user finishes interacting with the chatbot.
If the end user chooses an option that redirects to any automation, the final message will be displayed.
Final Message: “Thank you for contacting us!”
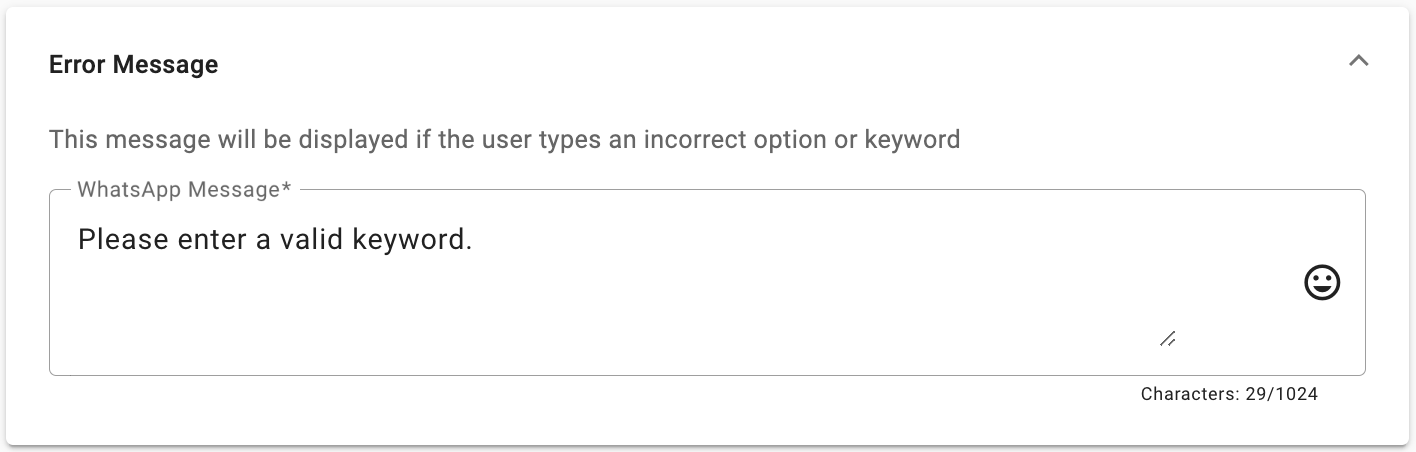
From the Error Message, define the message that will be displayed in case the end user enters a wrong option or keyword.
Error Message: “Please enter a valid choice.”
Once the Welcome Message, Interaction 1, Interaction 1, Final Message, and Error Message are defined, we proceed to click Next.
-
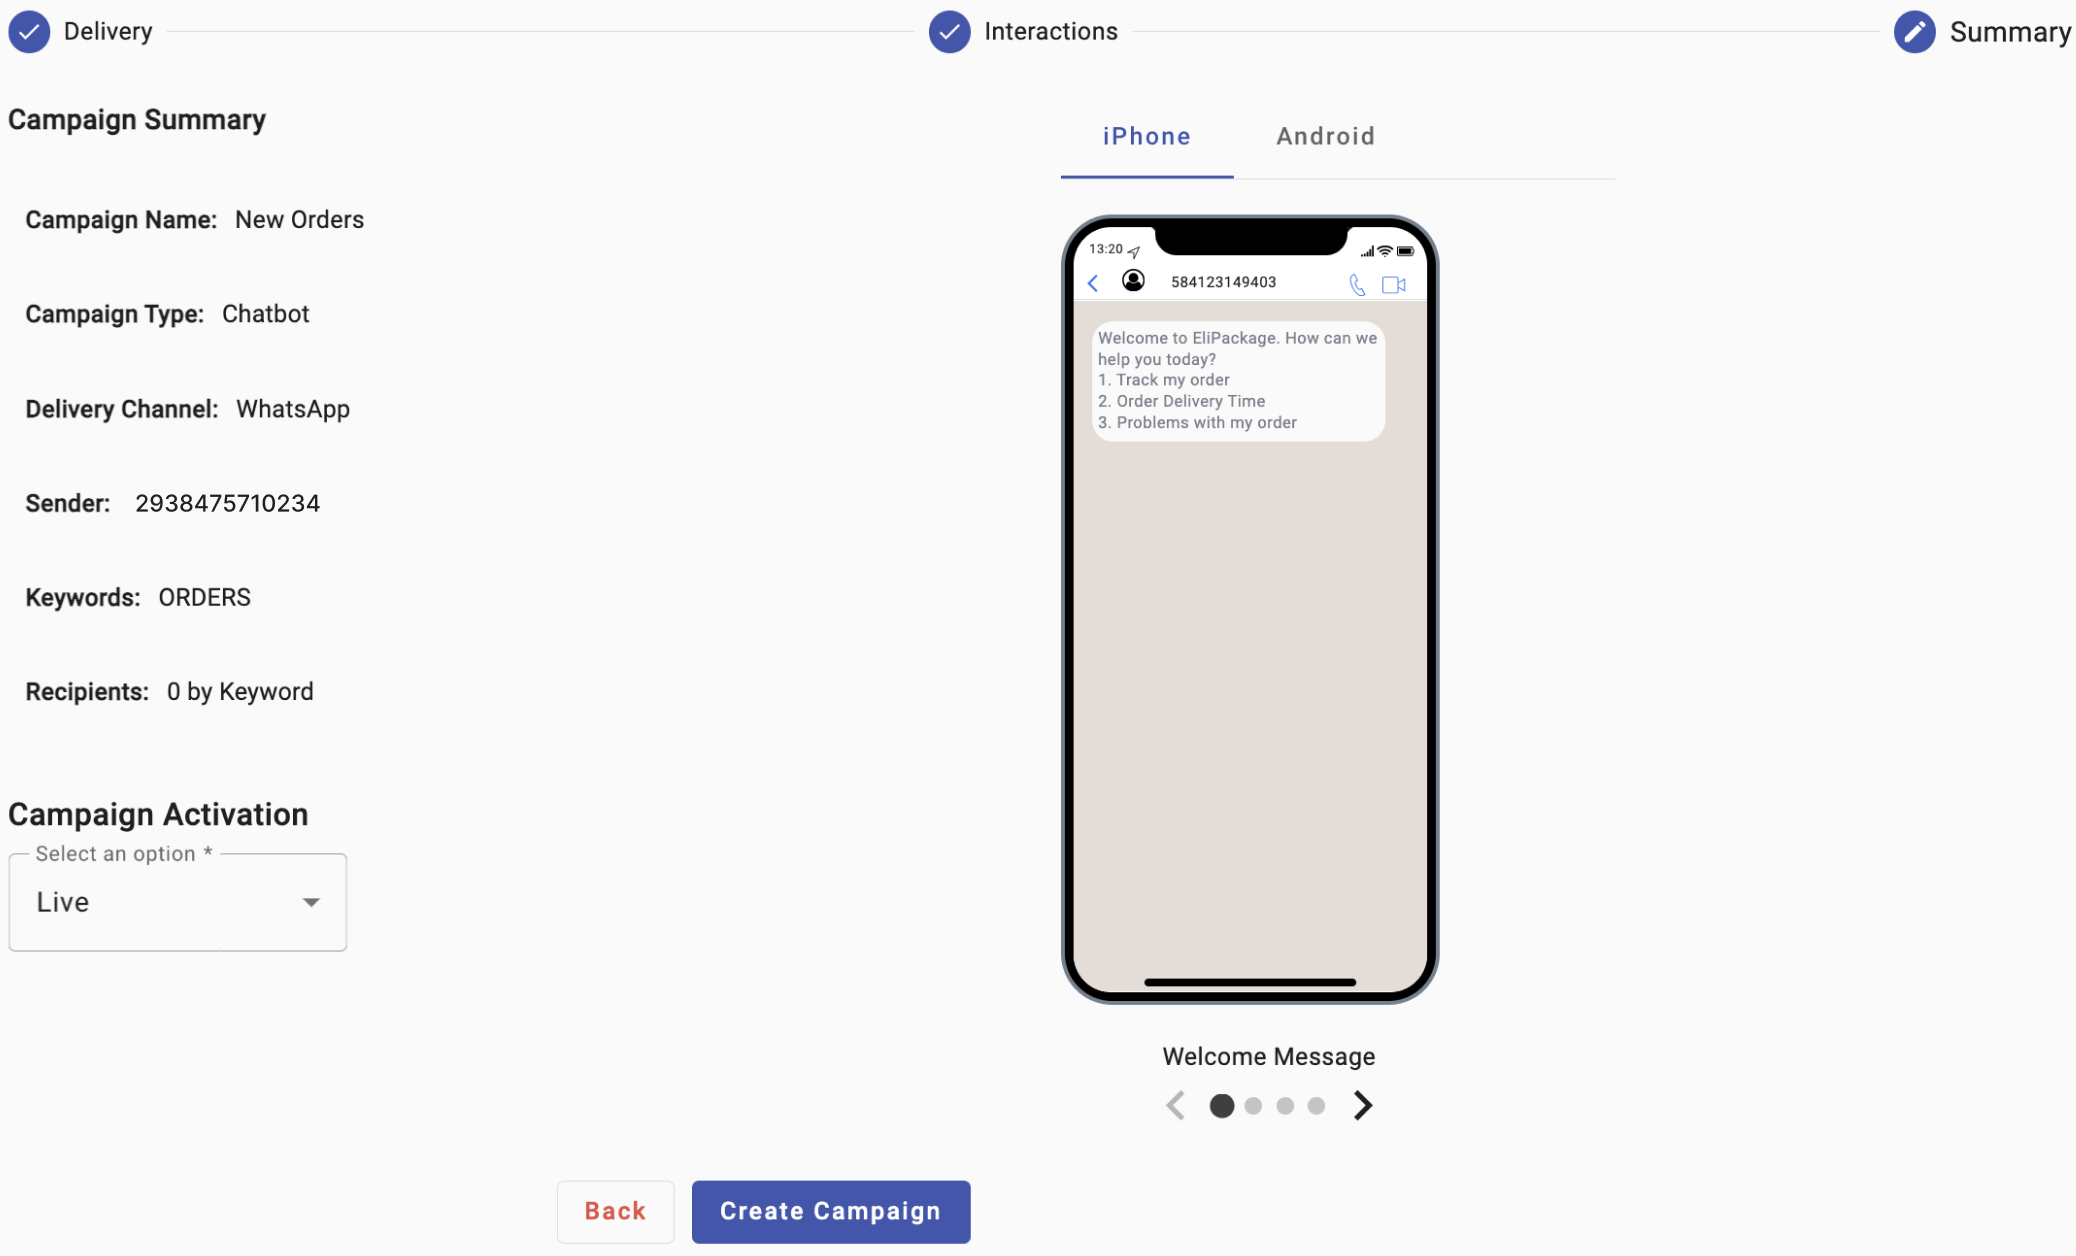
From the Summary section, activate the Chatbot automation by selecting the Live option and clicking on the Create Campaign button.
-
Once the Chatbot automation has been created, we proceed to open the Live Chat by entering the next URL: “https://livechat.messangi.com/”.
NOTEAs admin, copy and paste the URL to your browser. Then, enter the email and password you use to log in to the Workspace to access the Live Chat.
Only Admins will have the Live Chat feature enabled located on the Communications Platform navigation sidebar menu.

-
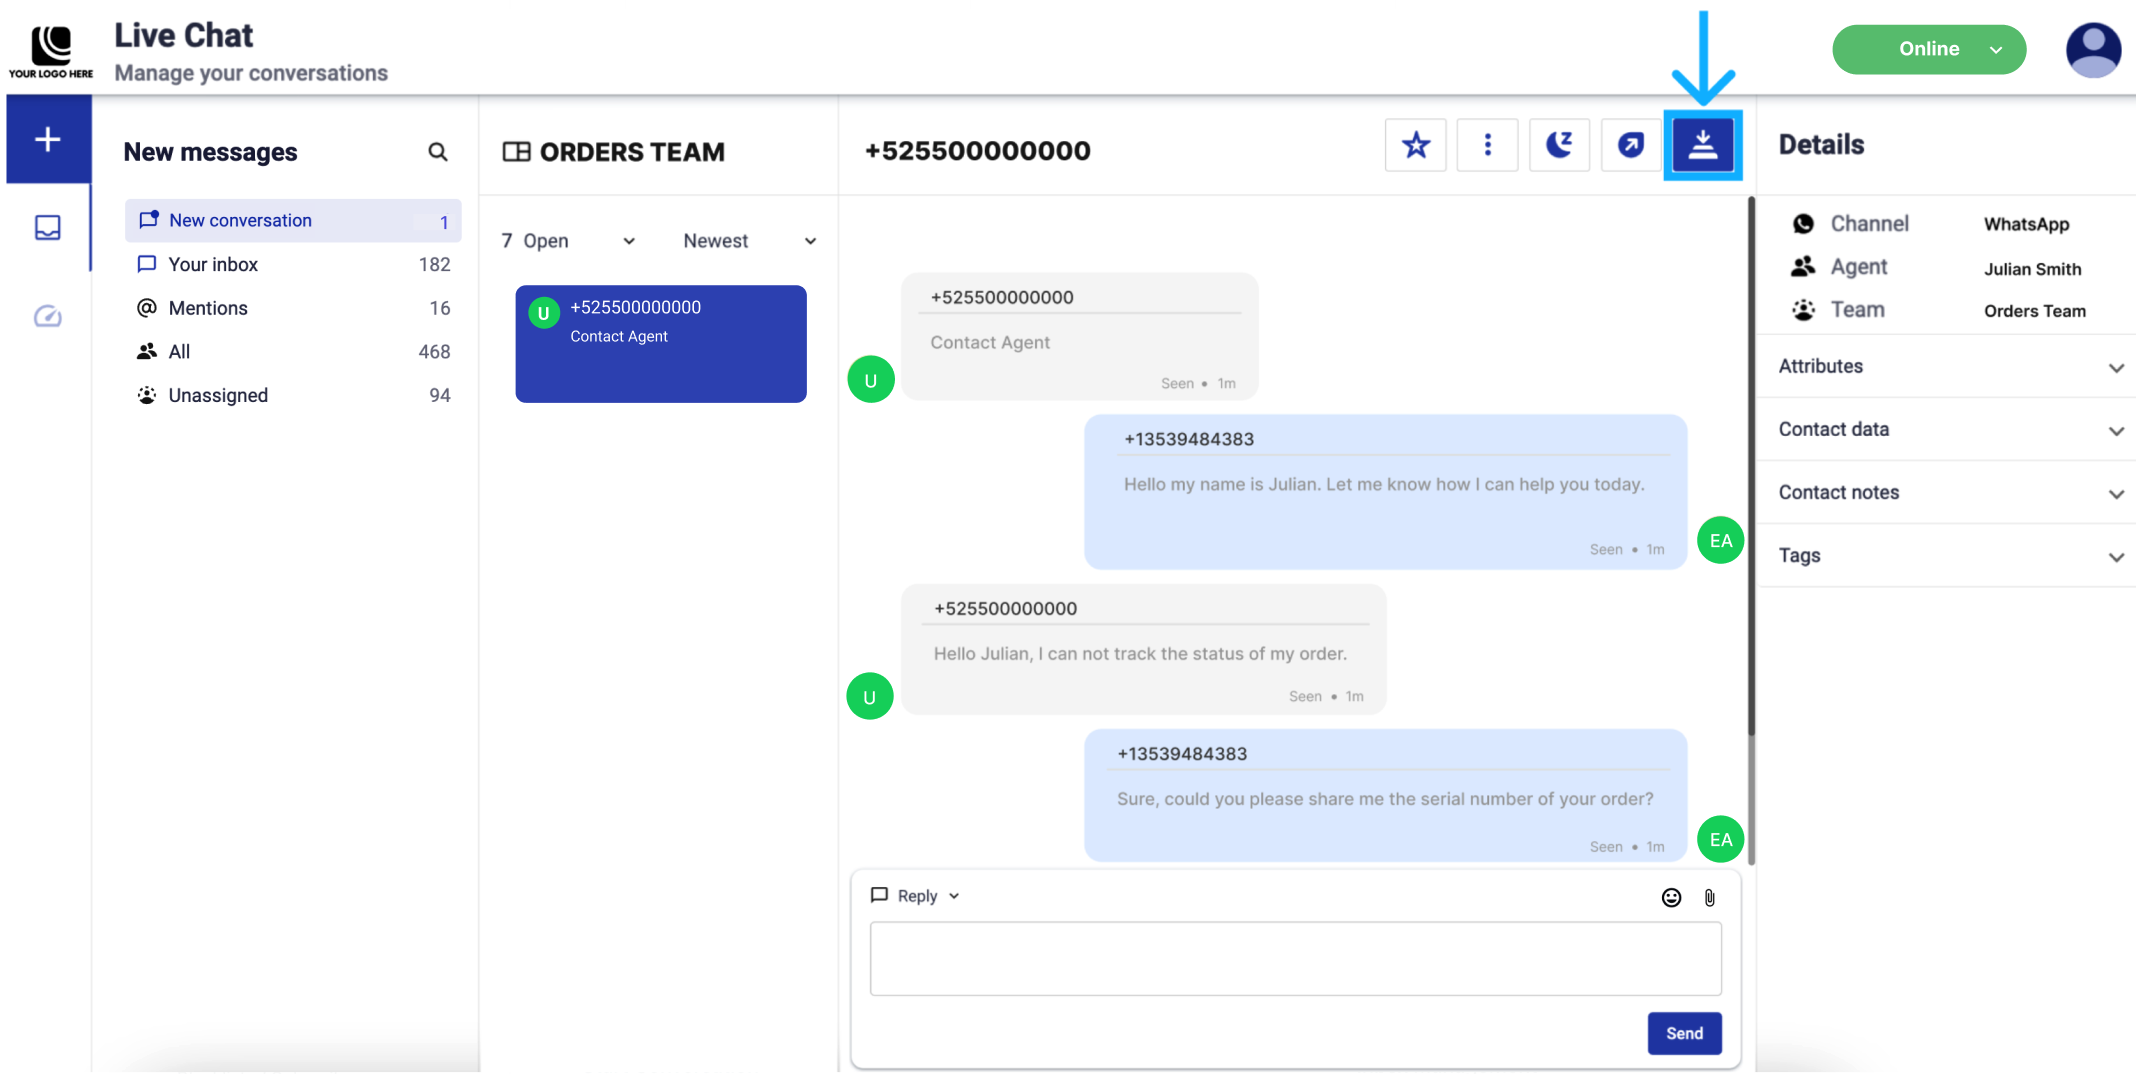
When an end-user types the keyword “ORDERS” to communicate with eliPackage via WhatsApp, the chatbot will automatically trigger and present the user with several options. If the end user selects the third option, “Contact Agent”, the system will immediately forward the chat to an agent that belongs to the Orders Team.
The conversation will then appear in the agent’s “New conversation” section, allowing for a prompt response.
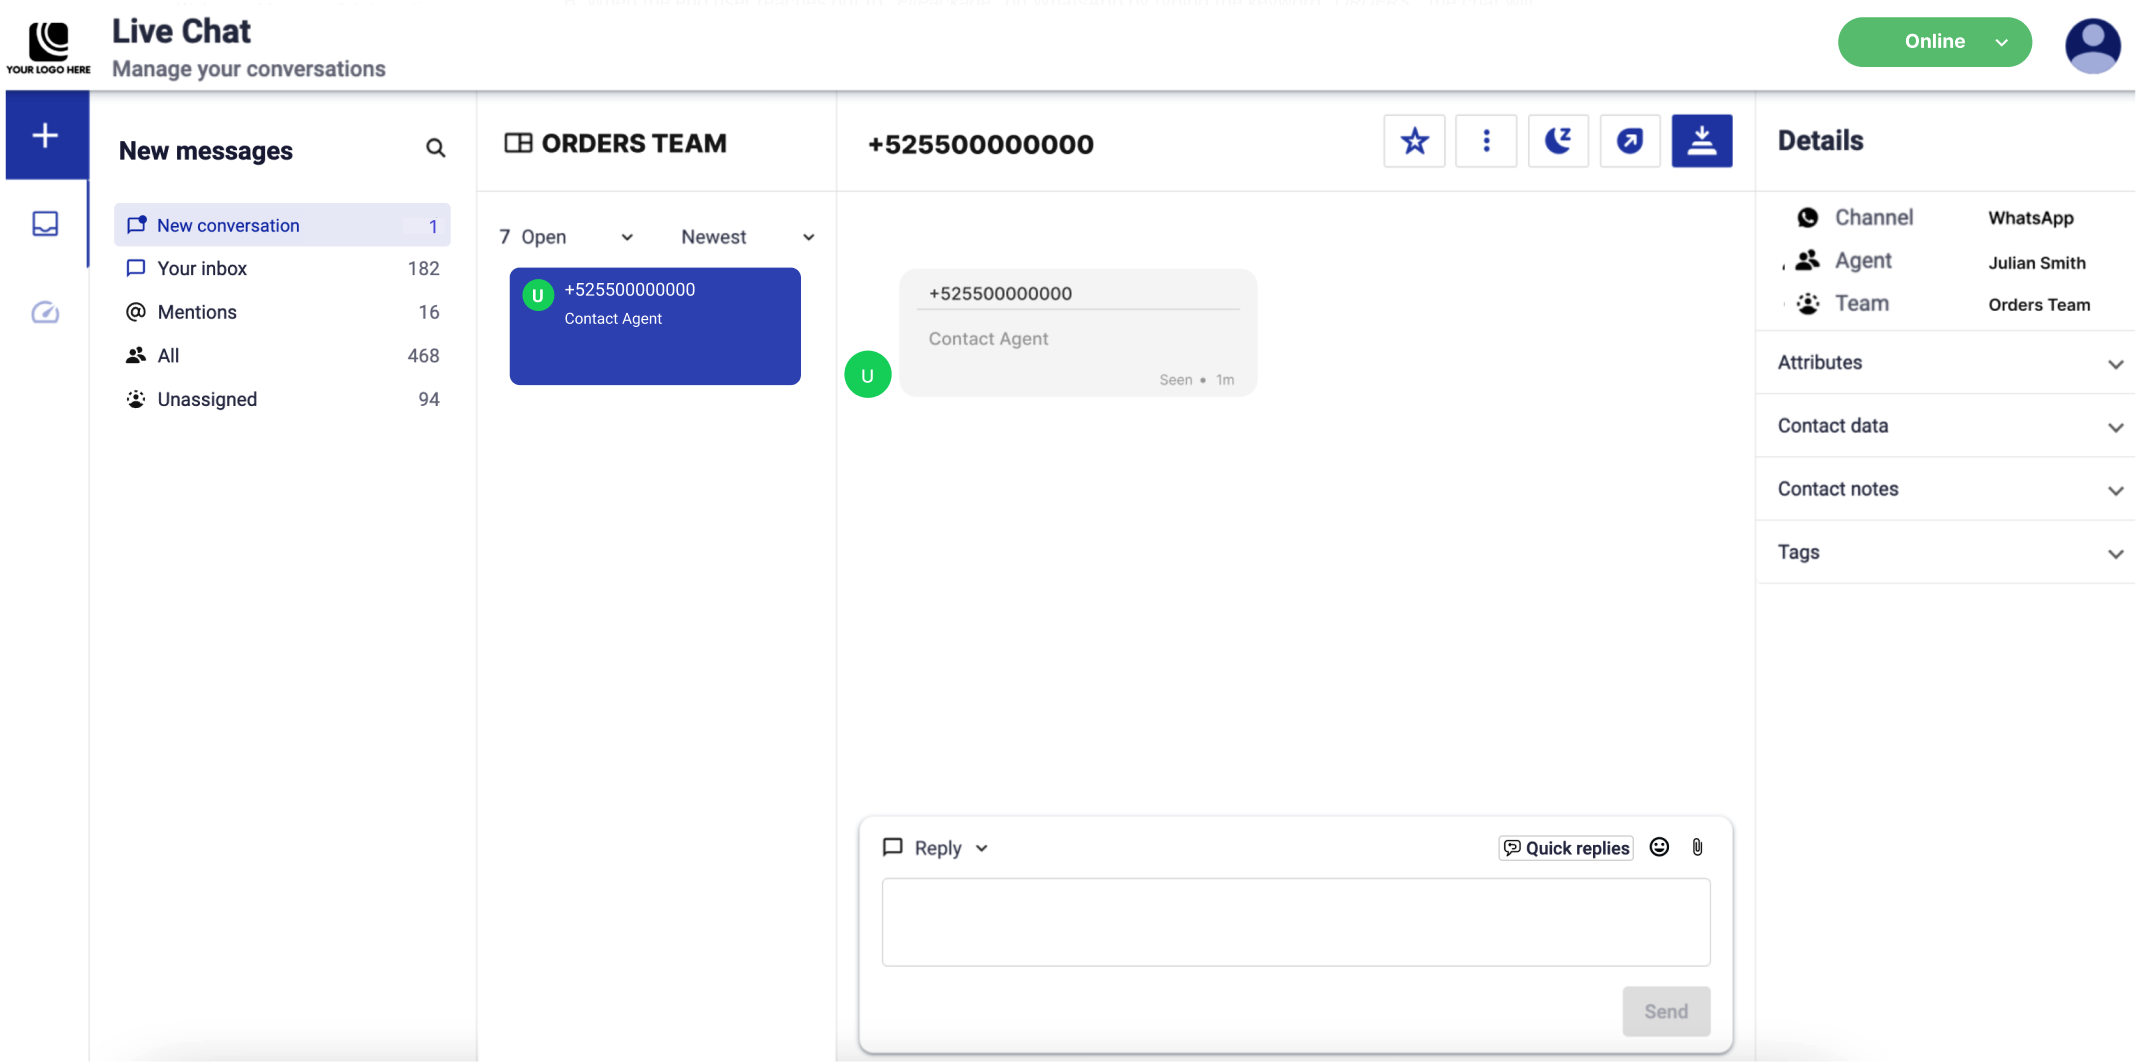
The “New conversation” section refers to a specific section where incoming messages that have not yet been read or responded to by an agent or team member are stored.
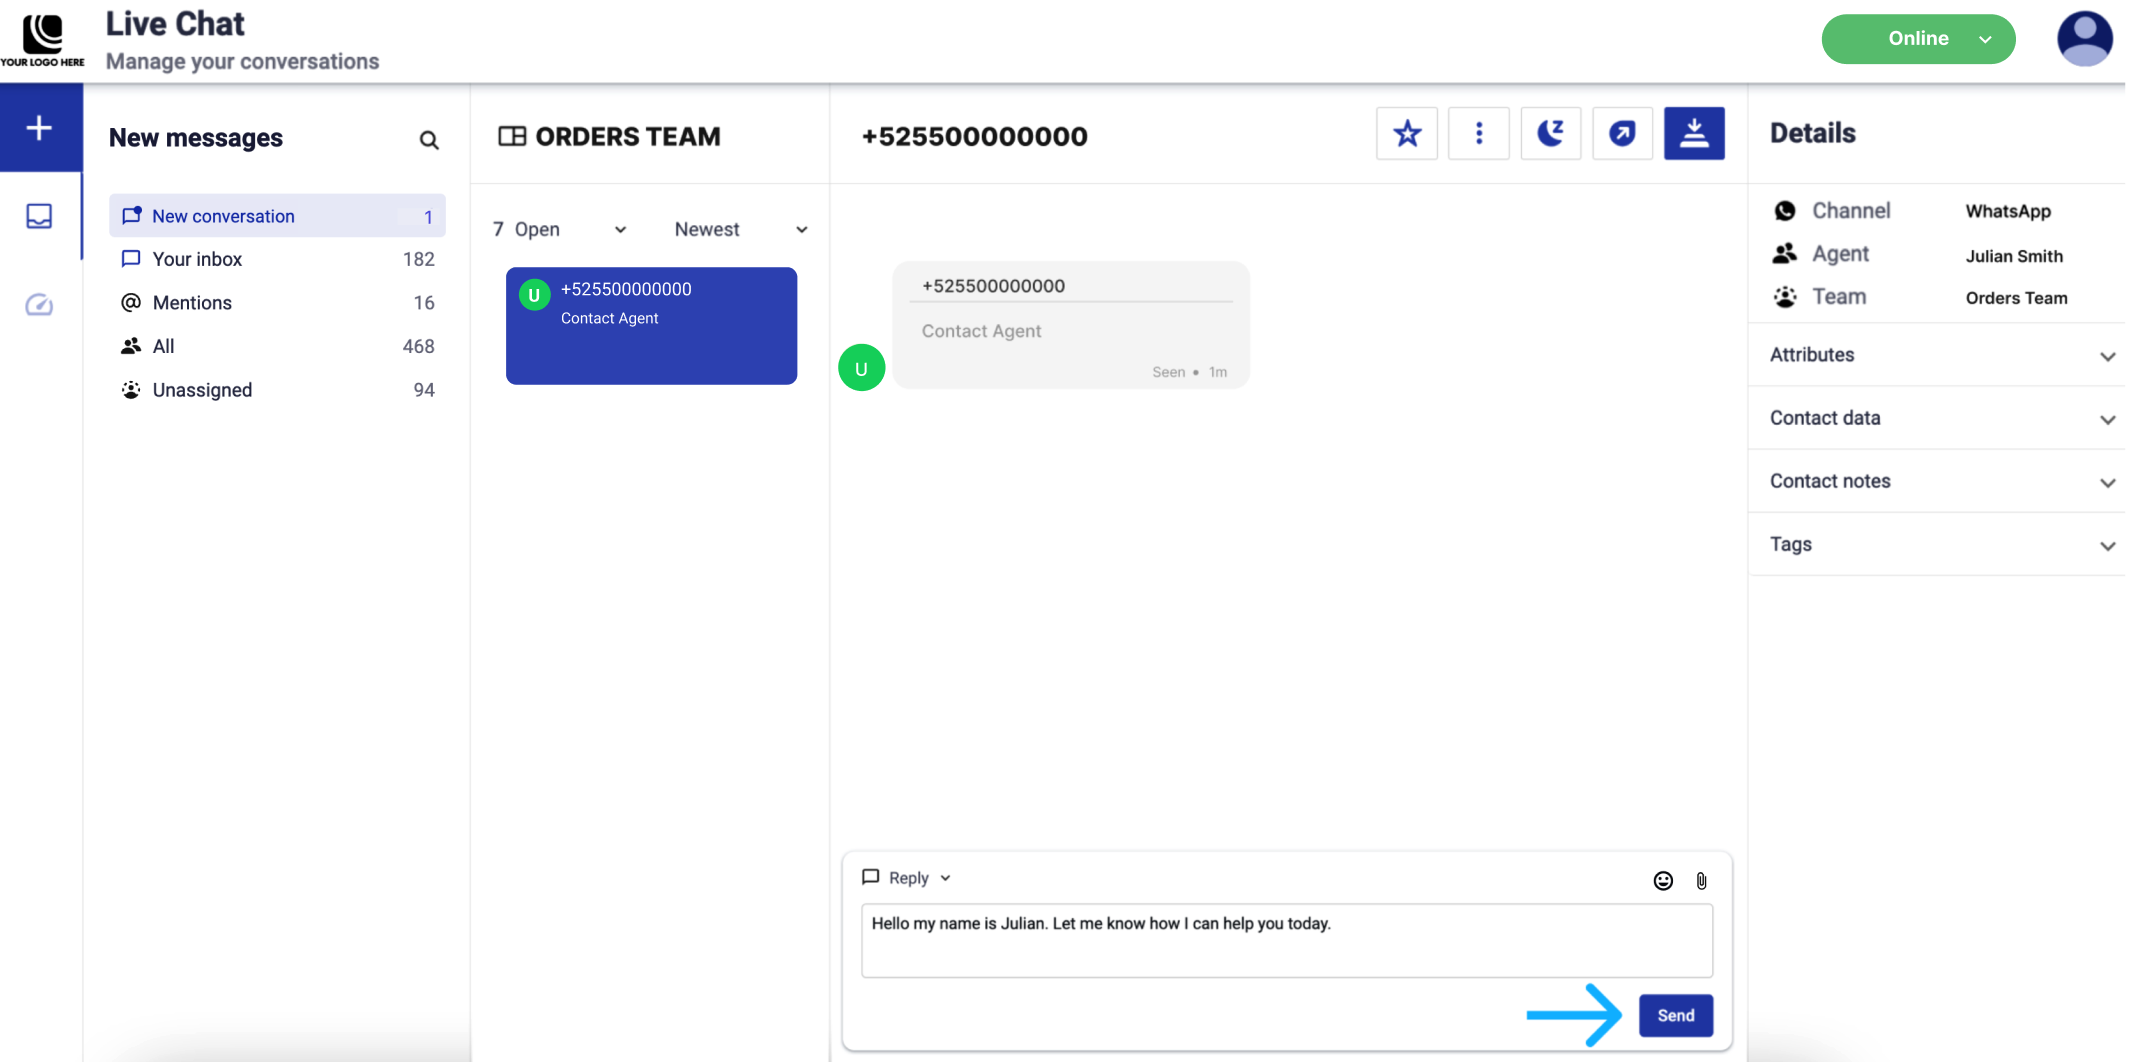
The agent can respond to each question from the end user using the message composer.
After successfully resolving a conversation by resolving and clarifying the end user's concerns, the agent has the option to close it. By clicking on the Close button, the conversation will move from the Open List to the Closed List where it will stay unless the agent manually reopens it.
Updated 3 months ago