E-Swipe Template
The E-Swipe Template allows you to preconfigure swipe-based interactive campaigns, enabling a streamlined setup and consistent brand experience for end users. As with other template types, you begin by selecting the E-Swipe option from the template selection popup window, followed by confirmation in the intermediate screen.
Once confirmed, the platform will display the E-Swipe Configuration Panel, which contains all necessary elements to define the template:

The steps to configure the E-Swipe template are the following:
-
Enter the E-swipe Name. The name will appear at the bottom of the swipe content of the campaign (different from the campaign name).
-
Select the E-swipe Type dropdown:
- Image : This option uses a sequence of images displayed as the end-user swipes the screen.
- Video: Displays a sequence of videos hosted on YouTube URLs.
-
Define the Background Color by using the Color Picker.
-
In the Swipe Content,
Click the Add Swipe Content button to open the content editor.

Depending on the Swipe Type selected (image or video), follow these steps:
-
For Images:
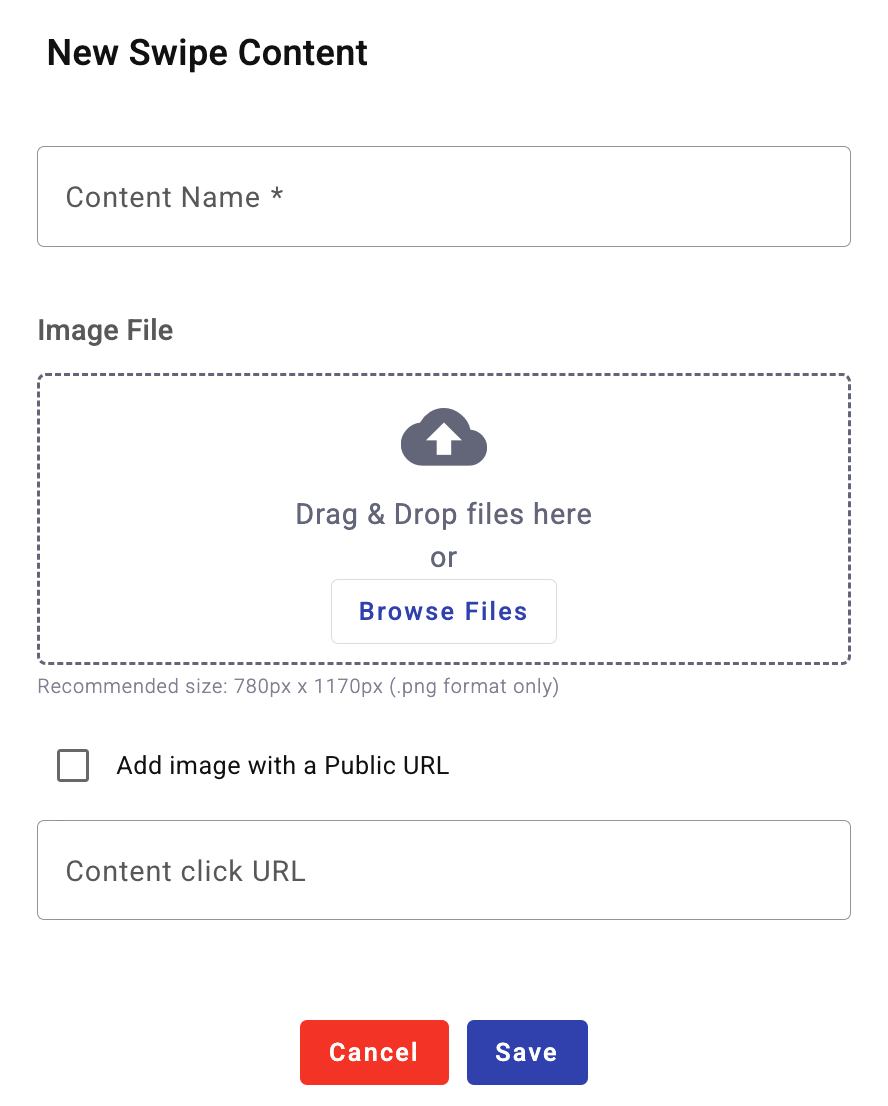
- Enter a content name.
- Upload an image via Drag & Drop or Public URL.
- (Optional) Add an external URL to link the content.
- Click Save and repeat for each image.
-
For Videos:
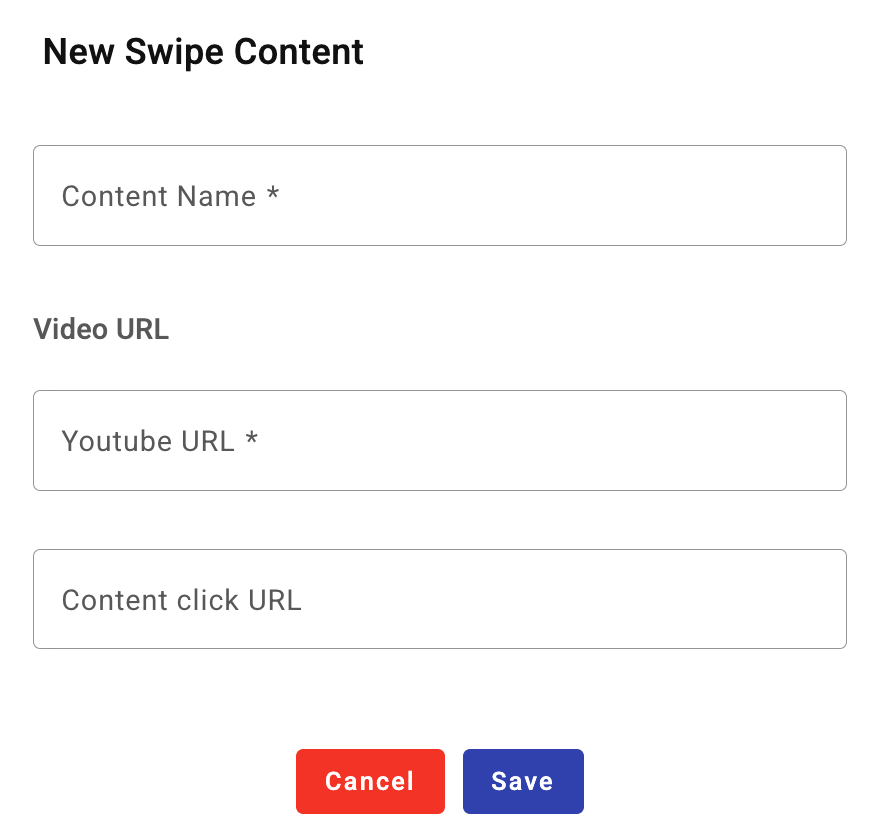
- Enter a content name.
- Add a YouTube video URL.
- (Optional) Include a URL associated with the content.
- Click Save and repeat for each video.
-
-
In the Campaign URL Link Expiration, you define the validity period of the URL associated with the content, along with the expired Campaign image and its associated URL for redirecting the user to content relevant to the expired condition.
There are two methods to configure expiration:
-
Choose a Date: Set an exact expiration date using a calendar selector.
-
Set a Duration: Define the number of hours the link should remain active after the campaign is launched.
Additionally, you may upload an Expired Campaign Image and specify a Redirect URL for users attempting to access the campaign after expiration. This enables a seamless fallback experience and keeps engagement going.
-
-
Once all configurations are complete:
- Click Save
- The template will be added to the E-Swipe templates type in your Templates dashboard
Updated 2 months ago