You arrive at the Email broadcast creation section after selecting New Broadcast/Automation, entering the name, and selecting Email.

- Detail
- Message Template
- Personalize
- Recipients
- Summary
The Email Status section covers email message status in detail. The first part covers common status values during email processing. The second part covers the potential final status.
Detail
In the Detail step,
- Select the Email to be used to deliver the message from the Sender Email dropdown.
- Enter the Email Subject.
- Enter the Preheader (Snippet that appears in the inbox after the email subject)
- Select Next.

Message Template
In this step, you create a new email message template or select a previously created one. You also upload your own HTML as an alternative. You use the View Message Templates by Category dropdown at the top-right corner to access categorized message templates.

The platform does not include email message templates. They are industry, brand, and content-specific. The platform provides flexibility to address most requirements.
You add and personalize the message content using the following steps:
-
Select one of the following methods to create the Email content:
-
New: Create the Email Content from Scratch using the Email Editor by selecting the New card.

-
Upload: Use an existing HTML file for the Email content by selecting the Upload card.

-
Continue: Continue editing the message template you have created by selecting the Continue card.

-
-
Add a Link Tracker to insert URLs that recipients click for further actions. The Link Tracker section covers link tracker details.

-
Personalize messages using placeholders in the message content. The Message Personalization section covers personalized fields for email.
After you address the message details, you select Next.
Personalize
'Personalize' is the third step of the Email broadcast creator. In this step, you create the content for the Email broadcast. The Message Personalization section covers personalized fields configuration.
Recipients
To define the Email broadcast Recipients,
- In Define the Broadcast Recipients, select the Contact list dropdown box
- Select one of the options offered

Recipient selection details appear in Define Recipients in the Broadcast Elements section.
After you select the Recipients, you click Next.
Summary
In the Summary step, you review the broadcast before submitting it for approval.
- Messaging broadcast details reviewed.
- Link tracking configured.
- Delivery timetable set.
- Message delivery throughput set.
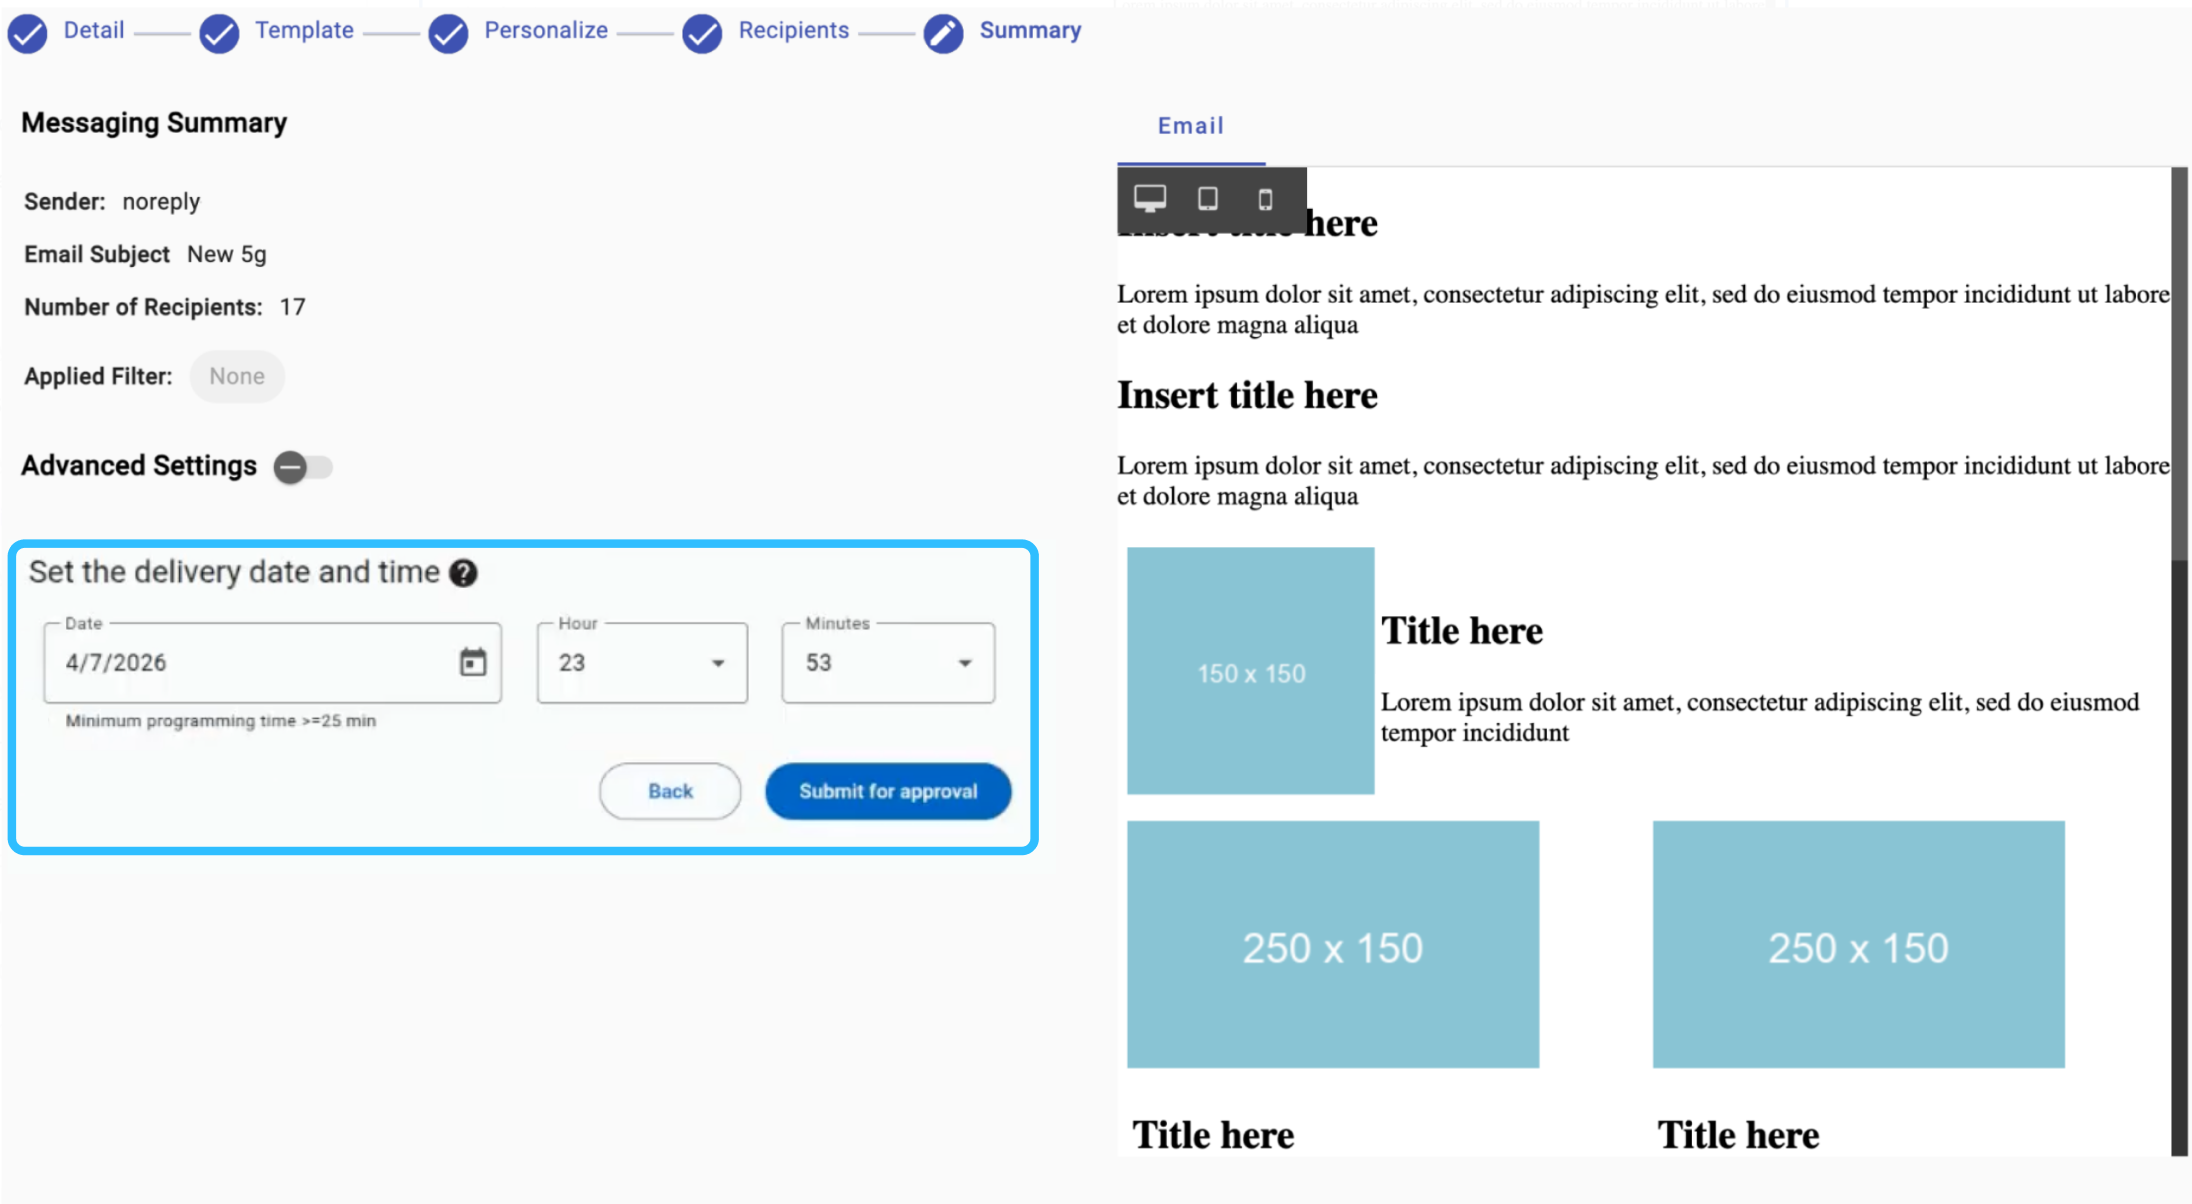
After you define the delivery timetable, you select Submit for approval. The broadcast is not sent immediately. It enters review and transitions to For Approval status.
An Administrator approves the broadcast before it runs. The Broadcast Approval section covers approval, decline, and rescheduling details.
NOTEThe Amazon SES Auto Validation has been enabled to strengthen email deliverability and protect sender reputation across outbound email traffic. This feature automatically evaluates recipient email addresses before delivery and suppresses messages sent to addresses considered invalid or high-risk, helping reduce bounce rates and spam-related reputation issues.
The Amazon SES Account-Level Suppression List has been enabled to improve email deliverability and protect sender reputation across outbound email communications. This feature automatically suppresses email addresses that previously generated delivery issues, such as hard bounces or spam complaints, preventing future delivery attempts to recipients considered problematic.
Updated 5 days ago