GeoFence
GeGeoFence campaigns use Location-Based Services (LBS) to trigger push notifications when users enter or exit a predefined geographic area. This interactive campaign helps businesses deliver timely, location-aware messages.
After you have selected New Campaign, entered the Campaign Name, and selected Geofence from the campaign options, you are brought to the Geofence campaign creation section of the UI, which has the following steps,

- Delivery
- Message
- Region
- Summary
NOTEIn the Preferences section of the platform is where Push notifications are configured.
Delivery
In this step, you can verify the reach of your notification through the number of users eligible to receive the Push Notification once they enter the GeoFence area.
In the Delivery step, there is no need to preload a Subscription List, as GeoFence campaigns deliver messages based on mobile app users' physical location. Only subscribers that have opted in to LBS services of the app, registered by the SDK, will be eligible to receive the push notification.
The green confirmation box will show the number of subscribers eligible to receive GeoFence messages, while the gray box will show ineligible subscribers.

For Push Notifications, the list of subscribers eligible to receive the Push must be registered through the SDK integration.
The SDK integration is configured as detailed in the SDK Documentation.
Push notifications do not modify the Mobile Application.
NOTERegular Push notifications do not require modifications by the application developer for notification processing.
Move to the next step in the process by selecting Next.
Message
The Message step defines the content of the push notification. GeoFence campaign support four types of push notifications:

- Regular Push: This is the simplest type of notification, containing only a title and text message. These notifications do not modify the Mobile App as they are only informative. If modifications or specific actions are required within the App, you must use one of the other types of Push Notifications.
- InApp Push: This push notification contains extra data that is displayed when the user opens the app. It is 100% the responsibility of the application’s developer to implement this content in the application’s code.
- Silent Push: It is an invisible notification that does not display an alert or message on the screen.
- Deeplink: It contains a URL that redirects users to a specific section of the app. For iOS operating systems, the developer must implement the navigation to the view or section of his application. In the case of the Android operating system, the Operating System will take care of this type of navigation.
Regular Push
This is the most basic push notification and it is included as part of InApp and Deeplink push notifications. The Platform supports delivering personalized Push Notifications for each subscriber. The notification is processed before it is sent, redirected to the device, and the message arrives personalized using a Subscriber Field.
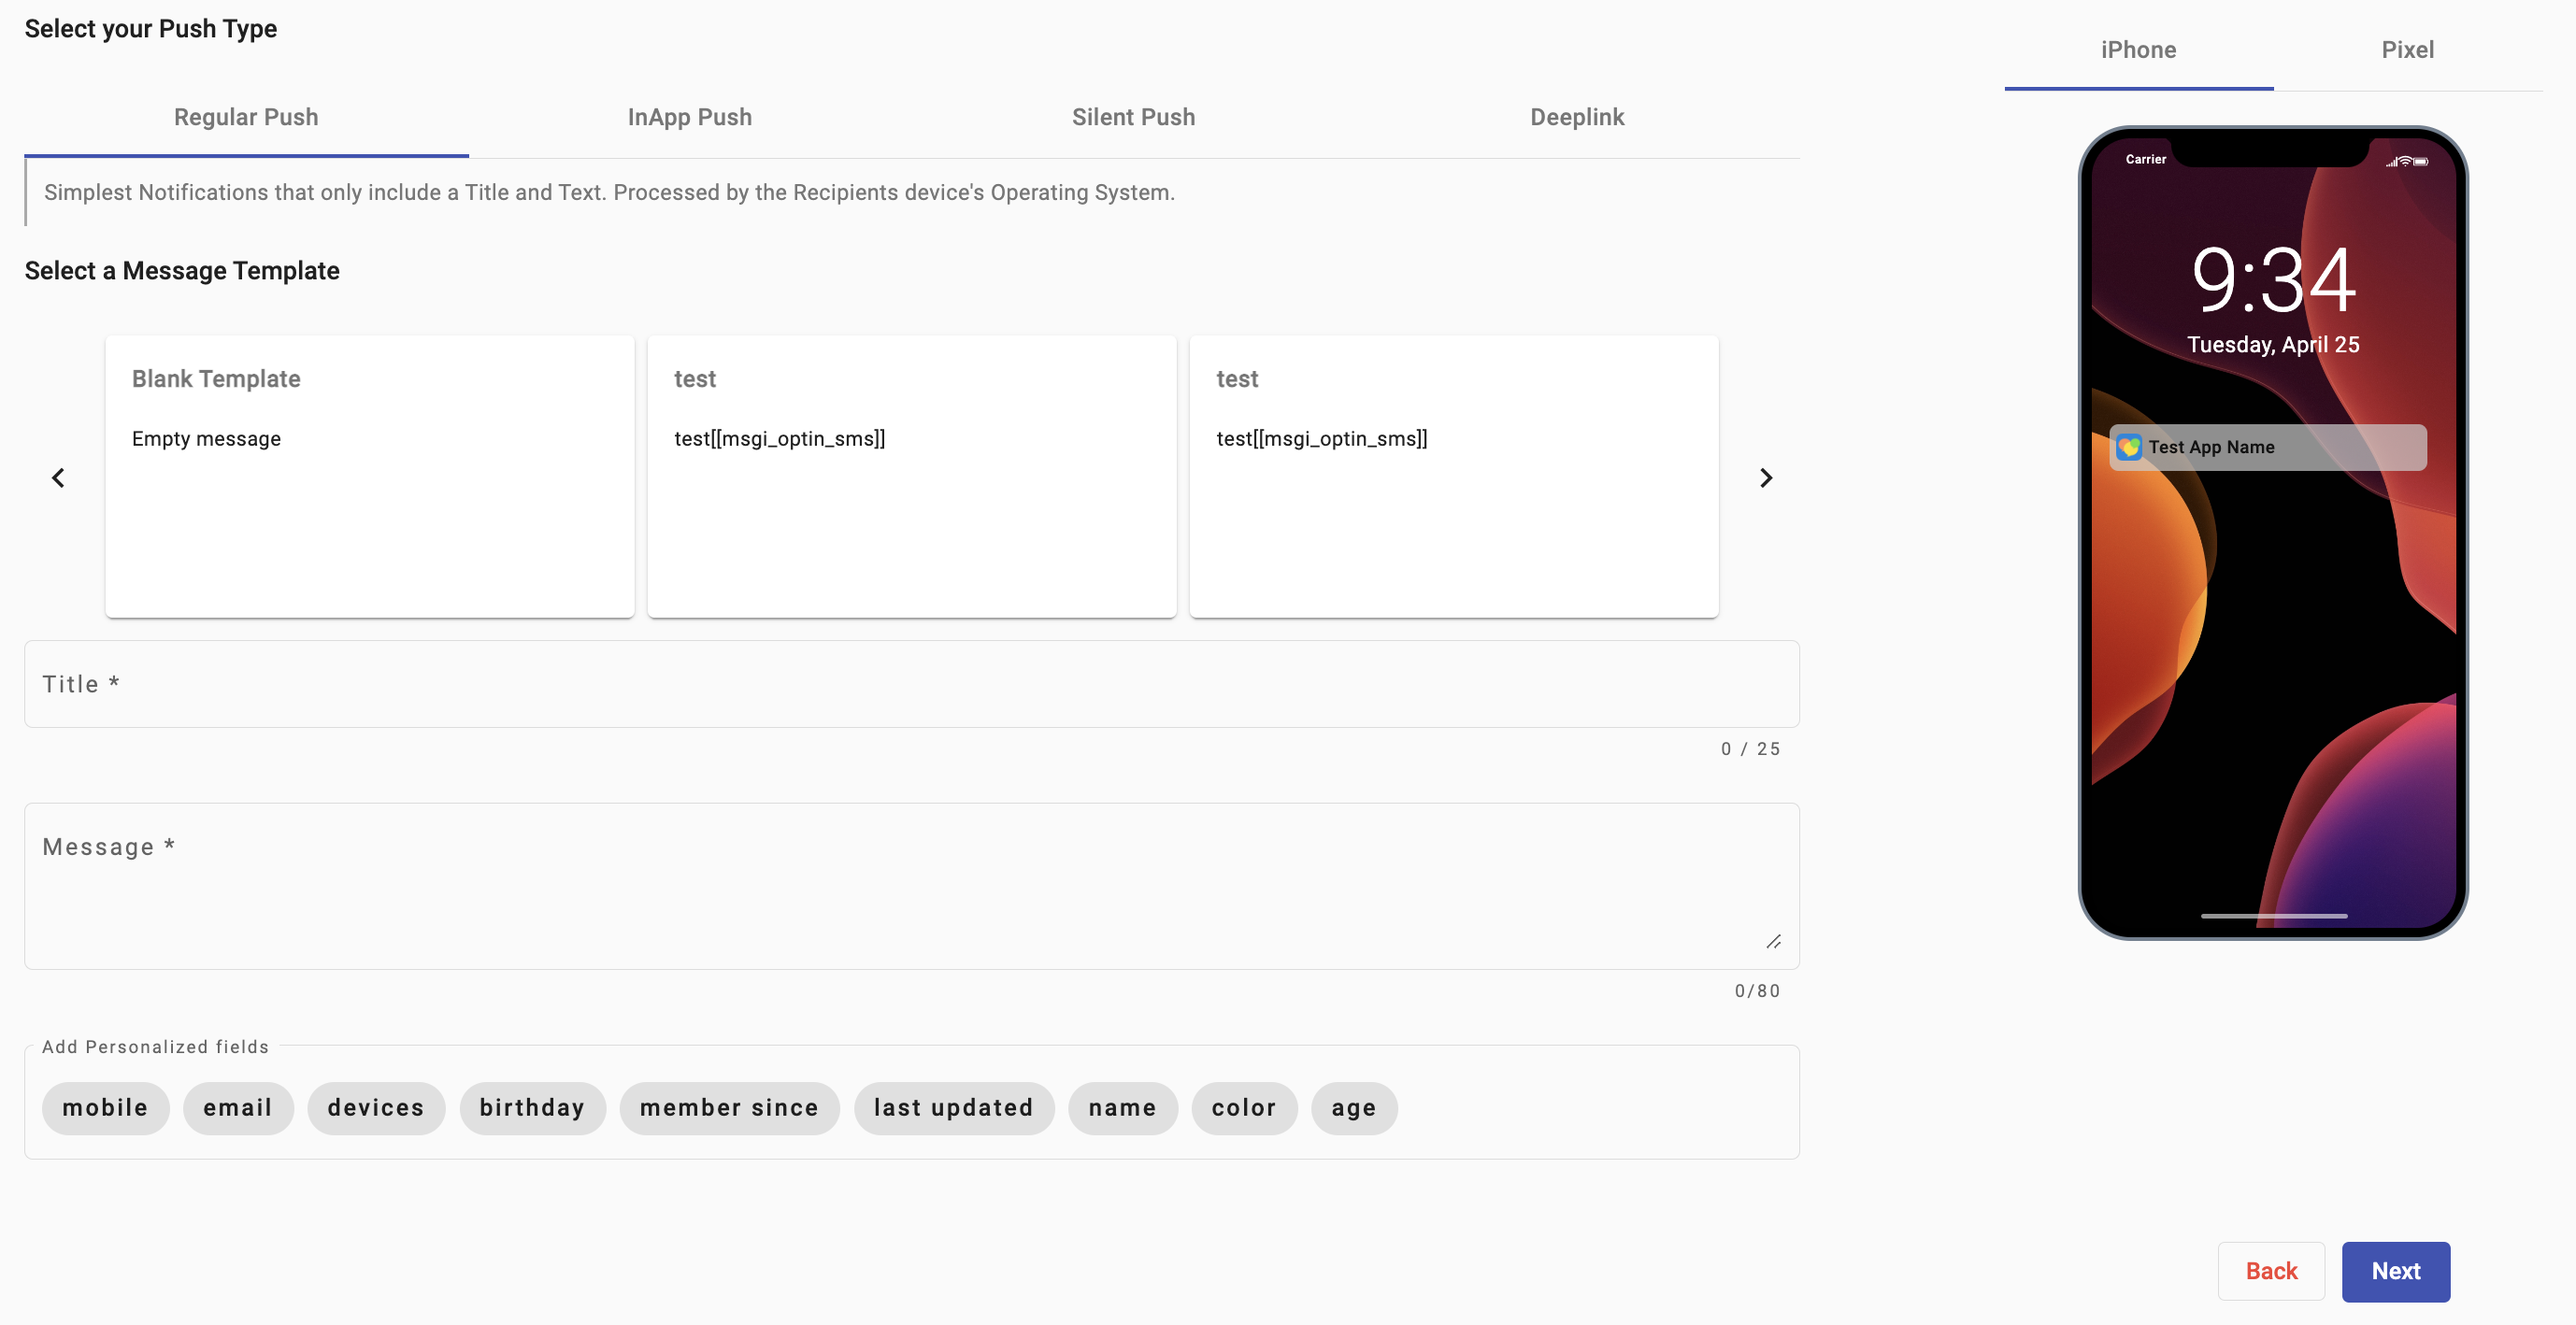
The steps to create a Regular Push Notification are the following:
- Select the Regular Push tab located at the top.
- Choose an existing template or create a message from scratch. The template includes the Push notification Title and Message Content, which can be modified to suit the campaign needs. If you are starting from scratch, you need to:
- Enter the Push Notification Title.
- Enter the Message content in the textbox.
- (optional) Add Personalized Fields to customize the message for each user. The personalized fields displayed are the existing Subscriber List Fields.
You can preview the Push notification on the emulated phone screen on the right side for either iOS or Android.

The example that follows, shows a notification sent to app users of a discount offering for a certain product or service.

NOTEThe icon and name that appear on the notification, depend on the App implementation that receives it.
InApp Push
In-app push notifications include extra data displayed when the app is opened.
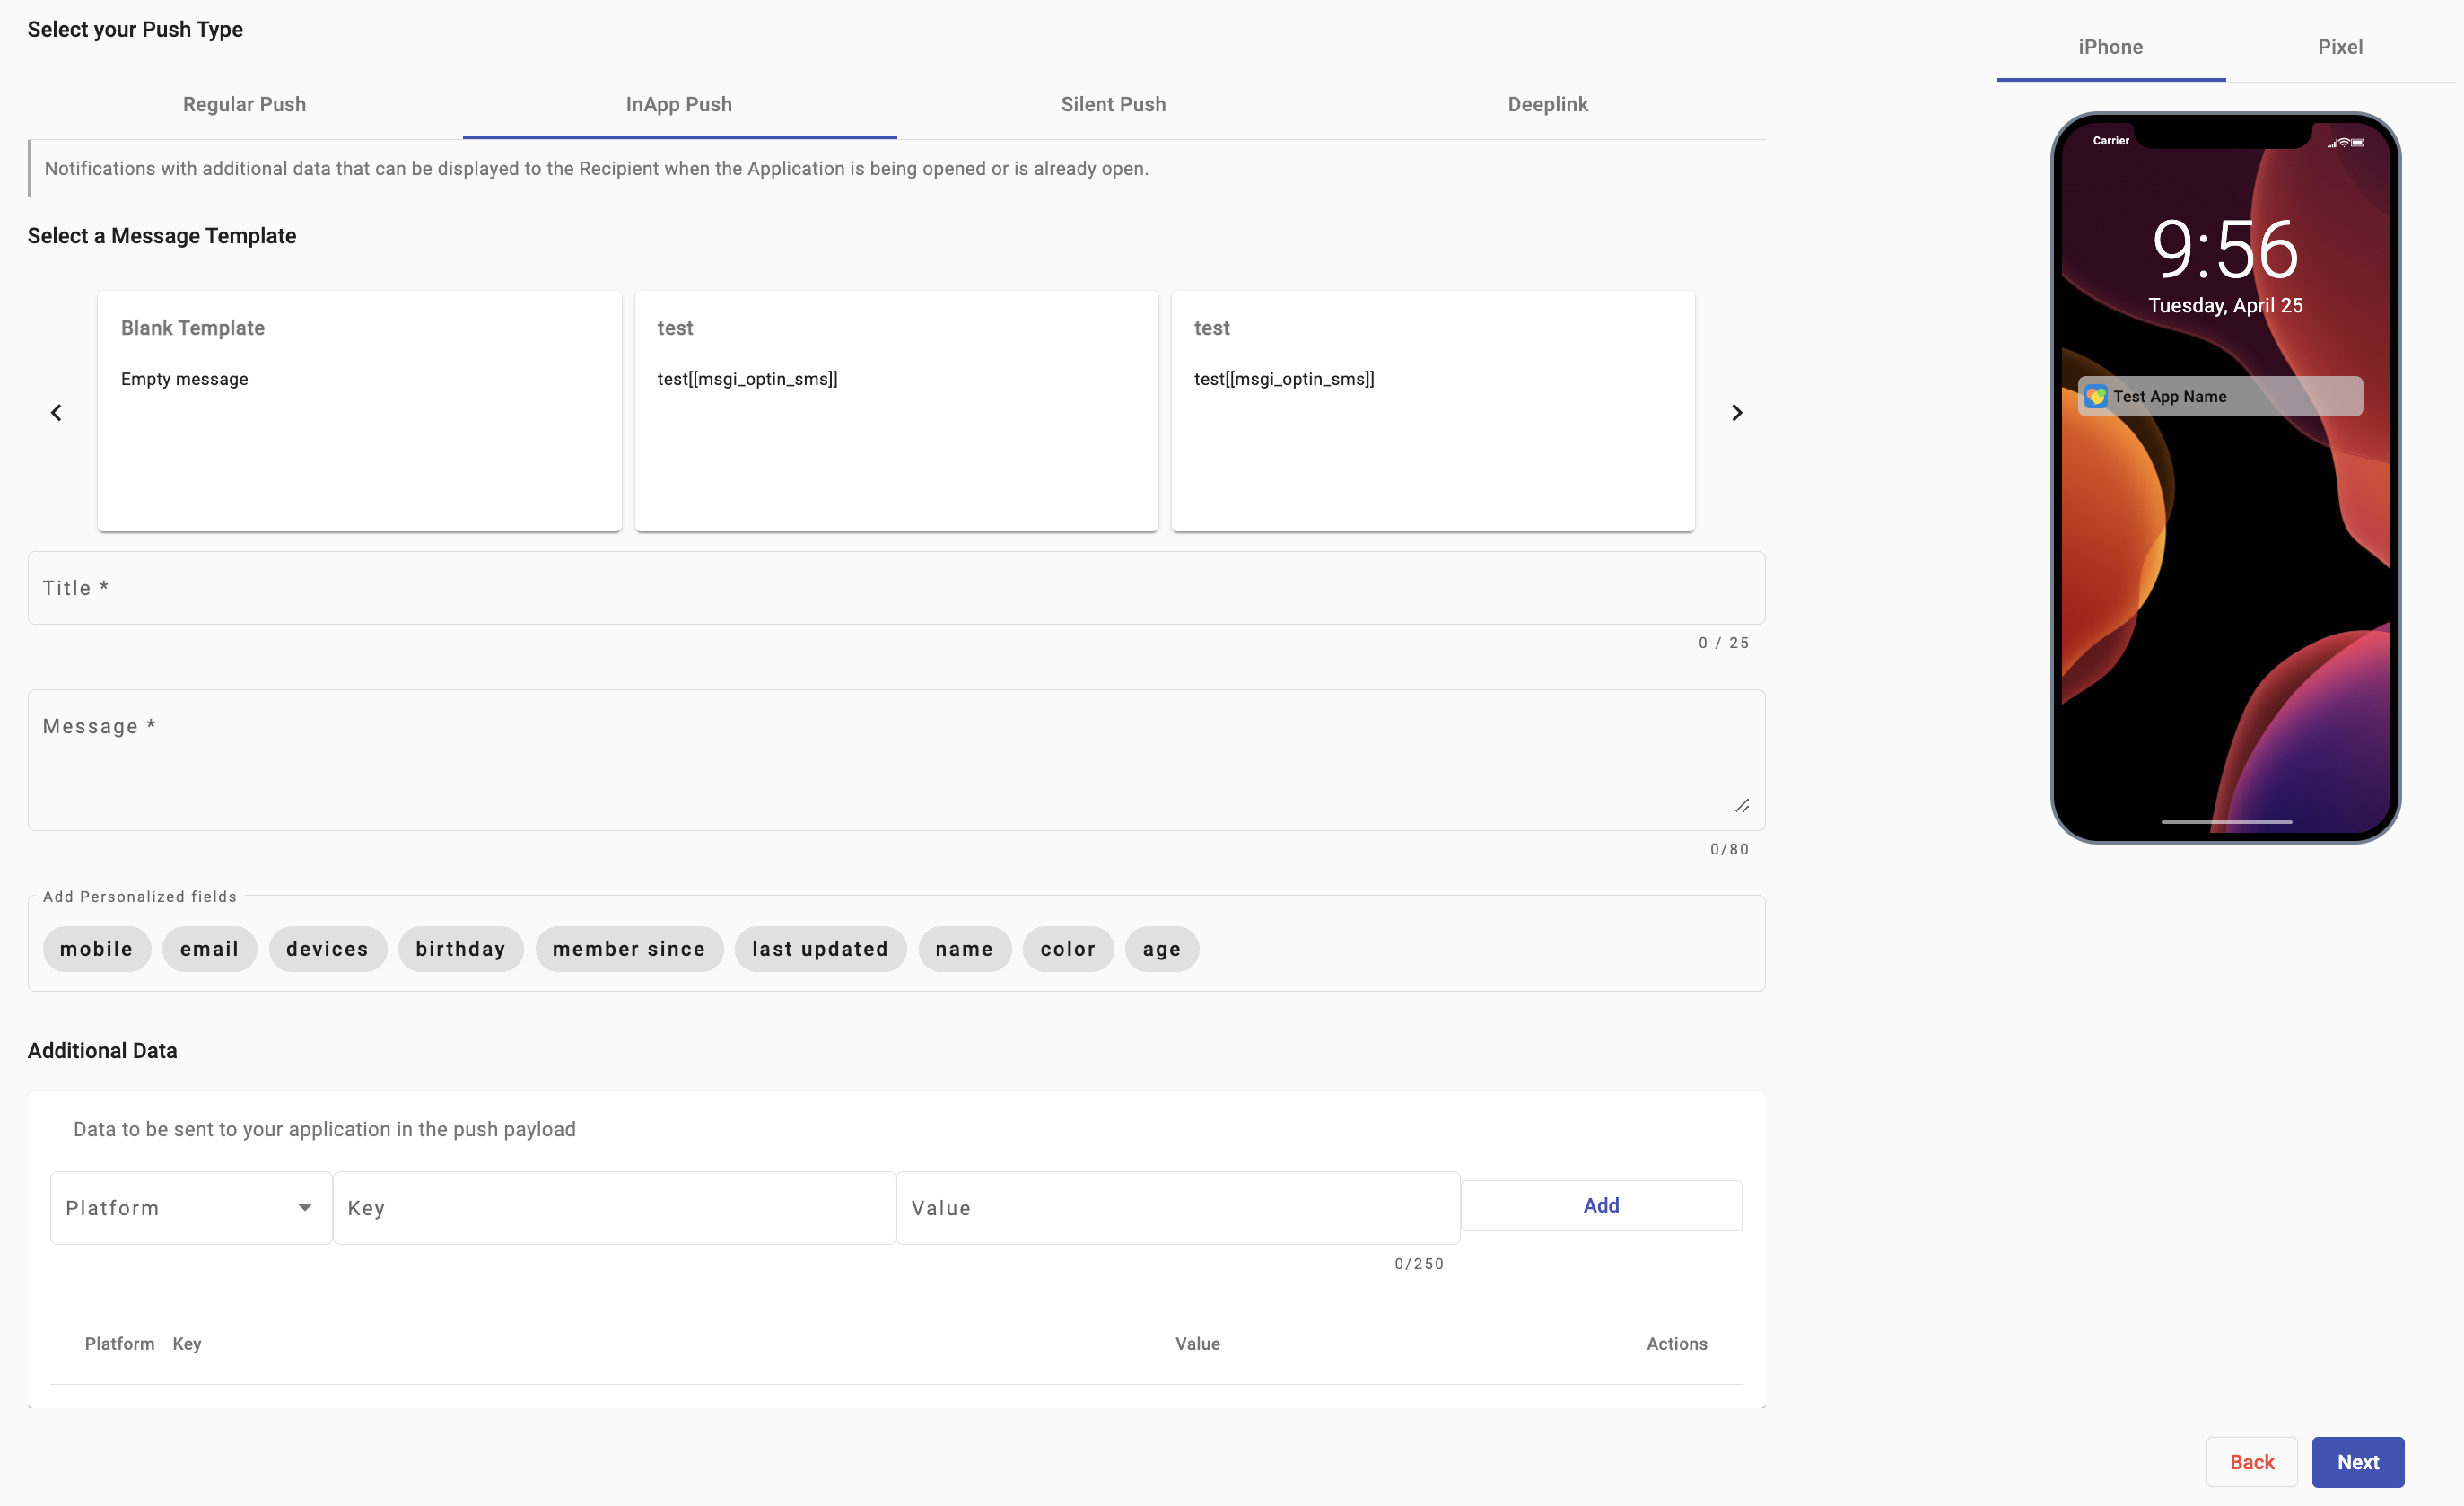
The steps to create an InApp Push notification are the following:
-
Select the InApp Push tab option located at the top.
-
Follow the steps for Regular Push to define the message.
-
Add Key/Value Pairs to send additional data (e.g., promotional offers, user-specific content).

- Platform - Choose the operating system of the mobile phone where you want to send the push notification: Android, iOS, or both.
- Key / Value - is a set of two linked data items: a ‘key’, which is a unique identifier for some item of data, and the ‘value’, which is either the data identified or a pointer to the location of that data.
The following example demonstrates how a push notification delivers additional content inside the app upon user interaction.

-
Once you have entered the additional data, click Add.
Silent Push
Silent Push notifications do not generate an alert but send background updates to the app.
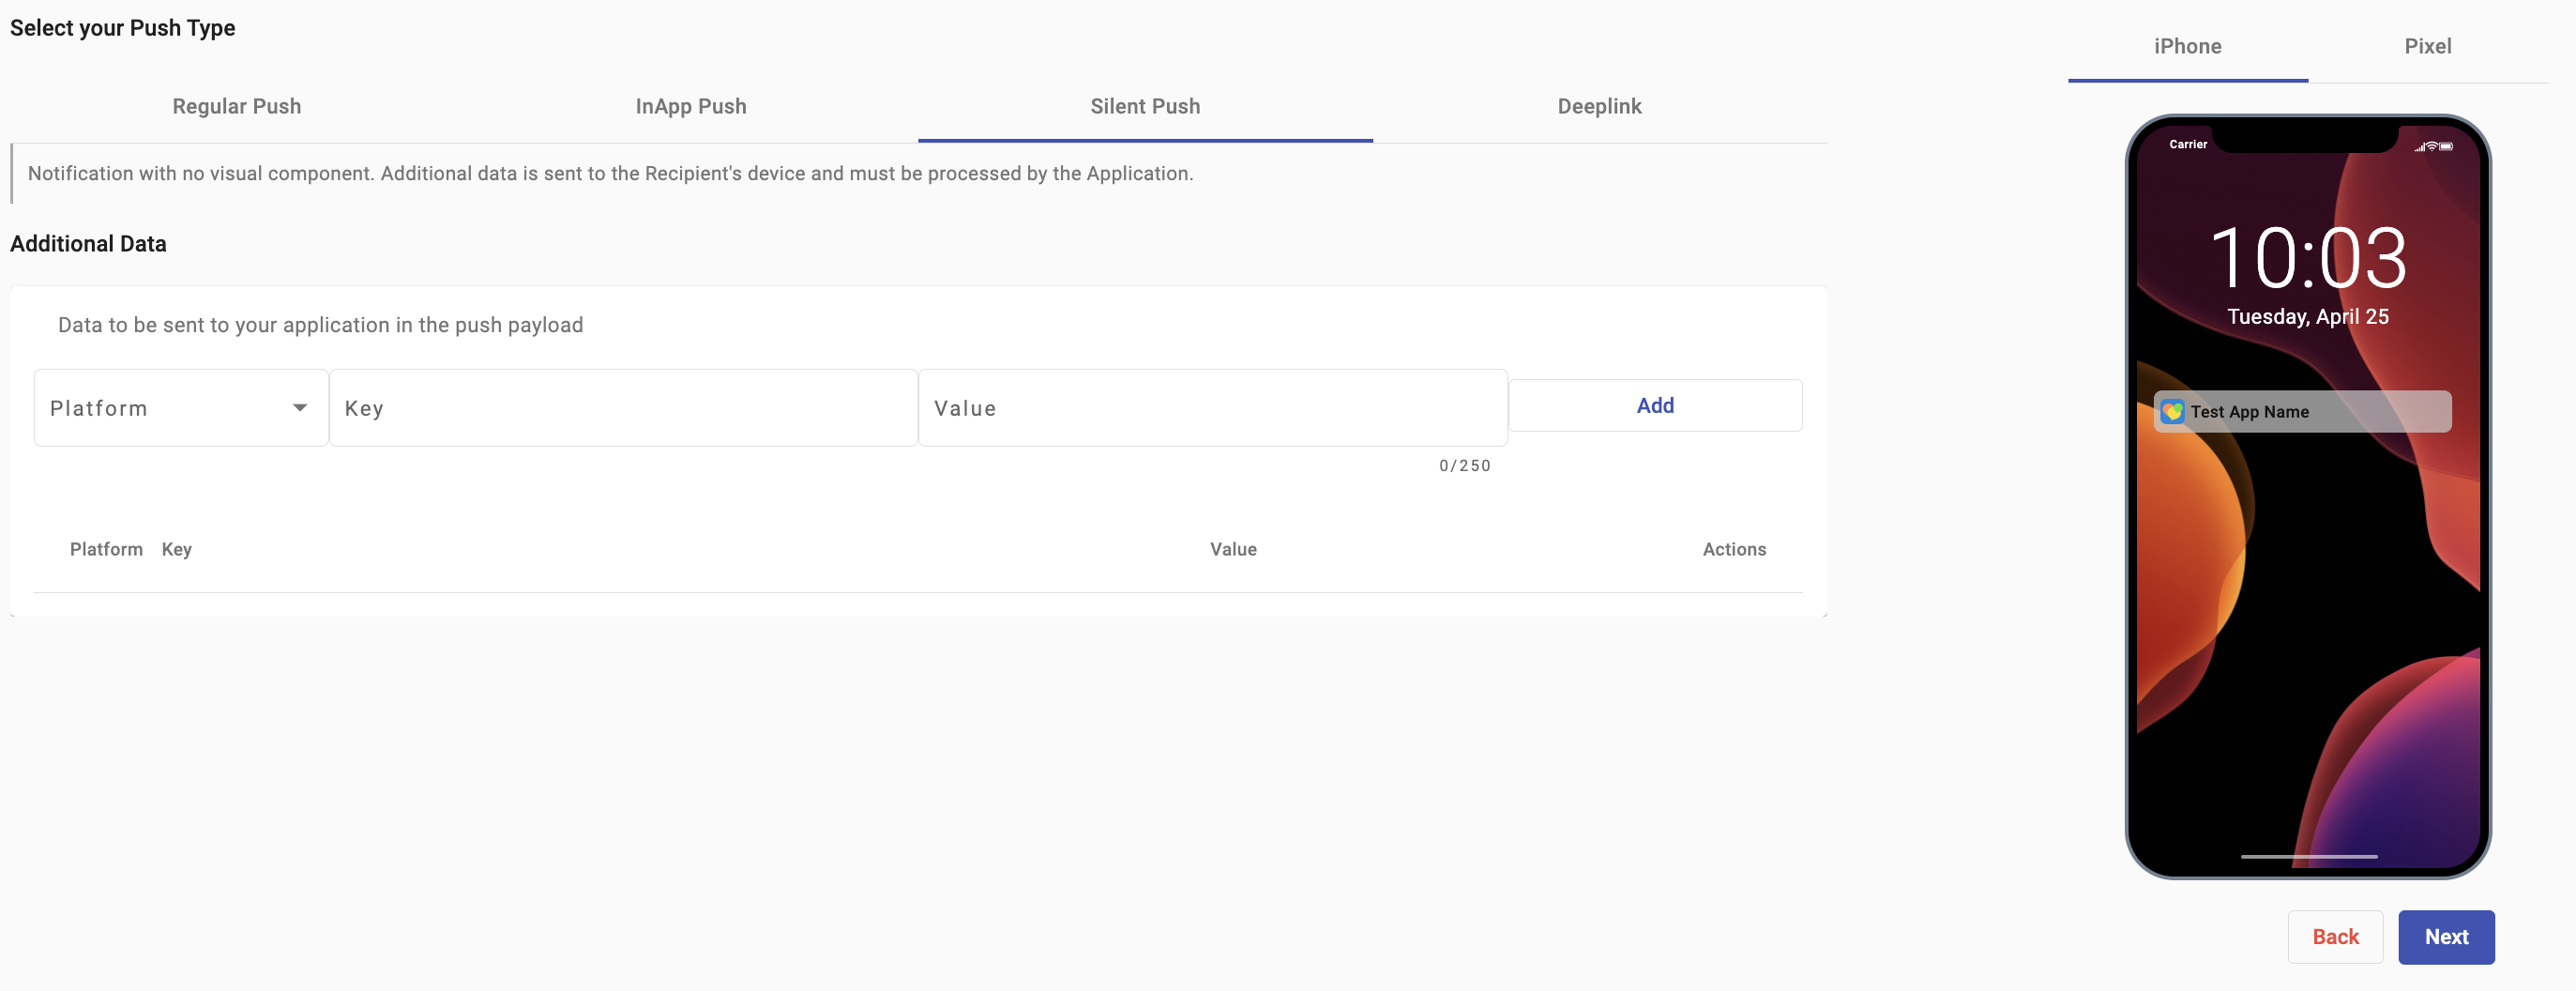
The steps to create a Silent Push notification are the following:
-
Select the Silent Push tab located at the top.
-
Enter the additional data to be sent to your application in the push payload.
- Platform - Choose the operating system of the mobile phone where you want to send the push notification: Android, iOS, or both.
- Key / Value: Key/value pairs can deliver additional data you can use for a more complex, rich Silent push experience. It is a set of two linked data items: a ‘key’, which is a unique identifier for some item of data, and the ‘value’, which is either the data that is identified or a pointer to the location of that data. For example, the user wants to update the application's background color and background image.\
\ Background Color
Key -> backgroundColor
Value -> green\ Background Image
Key -> Image
Value -> https://…

- Once you have entered the additional data, click Add .
Deeplink
Deeplink push notifications direct users to specific content inside the app..
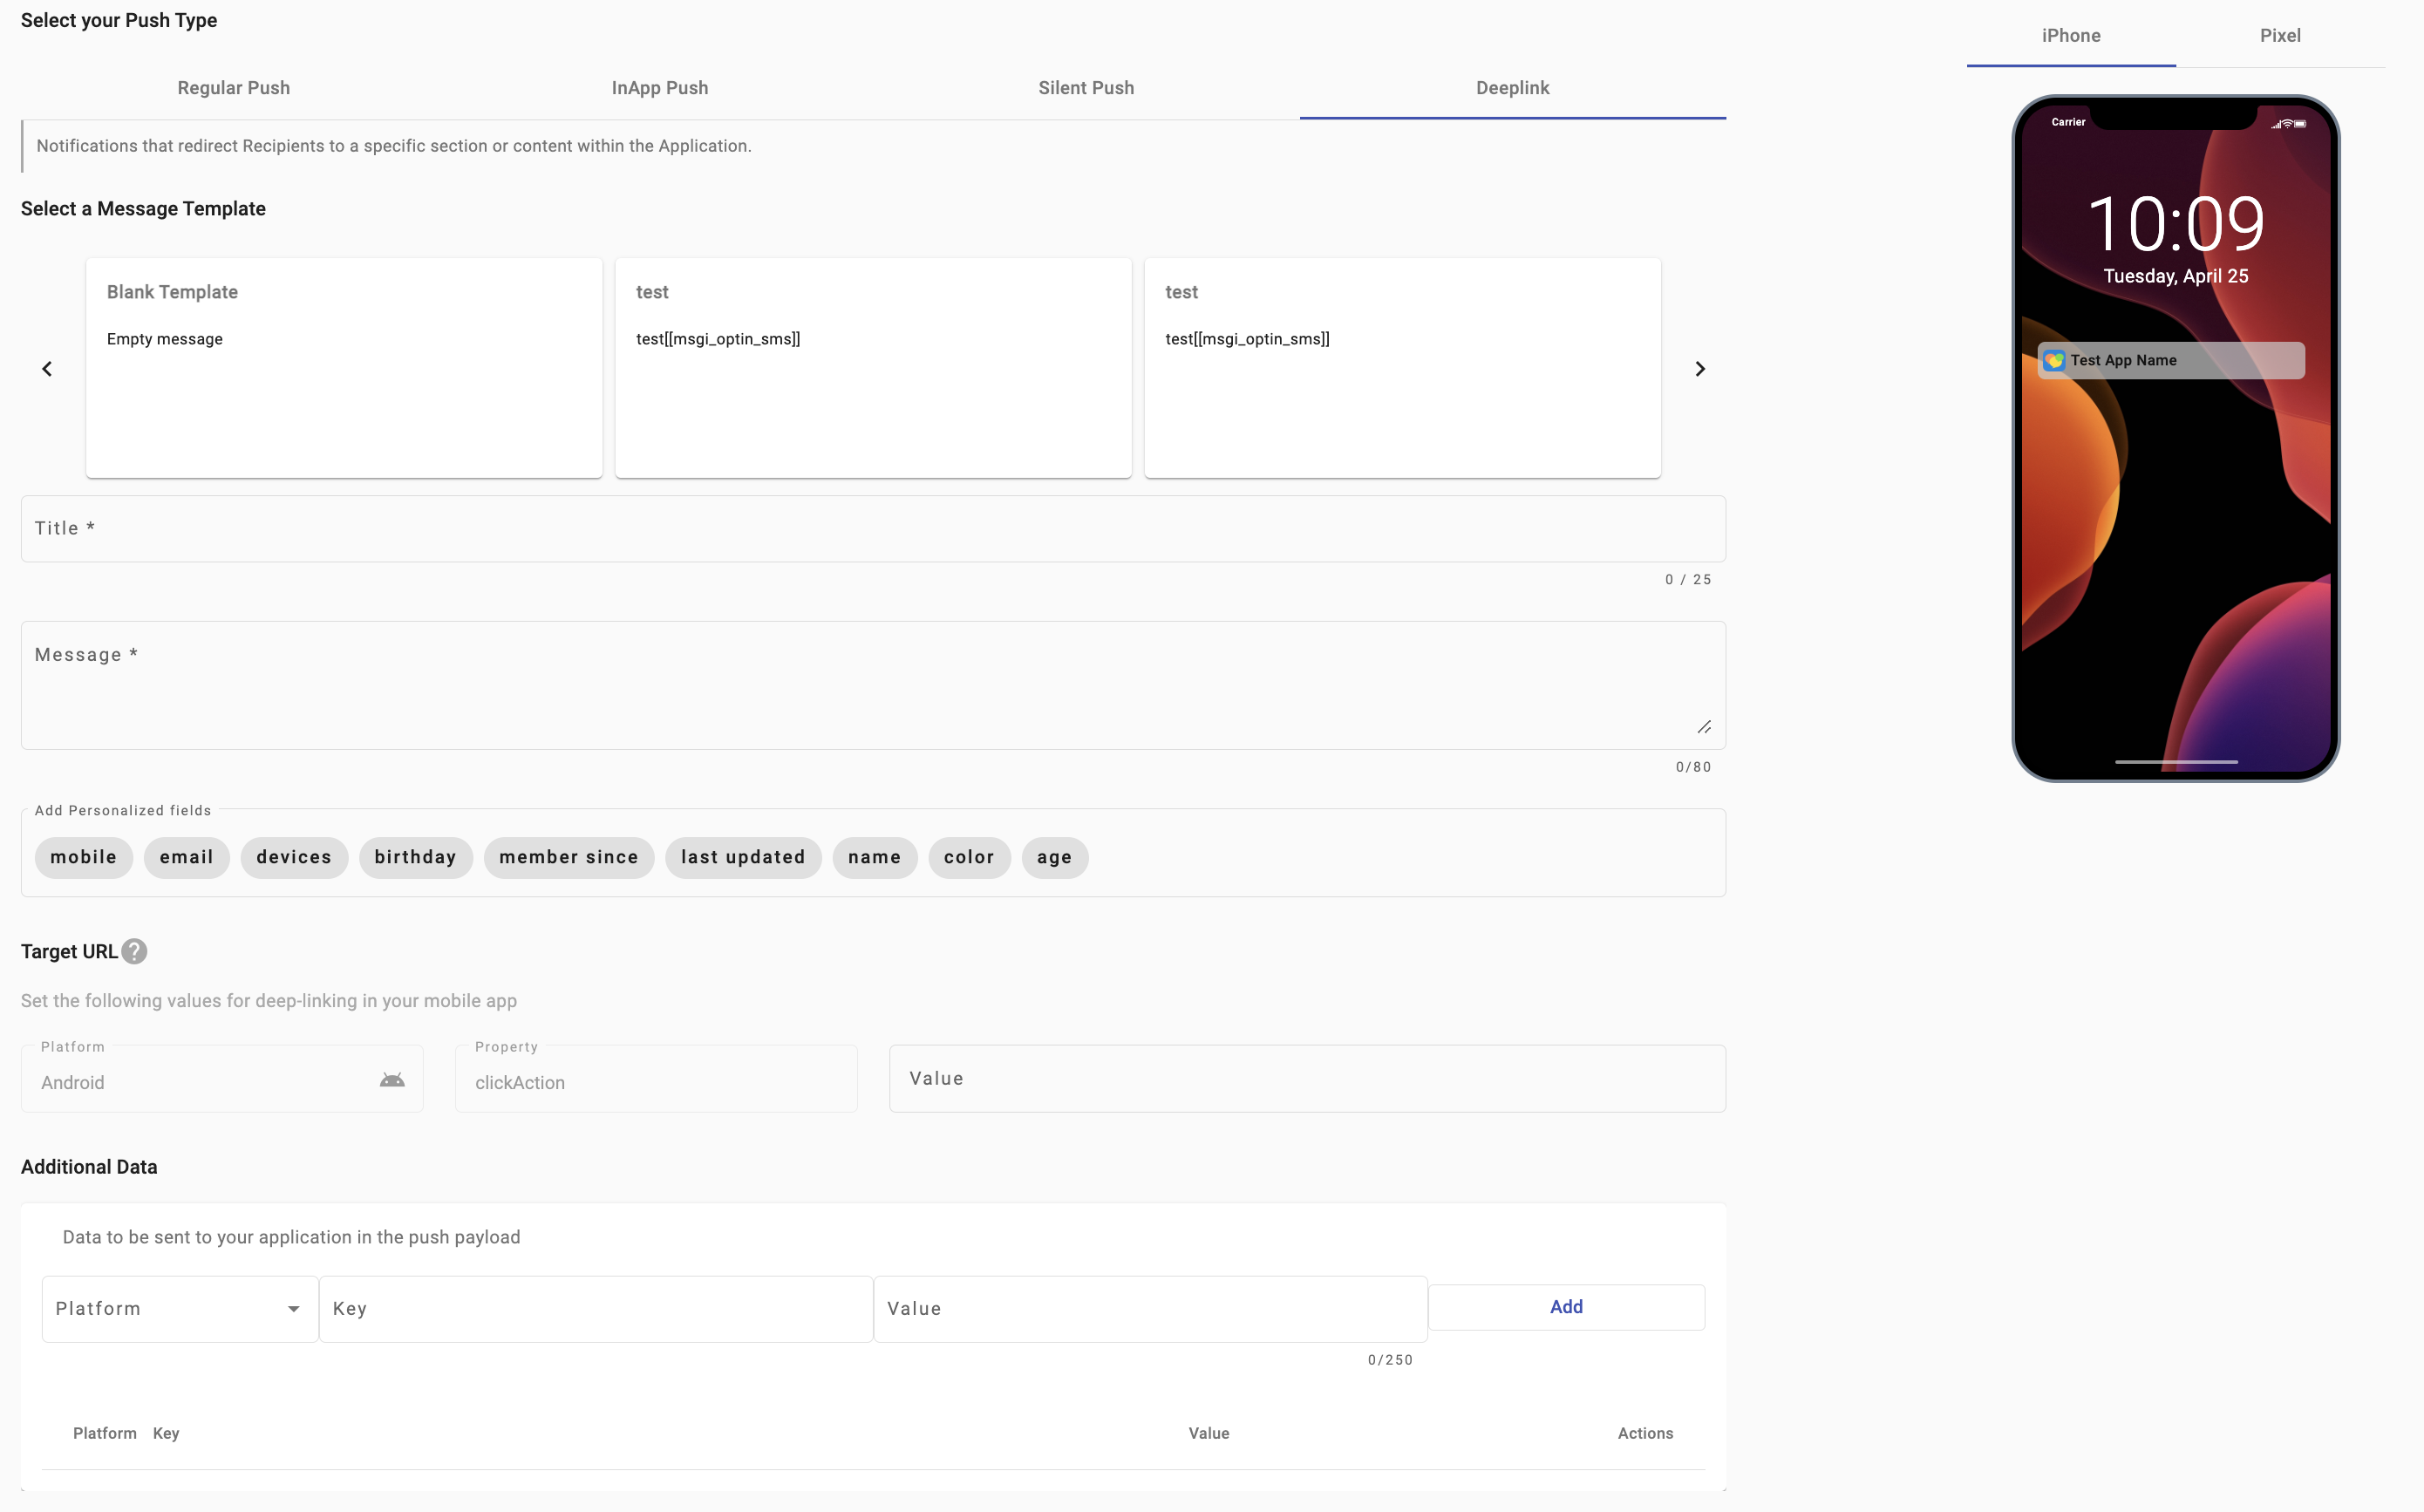
The steps to create a DeepLink Push Notification are the following:
-
Select the Deeplink tab located at the top
-
Follow the steps for Regular Push to define the message.
-
Enter the Target URL that users will be directed to upon clicking the notification. Android allows you to displace the value (URL - web address) for deep-linking provided by the user. On the other hand, iOS requires additional data to specify the value (URL - web address) for deep-linking.
-
Enter the Additional Data to be sent to your application in the push payload.
- Platform - Choose the operating system of the mobile phone where you want to send the push notification: Android, iOS, or both.
- Key/Value: Key/value pairs can deliver additional data you can use for a more complex, rich Deep Link push experience. It is a set of two linked data items: a ‘key’, which is a unique identifier for some item of data, and the ‘value’, which is either the data that is identified or a pointer to the location of that data. For example, notifying their customers about a special offer on a specific item. The user must provide the location of the item using deep links.
Key -> URL
Value -> https://www…

- Once you have entered the additional data, select Add.
After you have finished configuring the Push notification you chose, click on the Next button to advance to the next step.
Region
The Region step defines the virtual perimeter (GeoFence area) where notifications will be triggered. The screenshot below shows one possible scenario where a GeoFence has been configured.

Choose when notifications are sent:
- Entering the location
- Exiting
- Both
In the Location section, there are two methods of defining the focal point of the GeoFence:
- Through the Address box, where a valid address can be entered, or
- Through Advance Location Settings, which allows introducing a set of coordinates in World Geodetic System 1984 or WGS84 format.

Also, at the bottom of the Location section is the GeoFence radius tool, a slider with a thumb control used to set the outer perimeter of the GeoFence around the selected location. The values can be anywhere between 100 meters up to 500 kilometers (approx.110 yards and 310 miles).
Summary
The Summary step reviews and displays the configured Campaign Details and sets the desired activation time.

The summary step consists of the following elements:
-
Components: Type of components of which the interactive campaign is composed: Campaign type and Delivery Channel.
-
Recipients: Number of Recipients who received or interacted with the campaign.
-
Applied Filter: Filter type applied.
-
Additional Data: Additional data sent to your application in the push payload.
-
Map: The map displays the location where the recipient will receive the notification according to the GeoFence radius tool configured by the user.
The Geofence radius tool is a slider with a thumb control used to set the outer perimeter of the Geofence around the selected location.
NOTEIn case the Geofence campaign has been configured as Regular Push or the user didn't add additional data to another type of push like InApp Push, Silent Push, Deeplink, the "Additional data" element will not be displayed in the Summary tab.
For more information about the Summary step settings, go to Summary in the Campaign Elements section.
Updated 3 months ago