Message Templates
Use Message Templates to create, organize, preview, edit, and delete reusable broadcast content.
Message Templates let you preconfigure broadcast elements, such as design and content, before you create a broadcast. Use them for recurring events, seasonal promotions, or any broadcast that needs consistent messaging across channels.
Message template scopeWhen you use a message template to create a broadcast, the broadcast copies all elements configured in the template.
Open Message Templates
-
Select the Message Templates icon in the left navigation menu.
-
Review the Message Templates screen. The first time you open this section, the template display area is empty.
Message Templates screen
The Message Templates screen has two main areas: the top panel and the template display area.
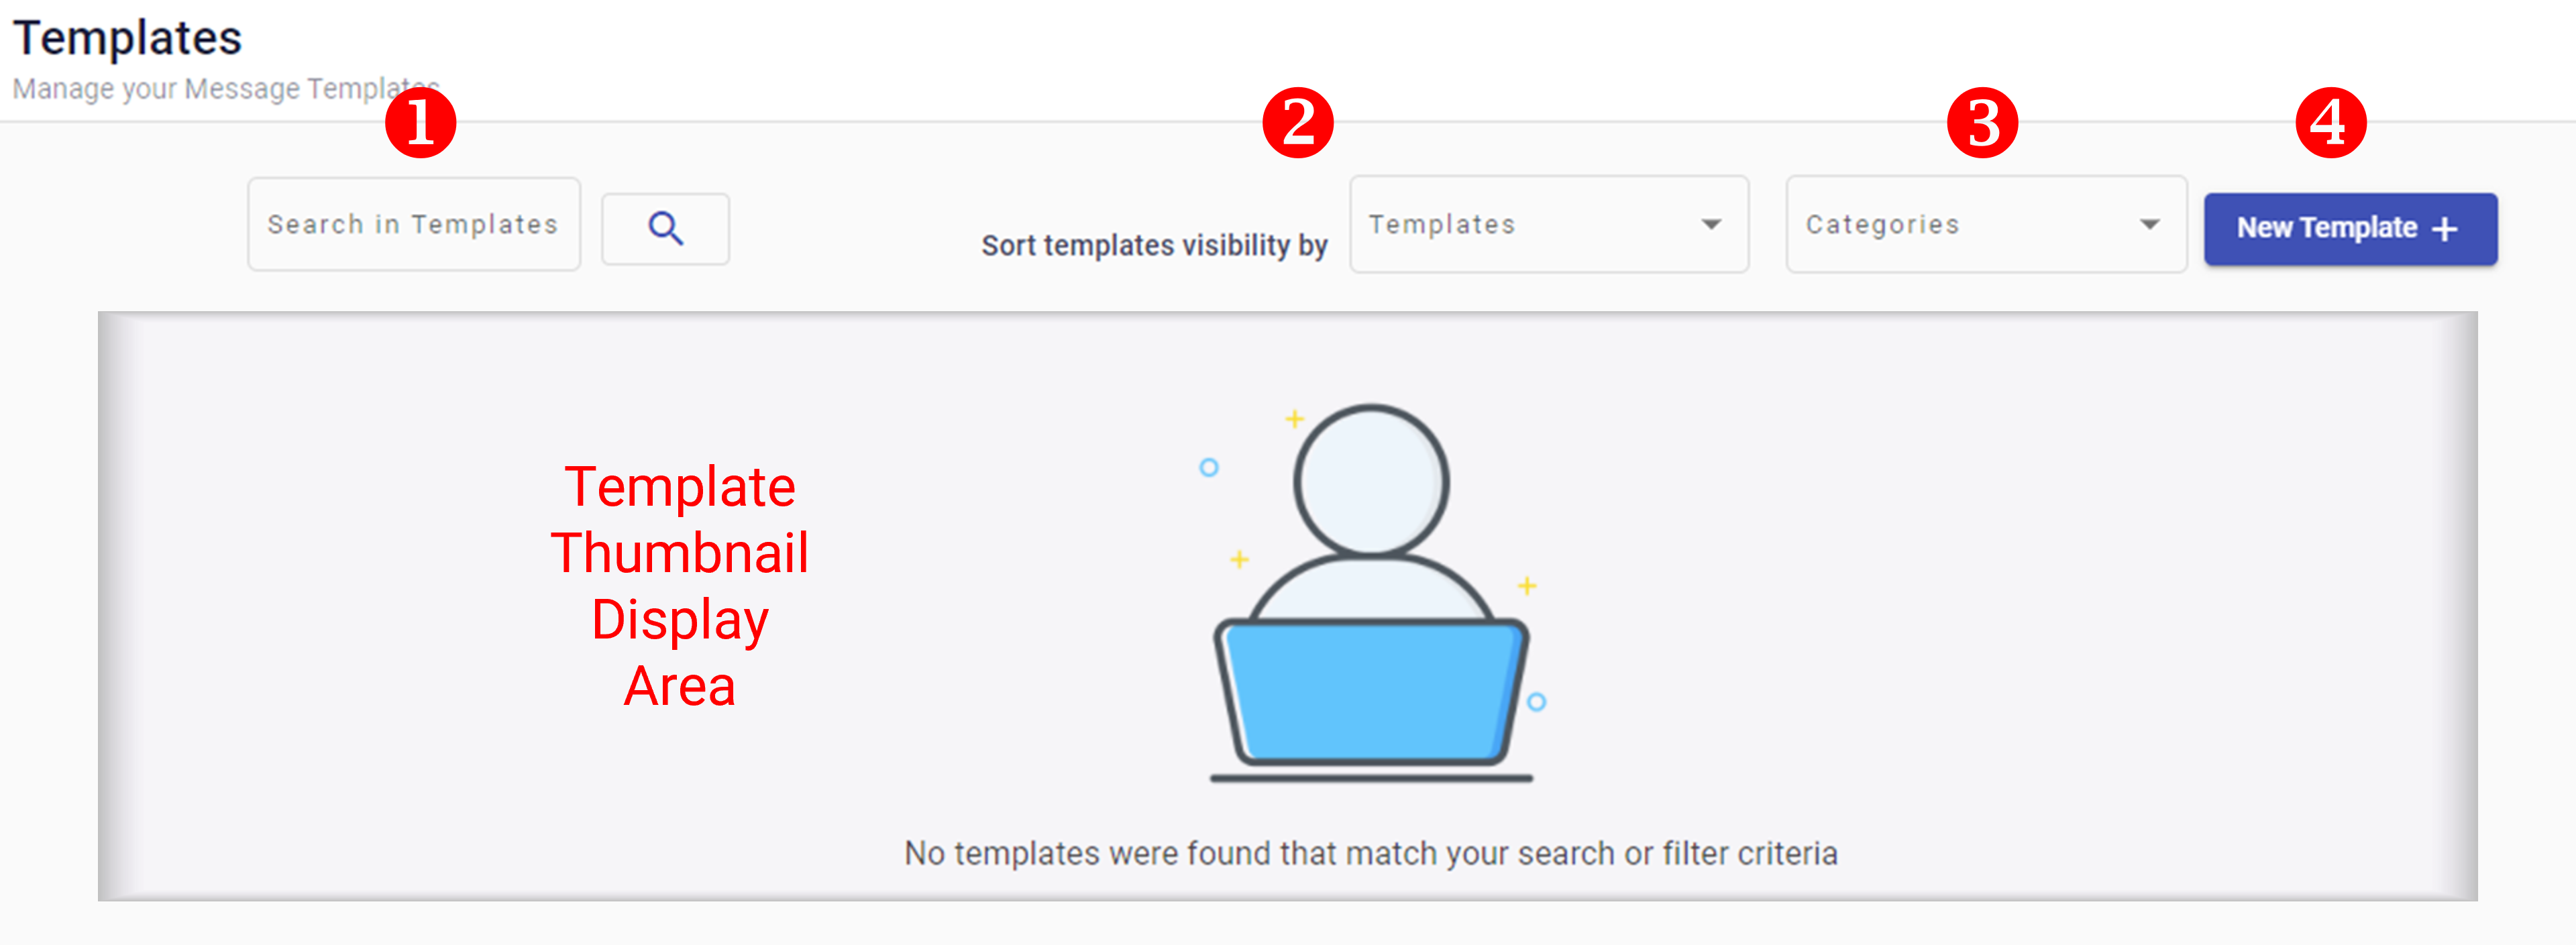
Top panel
Use the top panel to search, filter, categorize, and create message templates.
| Control | Description |
|---|---|
| Search in Templates | Finds a message template by name. |
| Sort templates visibility by | Filters message templates by type, such as SMS, Email, WhatsApp, or Automations. |
| Categories | Opens category options for classifying message templates. Select Manage Categories to create, edit, or delete categories. WhatsApp message templates cannot be categorized. |
| New Template | Opens the message template builder, where you choose a channel and define the template content. |
To create a message template for a specific channel, use one of these guides:
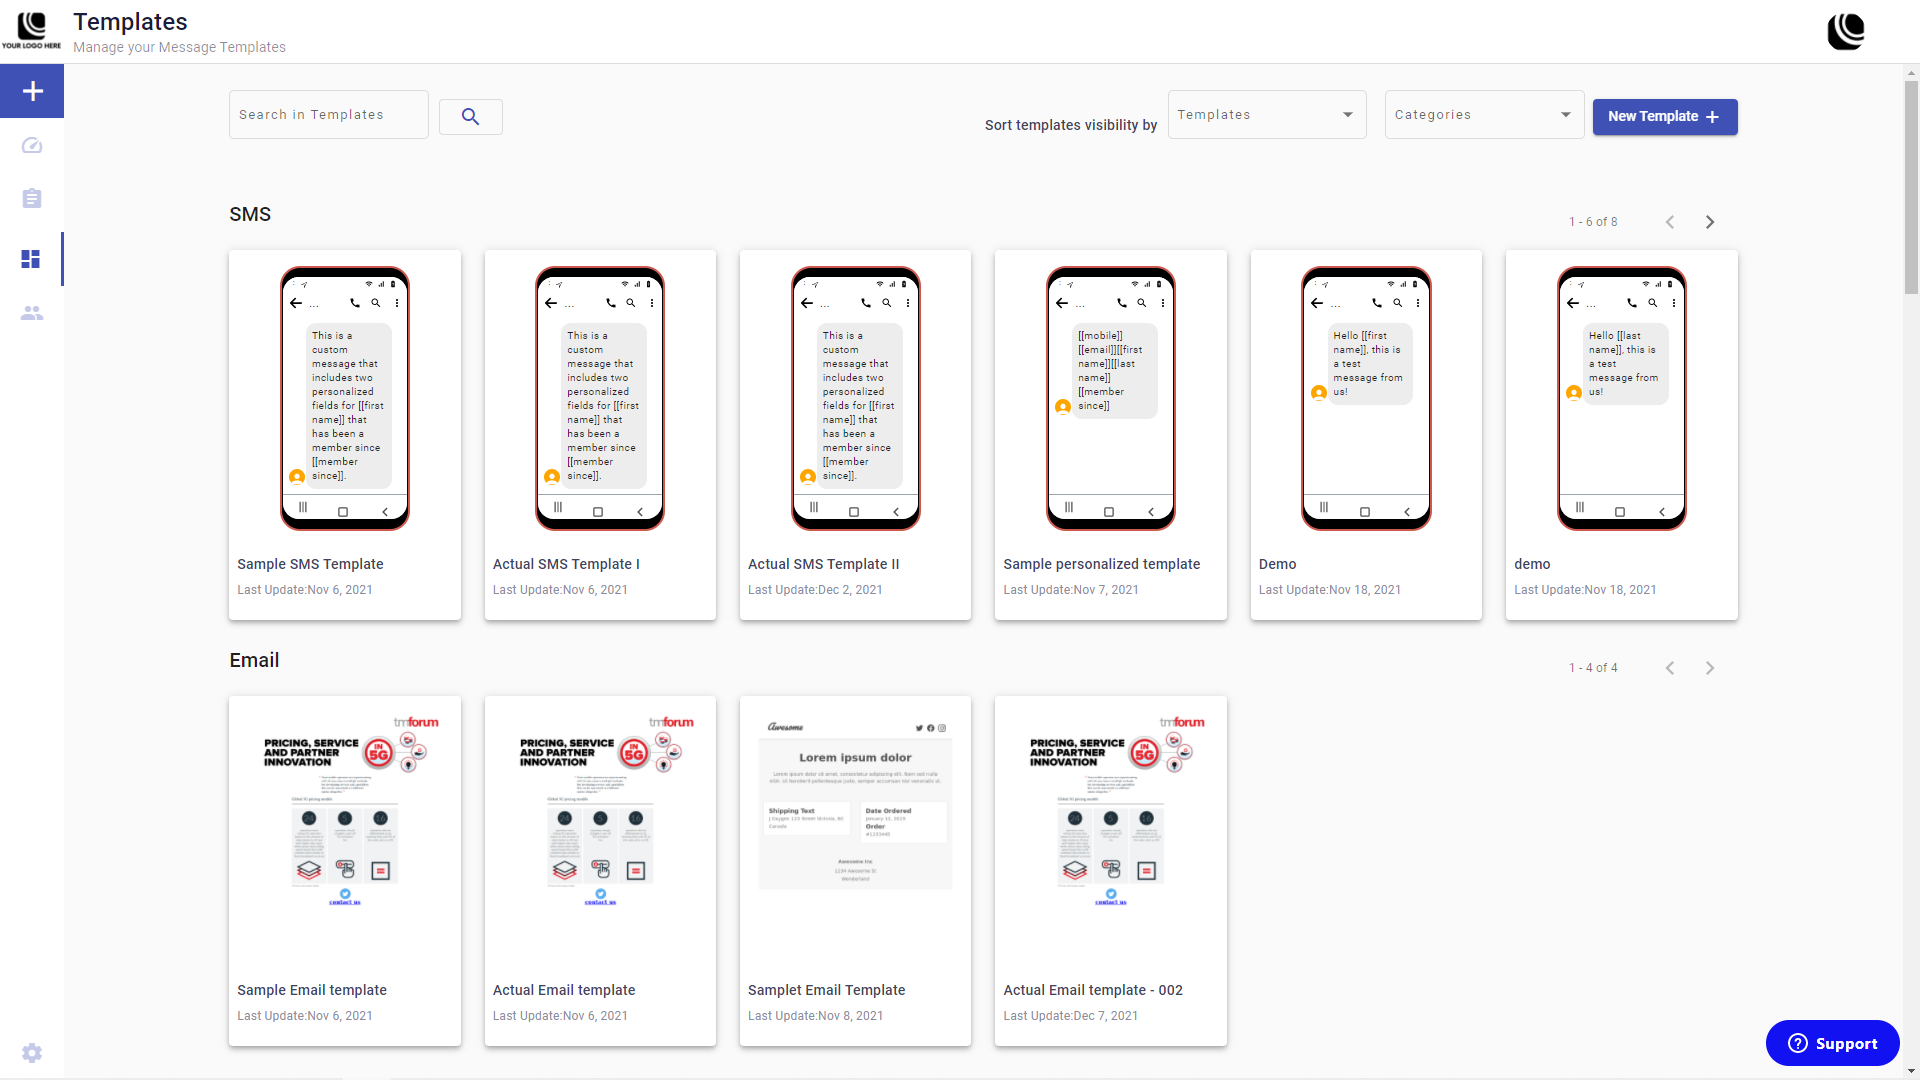
Template display area
The template display area shows your created message templates. Message templates of the same type are grouped in rows, and new templates are added to the next available slot in the matching row.
Manage categories
Categories group message templates under custom labels, such as campaign type, audience, or promotion. The Categories dropdown initially displays only the Manage Categories option.
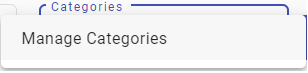
Select Manage Categories to open the category management screen.
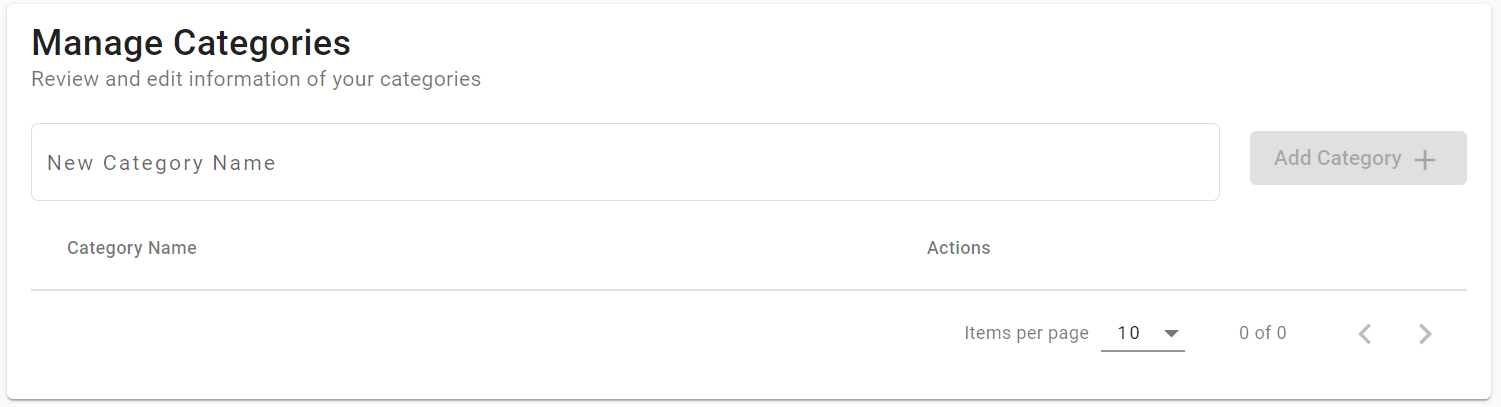
Create a category
- Enter a category name, such as
Holiday Offers,Transactional, orNew Promotions. - Select Add Category.
- Repeat these steps for each category you want to create.
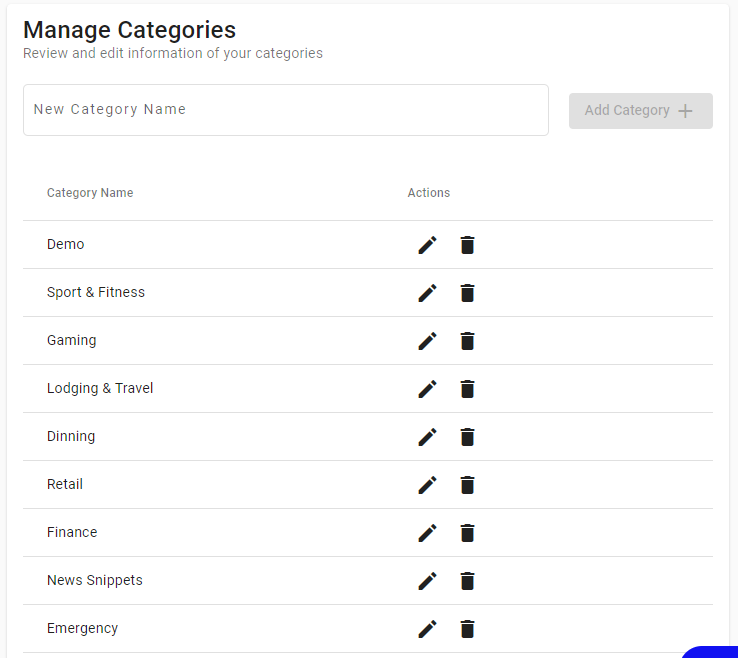
Created categories appear in the Categories dropdown on the Message Templates screen. Use them to filter and manage message templates by type or purpose.
The Manage Categories table lists each category with edit and delete actions on the right.
Manage message templates
Hover over a message template to show the preview, edit, and delete icons. The template turns grey while the icons are visible.
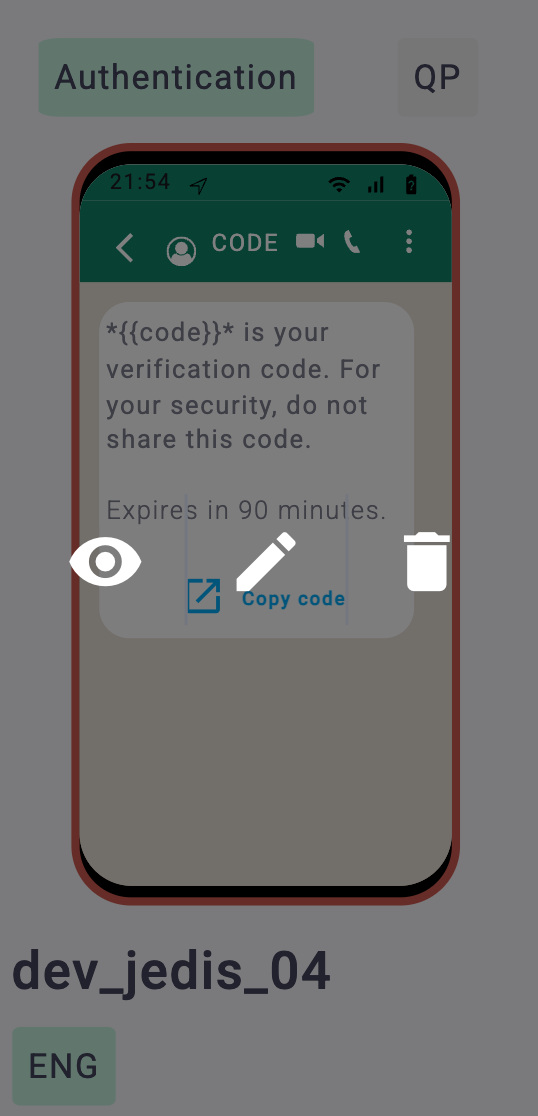
Use the template action icons to manage an existing template:
| Icon | Action |
|---|---|
| Eye | Opens a preview screen. Available preview actions depend on the broadcast type. |
| Edit | Opens the message template for modification. |
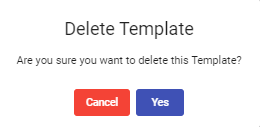
| Trash can | Opens a confirmation dialog before deleting the template. |
For standard messaging templates, such as SMS and Email, the preview can include these options:
- Sender
- Personalized fields
- Clone or edit option
- Close-up preview of the message template content
Updated 12 days ago