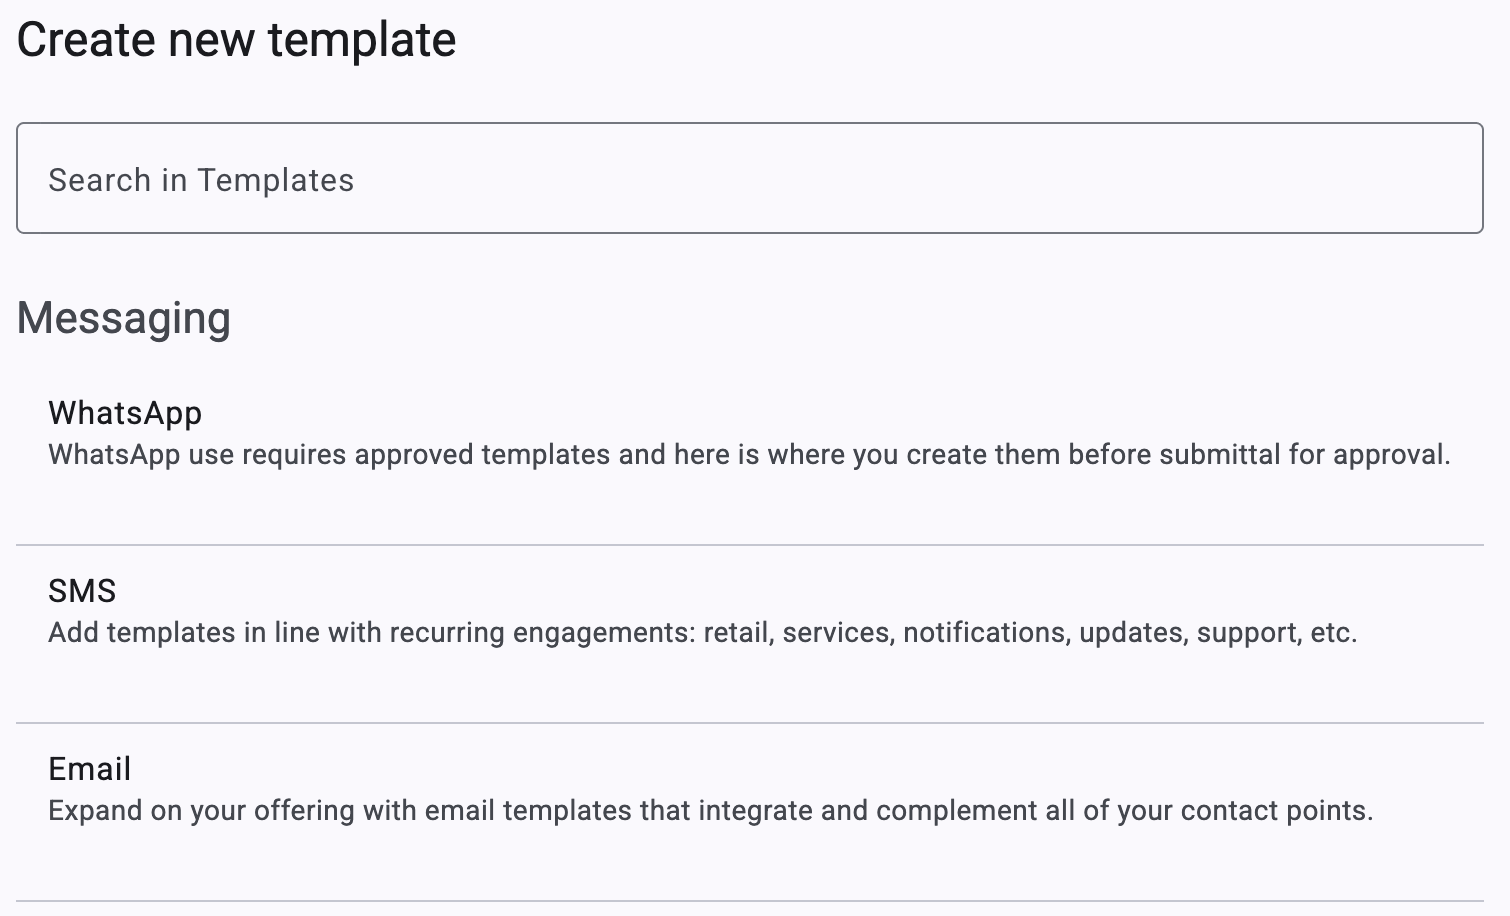
Email Message Template
You use the Email Message Template feature to create and manage customized email messages for Broadcasts and Automations. These message templates provide flexibility through multiple creation methods:
- Drag-and-drop design
- HTML upload
- Cloning from existing message templates
To begin creating an Email message template:
-
After you select the Templates icon and click + New template, a pop-up window appears. Click the Email option.
-
After you select Email, a second window appears. Two options are available:
-
Click Create Blank Template to build a new message template from scratch, or
-
Choose from existing Email message templates (if available) to clone and reuse an existing format.

-
-
To create a new Email Message Template, click the Create blank Template button. Once you click it, the Email Message Template creator appears with several fields to complete:

- Template Name — Enter a unique name to identify the message template.
- Description — Provide a short description of the message template's purpose.
- Template Categories — Assign one or more categories to organize your message templates.
- Template Options — Three options are available for creating the email content:
- Start from scratch: Use the drag-and-drop Email Editor to build the layout manually.
- Clone a Template: Duplicate a previously created email to reuse and modify.
- Upload HTML: Import an existing HTML file as your message template.
- After you fill all required fields, click Next to proceed to the email content configuration.
-
After you select the desired option, a confirmation message appears. The platform redirects you to the main Message Templates screen, where the new template is listed.
Start from scratch
The Start from Scratch option opens the built-in drag-and-drop Email Editor for building a fully customized email message template. You use it for complete control over the structure, layout, and content of your emails — no code required.
The Email Editor features a canvas and a two-panel layout for building new email message templates.

The top menu offers nine different actions that can be selected, as shown below.

| Action Position | Action Name | Description |
|---|---|---|
| 1 | View Components | It displays the outline of the area that holds each component and its placement inside the canvas. |
| 2 | Preview Email | Allows for the review of the rendering of the message template as work progresses in its assembly. |
| 3 | Undo | Reverse the last action. Reverse more than one action. |
| 4 | Redo | Reverse the last undo. Reverse more than one action that has been undone. |
| 5 | Edit in HTML Code | Edit the Email Message Template in HTML and CSS code. Each component that is placed into the Email Body will update the HTML and CSS code. |
| 6 | Open Style Manager | Customize spacing, positioning, color, font, size, background color, border, and more. |
| 7 | Settings | Set a title and an identifier ID for each block |
| 8 | Open Layer Manager | View each component that has been placed into the Email body. When the user wants to view a specific block in the Open Layer Manager panel, select the desired block, and the block that was selected will be marked. |
| 9 | Content Blocks | Helps you to create the Email content's structure and layout. |
Once you open Content Blocks, the right panel displays a variety of elements grouped by function:
Structure Blocks
Structure Blocks define the base layout of your email.

- Header – Adds a top section for branding or titles.
- Section – Main container for email body content.
- Footer – Bottom section for legal info, social links, etc.
Layout
Layout determines how elements are distributed inside a structure.

- 1 Section – Full-width row.
- ½ Section – Two equal columns.
- ⅓ Section – Three equal columns.
- 3/7 Section – Two columns with a 3/7 width split.
Basic
Basic blocks are drag-and-drop elements for adding functional content.

- Button — Places a CTA button within the message template with an option to add a link.
- Divider — Further divides the layout elements.
- Text — Simple text entry box.
- Image — Includes image content.
- Link — Adds URLs associated with elements of the content. (See Changing/Adding Links)
- Link Block — Similar to the above but associated with an entire block container.
Advanced
Pre-configured design blocks.

- Text Section — Inserts text content, including a title and a following paragraph, in the message template body.
- Quote — Inserts a quote-styled text content to the message template.
- Grid items — Inserts a pair of vertical combo contents, each consisting of an image and a titled text section.
- List Items — Similar to Grid items, except that contents are horizontally arranged.
Personalize
Personalize Blocks create email content with personalized fields for each recipient.

For example, dropping the Name field into the Email delivers each Email with the Name from the Subscription List Field.
Unsubscribe
Adds unsubscribe links to comply with email regulations.
Contacts unsubscribe to stop receiving Emails and are added to the blocklist.

-
Unsubscribe — Adds an Unsubscribe link in the Email body.
This block will present the option to the Recipient to Unsubscribe and stop receiving emails from the Broadcasts. It has a preset message that can be easily modified:

NOTEThe following text {UNSUBSCRIBE} contains the link that will be displayed in the delivered Email
-
Footer — Adds a pre-configured message template with the company's registered trademark, address, recipient message, and an Unsubscribe link.
The platform obtains these fields from the Company Preferences section.

The 'Footer Unsubscribe' block contains the predefined keys [d [[Company A] and [ along with the u] along with the unsubscribe link.

Open in Browser
Open in Browser inserts a link so recipients open the Email content in their browser. This ensures that the full version of the Email is viewable to all readers.
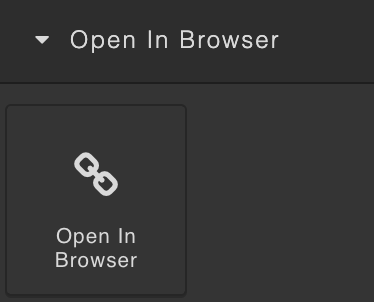
When the Recipient receives the Email, the link appears as follows:

If the Recipient clicks this link, the Email content opens in their device's browser.
Clone a Message Template
To clone an existing Message Template, you select the Clone a Template option from the Message Template information section. The Email Editor opens with the selected Message Template, where you make any changes.
You select a Message Template to clone from the Carousel, if available.

If no message templates are available, the platform displays a message indicating none are available to clone.

After you select the Message Template to clone, a preview appears below it. You select Next. The Message Template opens in the Email Editor.
Upload HTML
To upload an Email HTML file to create the Message Template, you select the Upload HTML option. You drag and drop or click Browse Files to upload your HTML file.

After uploading, the platform renders a preview of the HTML file. All detected Assets (images, videos) appear on the left-hand side.
For each detected Asset, you enter a public URL for the asset location or upload the file from your computer.

In this example, the platform detects a 'logo' image of 200 x 36px for use inside the HTML file.
If an image fails to load from the HTML, the platform displays the following:

In this case, you may enter the public Image URL or drag and drop the image. After uploading, the image preview appears.
After you review all detected Assets, click Next. The uploaded HTML opens in the Email Editor.
After you make all desired changes in the Email Editor, click Save. A confirmation message indicates the Message Template was created.
Changing/Adding Links
Adding all links to the message template before uploading the HTML file is recommended. On occasion, you add or change the URL of a link or add a new link.
Changing a link's URL
Inside the canvas area, you locate the element with the link that needs modification. This could be a button, an image, or some text content. After you select the element with the pointer, a Link element identifier appears.
In the sample screenshot below, the element with the link that needs changing is Activate your coupon. The Link identifier appears on the element.

To change the URL of the link,
- Select the element with the link.
- Select Settings from the top menu (the ⚙ icon).

The secondary menu will display the Component settings
- Identify the Href setting entry box.

- Enter the URL in it. For example, https://www.example.com.
The link URL is now updated. You verify the link by hovering over it to confirm the pointer recognizes it.
Adding a new link to a message template
Adding a new link requires defining a link element inside a section of the message template. You identify the element to associate with the link. This varies with the element type.
Text link
If the link is associated with existing text,
- Select Settings from the top menu (the ⚙ icon)
- Highlight the text that is to become a link by dragging the pointer over it.
A text tool appears with options that can be applied to text, as shown below.

- Select the link icon.
- Enter the URL in the Href field under the Component settings menu.
New Button link
New button links are configured using the following steps:
- Select the Blocks menu.
- Select the Basic option.
- Drag and drop the Button component in the section where you are placing it inside the message template. The button element has a built-in link associated with it.
- Select Settings from the top menu
- Enter the URL in the Href field.
Updated 15 days ago