Welcome Message & Interactions
Configure the chatbot Welcome Message and Interaction flow, including interactive message options, redirects, and final message behavior.
Configure the chatbot Welcome Message and Interaction flow so the chatbot can greet users, present options, and route each conversation to the correct next step.
Use the Welcome Message and Interaction sections to define how the chatbot communicates with users. These sections help you simulate a conversation, guide users through a process, and provide information based on user selections or keywords.
Key components in the Interactions section include:
- User prompts: Questions or statements the chatbot presents to users to request information or prompt a selection.
- Bot responses: Replies the chatbot sends in response to user input. These can include predefined answers based on the user's previous inputs.
- Keywords: Words or phrases that trigger specific chatbot responses or actions when the user enters them.
- Dialogue flow: The structure that controls how conversations progress based on user responses or actions. Dialogue flows can include branching paths that lead to different outcomes.
- Action triggers: Conditions that cause the chatbot to take an action, such as sending a welcome message when a conversation starts or transferring the user to a human agent when the chatbot cannot resolve the request.
Welcome Message
The Welcome Message is the first greeting users receive when they start a conversation with the chatbot. Use it to set the tone for the conversation, introduce the assistance the chatbot can provide, and guide users to the next step.
Effective welcome messages are concise and informative. They often include a menu of options that users can select to start the conversation.
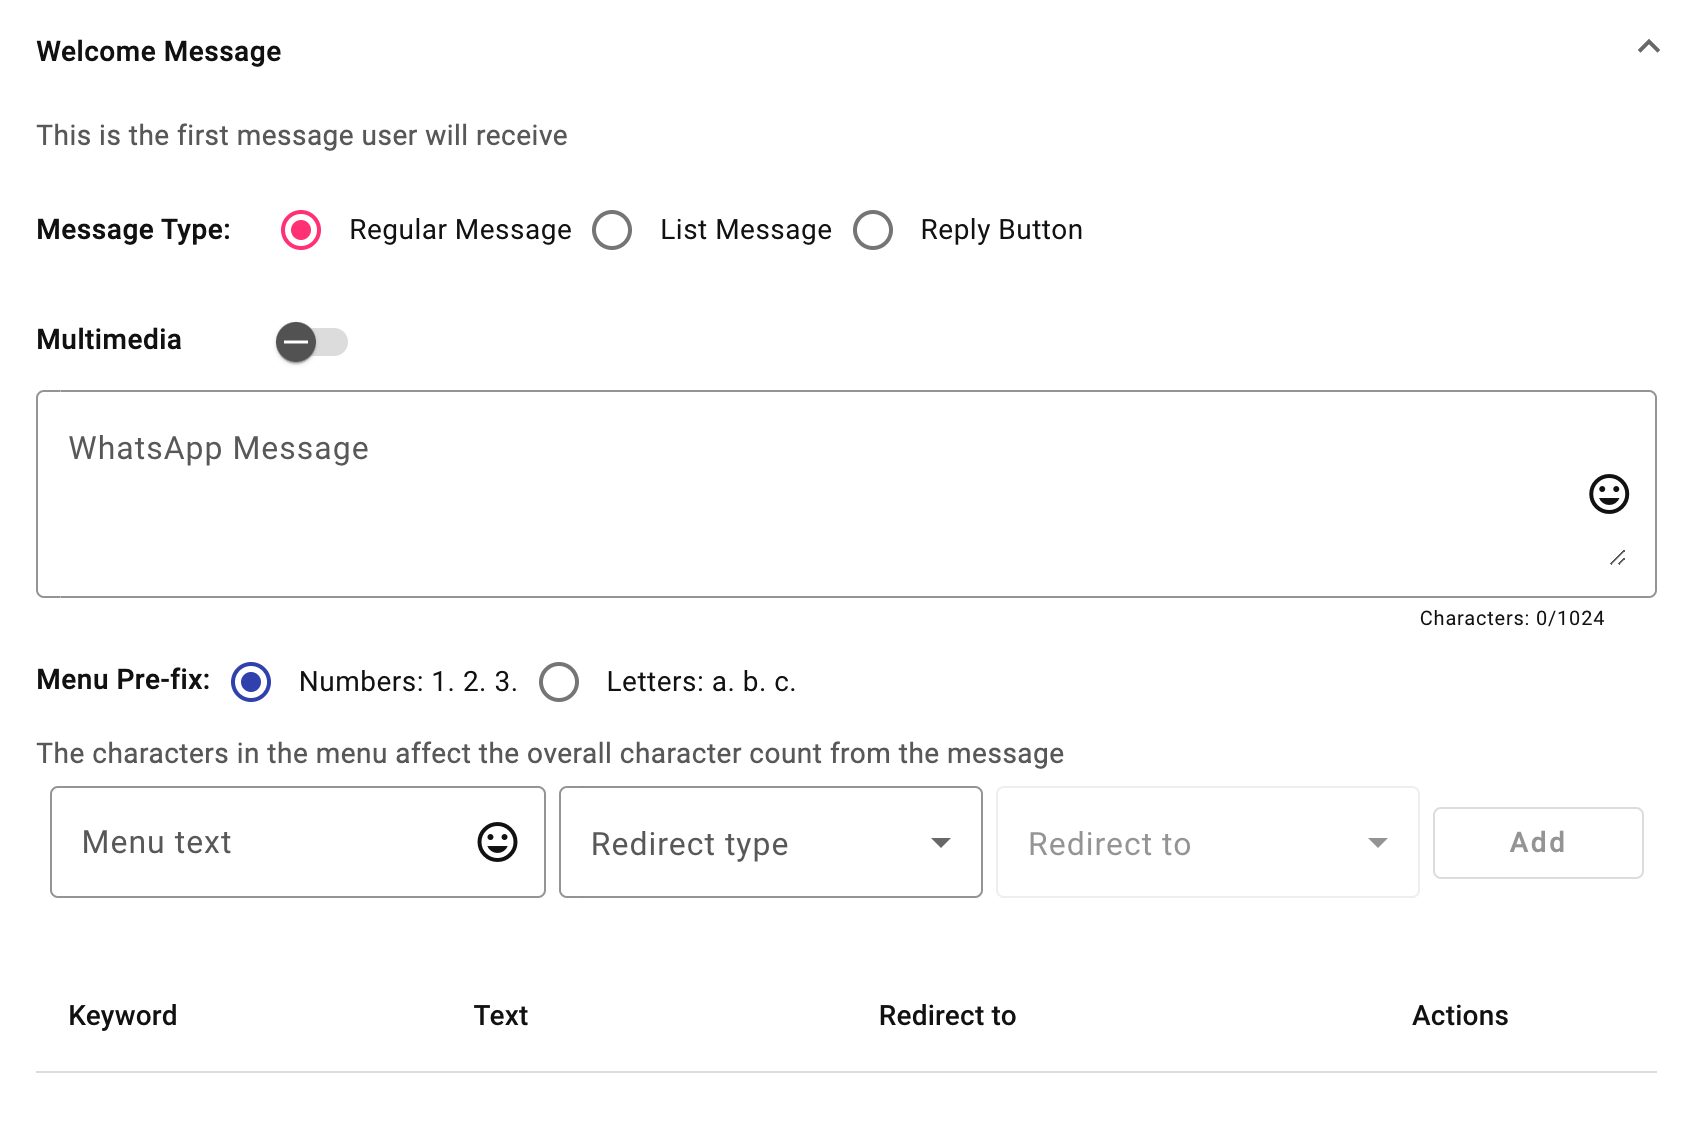
To configure the Welcome Message:
- Choose the interactive message option for the Welcome Message: regular message, list message, or reply button.
- Define each welcome message component based on the selected interactive message option.
- Configure the options users can select:
- Configure the selection menu.
- Specify where the user is redirected after selecting an option from the menu.
Interactive Message Options
When you configure the Welcome Message or an Interaction, you can use different types of interactive messages. Interactive messages give customers a simpler way to find and select what they need from your business on WhatsApp.

Available interactive message types include:
- Regular Message: A standard text message that includes a numbered menu for resolving common issues.
- List Message: A message with a menu of up to 10 options. Use it to give users a simpler and more consistent selection experience.
- Reply Button: A message with up to 3 button options. Use it when users need to make a quick selection from a short menu.
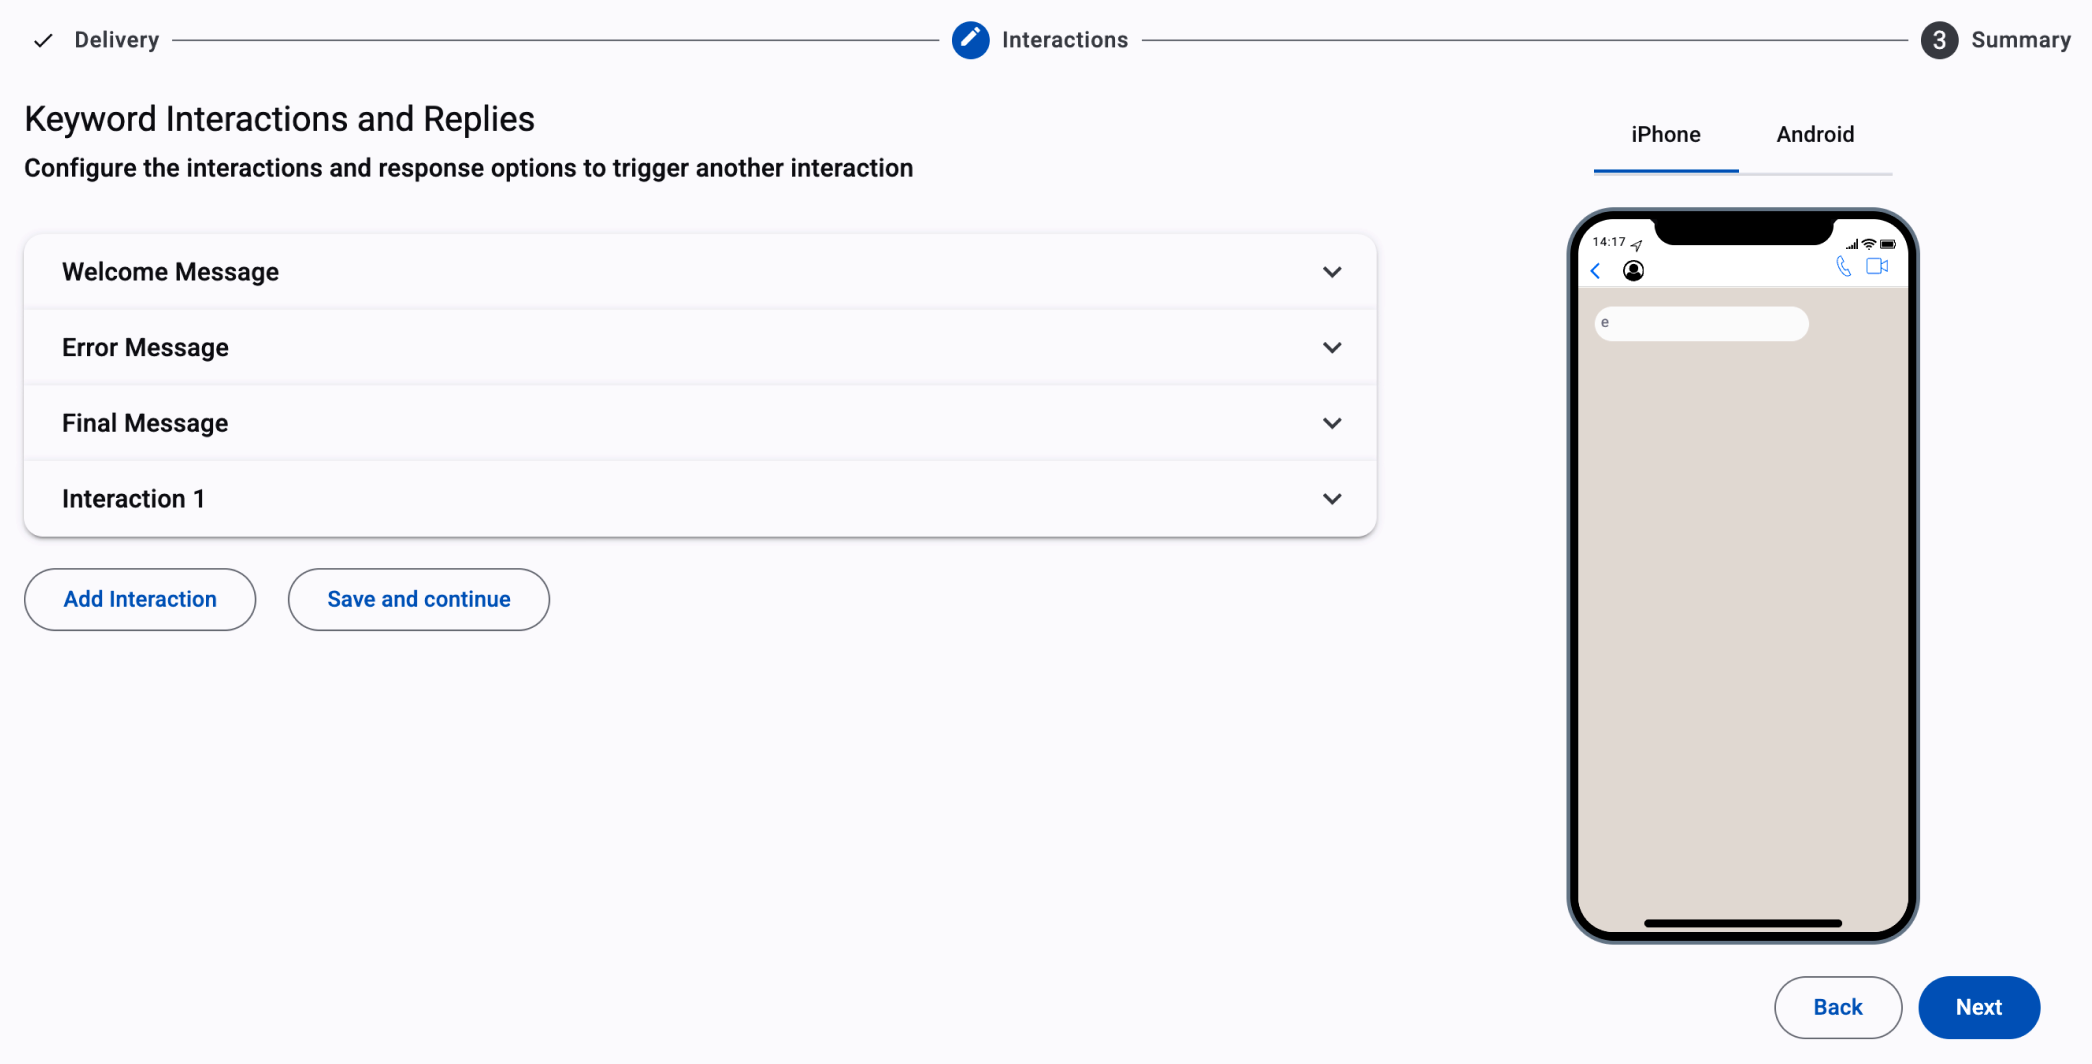
Interaction
After you configure the Welcome Message, define the Interaction flow.
An Interaction controls how the chatbot engages with users after the initial greeting. It includes the automated responses, questions, and actions the chatbot executes based on user inputs or triggers.
Use interactions to map the dialogue structure, route users through different paths, and determine when the chatbot should respond, redirect, or end the conversation.
Configuring an Interaction uses the same steps as configuring the Welcome Message. You can also redirect an interaction to another interaction.
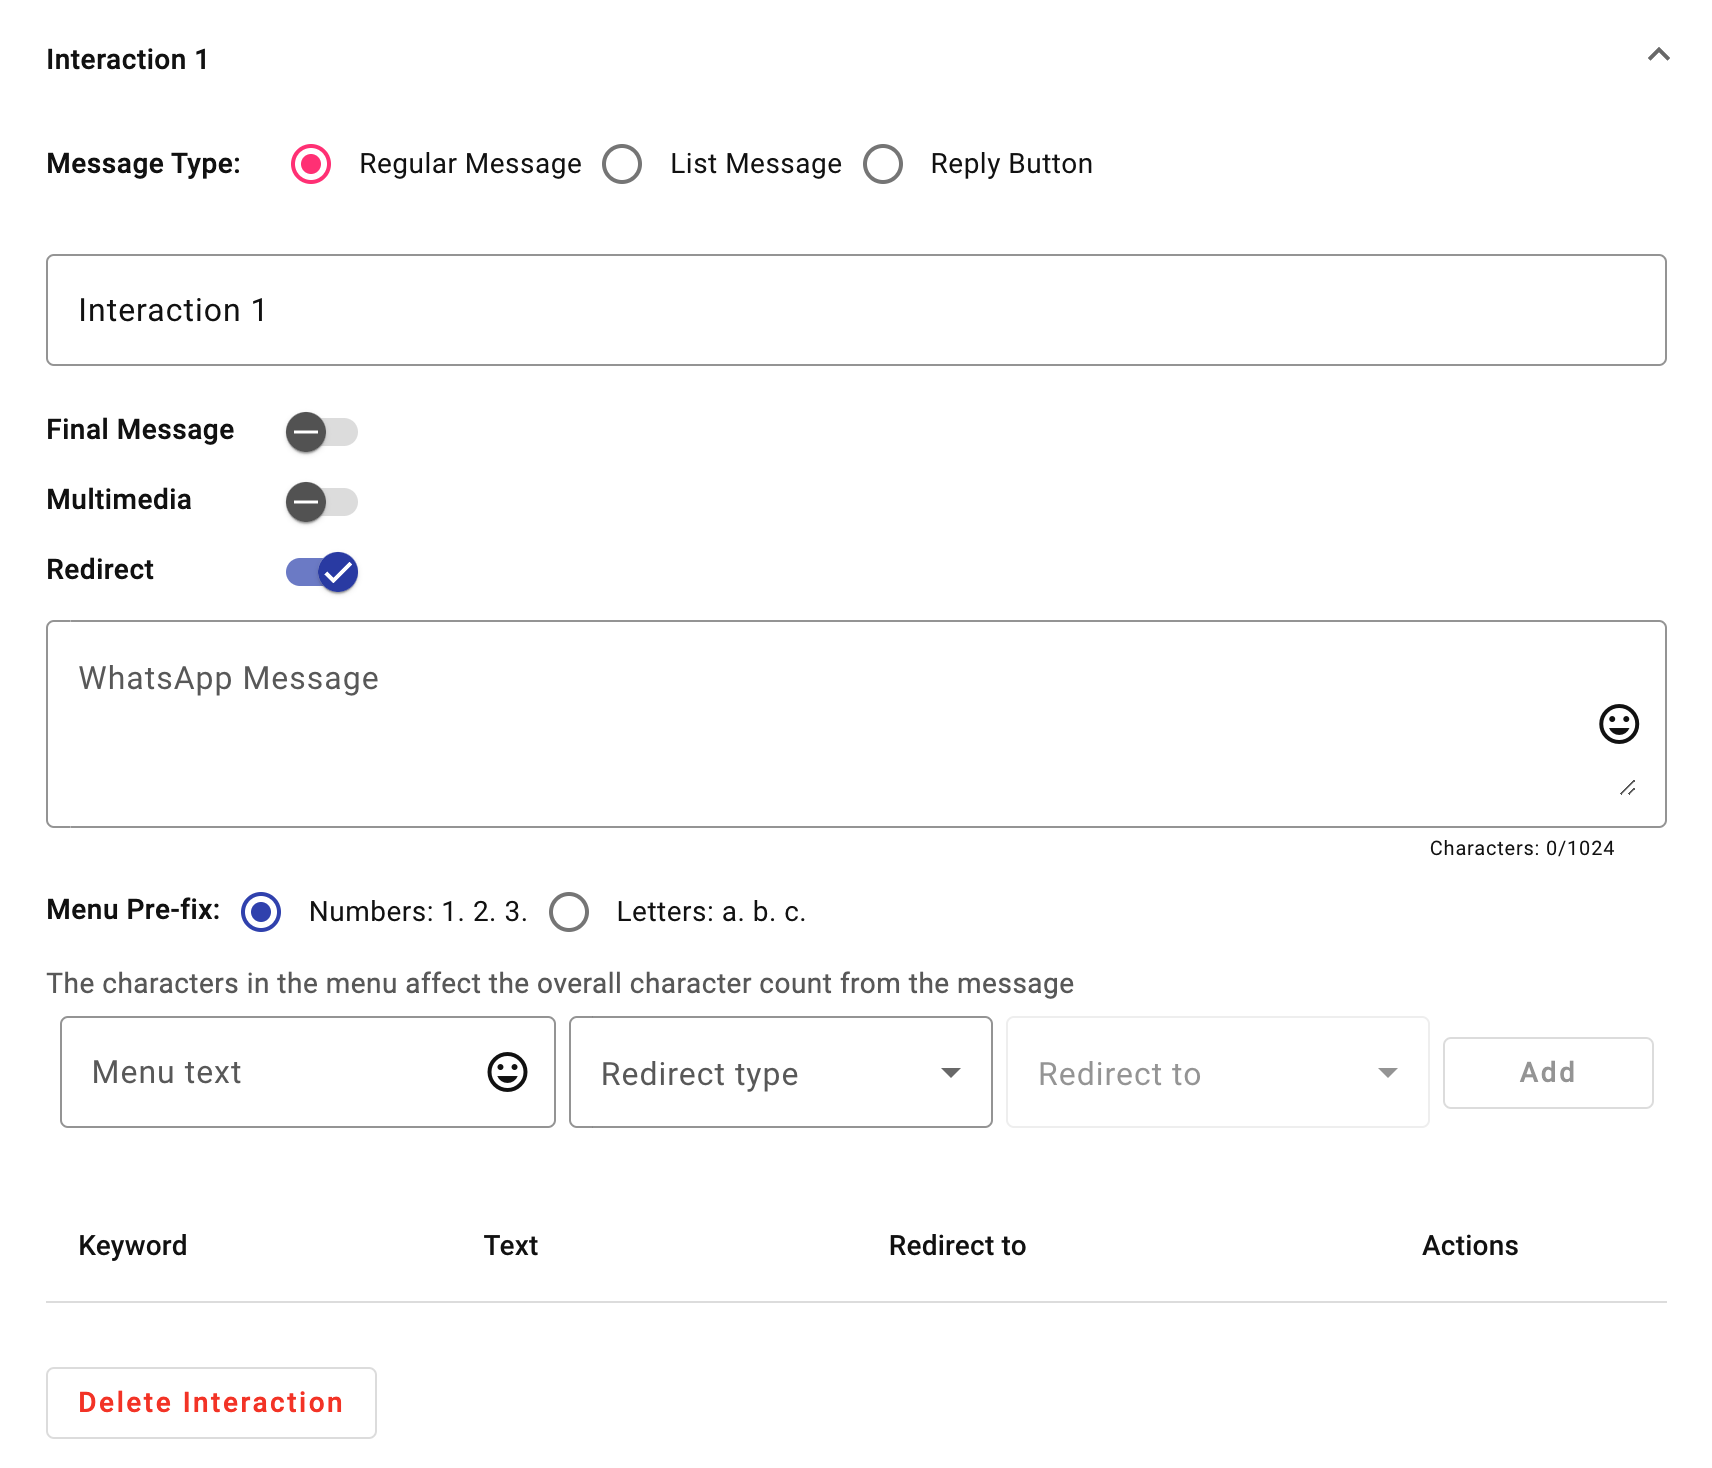
To set up an Interaction:
-
For WhatsApp, choose the interactive message option for the interaction: regular message, list message, or reply button.
Follow the same configuration steps you used for the Welcome Message.
-
Name the interaction in the provided field.
By default, each interaction name is numbered in order, such as Interaction 1, Interaction 2, and Interaction 3.
-
If you choose Regular Message as the interactive message option, decide whether the interaction redirects to a Final Message or to another Interaction by enabling the appropriate toggle.
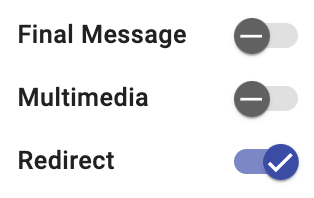
The Redirect toggle is enabled by default. At the end of a flow, disable the Redirect toggle when no action should follow the current interaction.
NOTEWhen you disable the Redirect toggle, the Final Message toggle is automatically activated. After activation, the interaction redirects to the final message shown when the user finishes interacting with the chatbot.
to define how the chatbot communicates with users. These sections help you simulate a conversation, guide users th
If the interaction has an options menu and one or more options redirect to another interaction or integration, the system displays a message that the final message can only be sent if one or more options redirect to automations or webhooks.
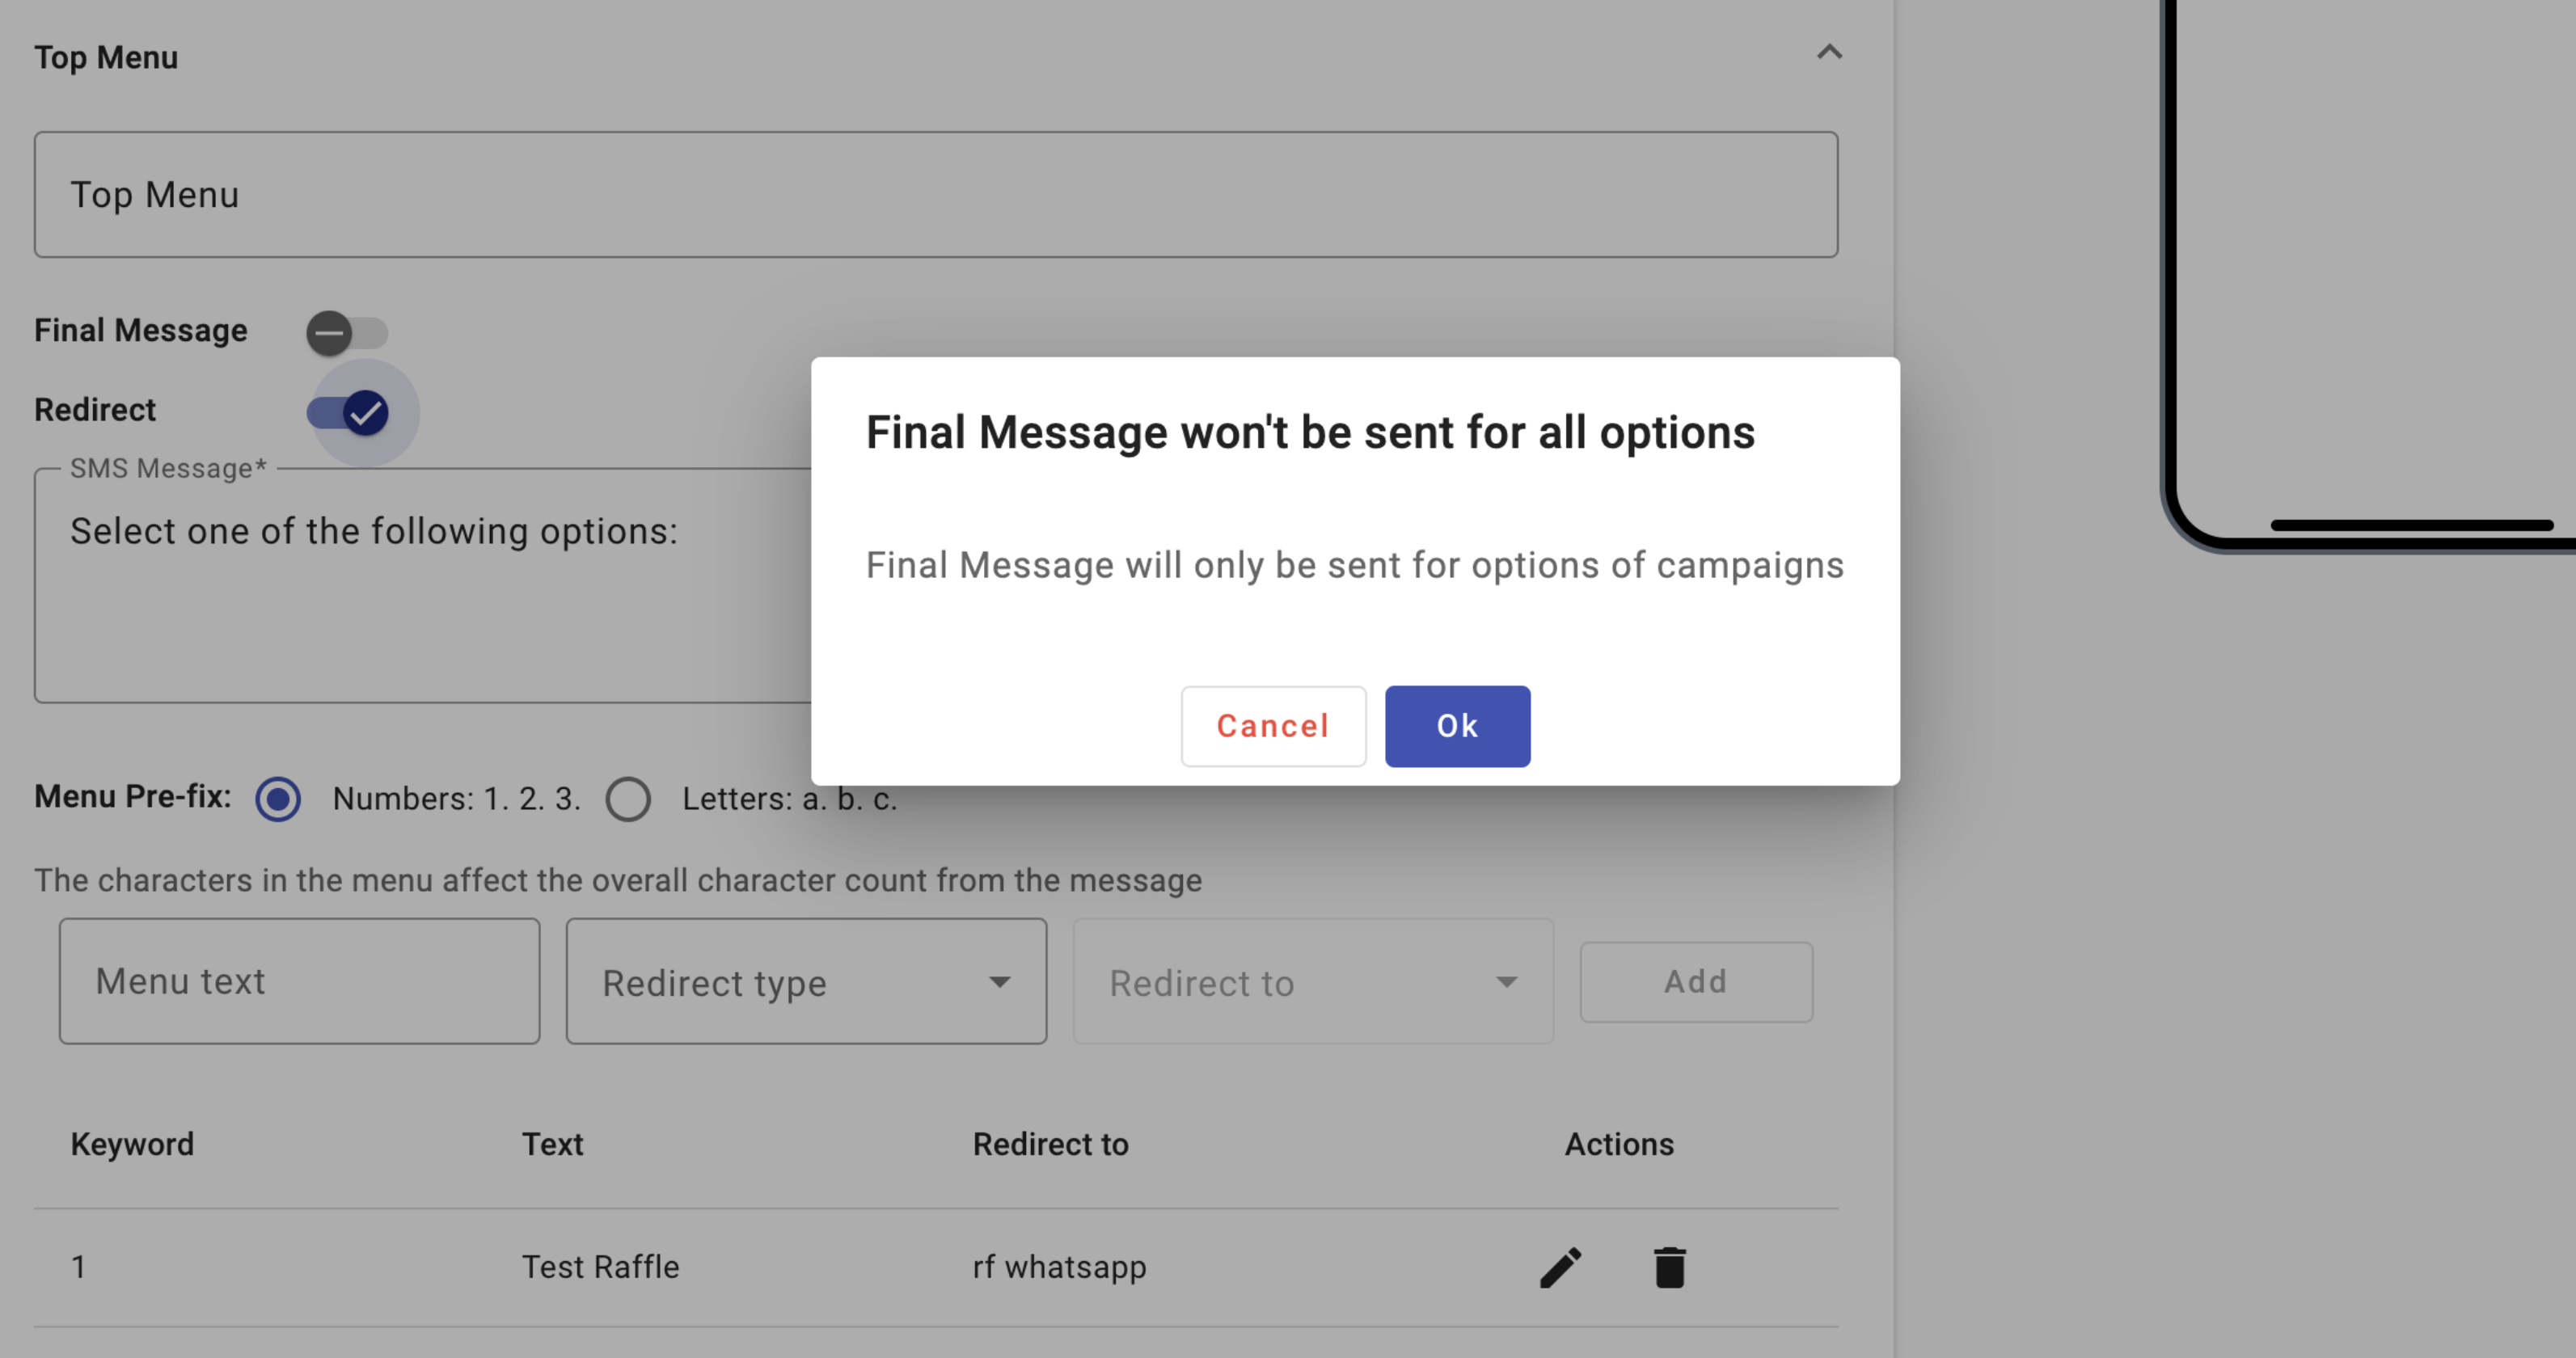
The Final Message and Redirect toggles can both be active if one or more options redirect to automations.
For more information, see Final & Error Message.
-
Configure the options users can select by following the same steps used for the Welcome Message:
- For Regular Message: Setting Pre-fix Menu, Menu Text, Redirect Type, and Redirect To.
- For List Message: Header, Message Body, Footer, Options Title, Section Configuration, and List Configuration.
- For Reply Button: Header, Message Body, Footer, and Button Configuration.
After you define the Invitation Message for SMS or API Endpoint, Welcome Message, Interactions, and Final Message and Error Message, click Next to proceed to the final review step before the chatbot goes live.
Updated 21 days ago