Reply Button
Configure a WhatsApp Reply Button message in a chatbot flow, including headers, body text, footers, button options, and redirect destinations.
Configure a WhatsApp Reply Button message so chatbot users can choose from up to three predefined options.
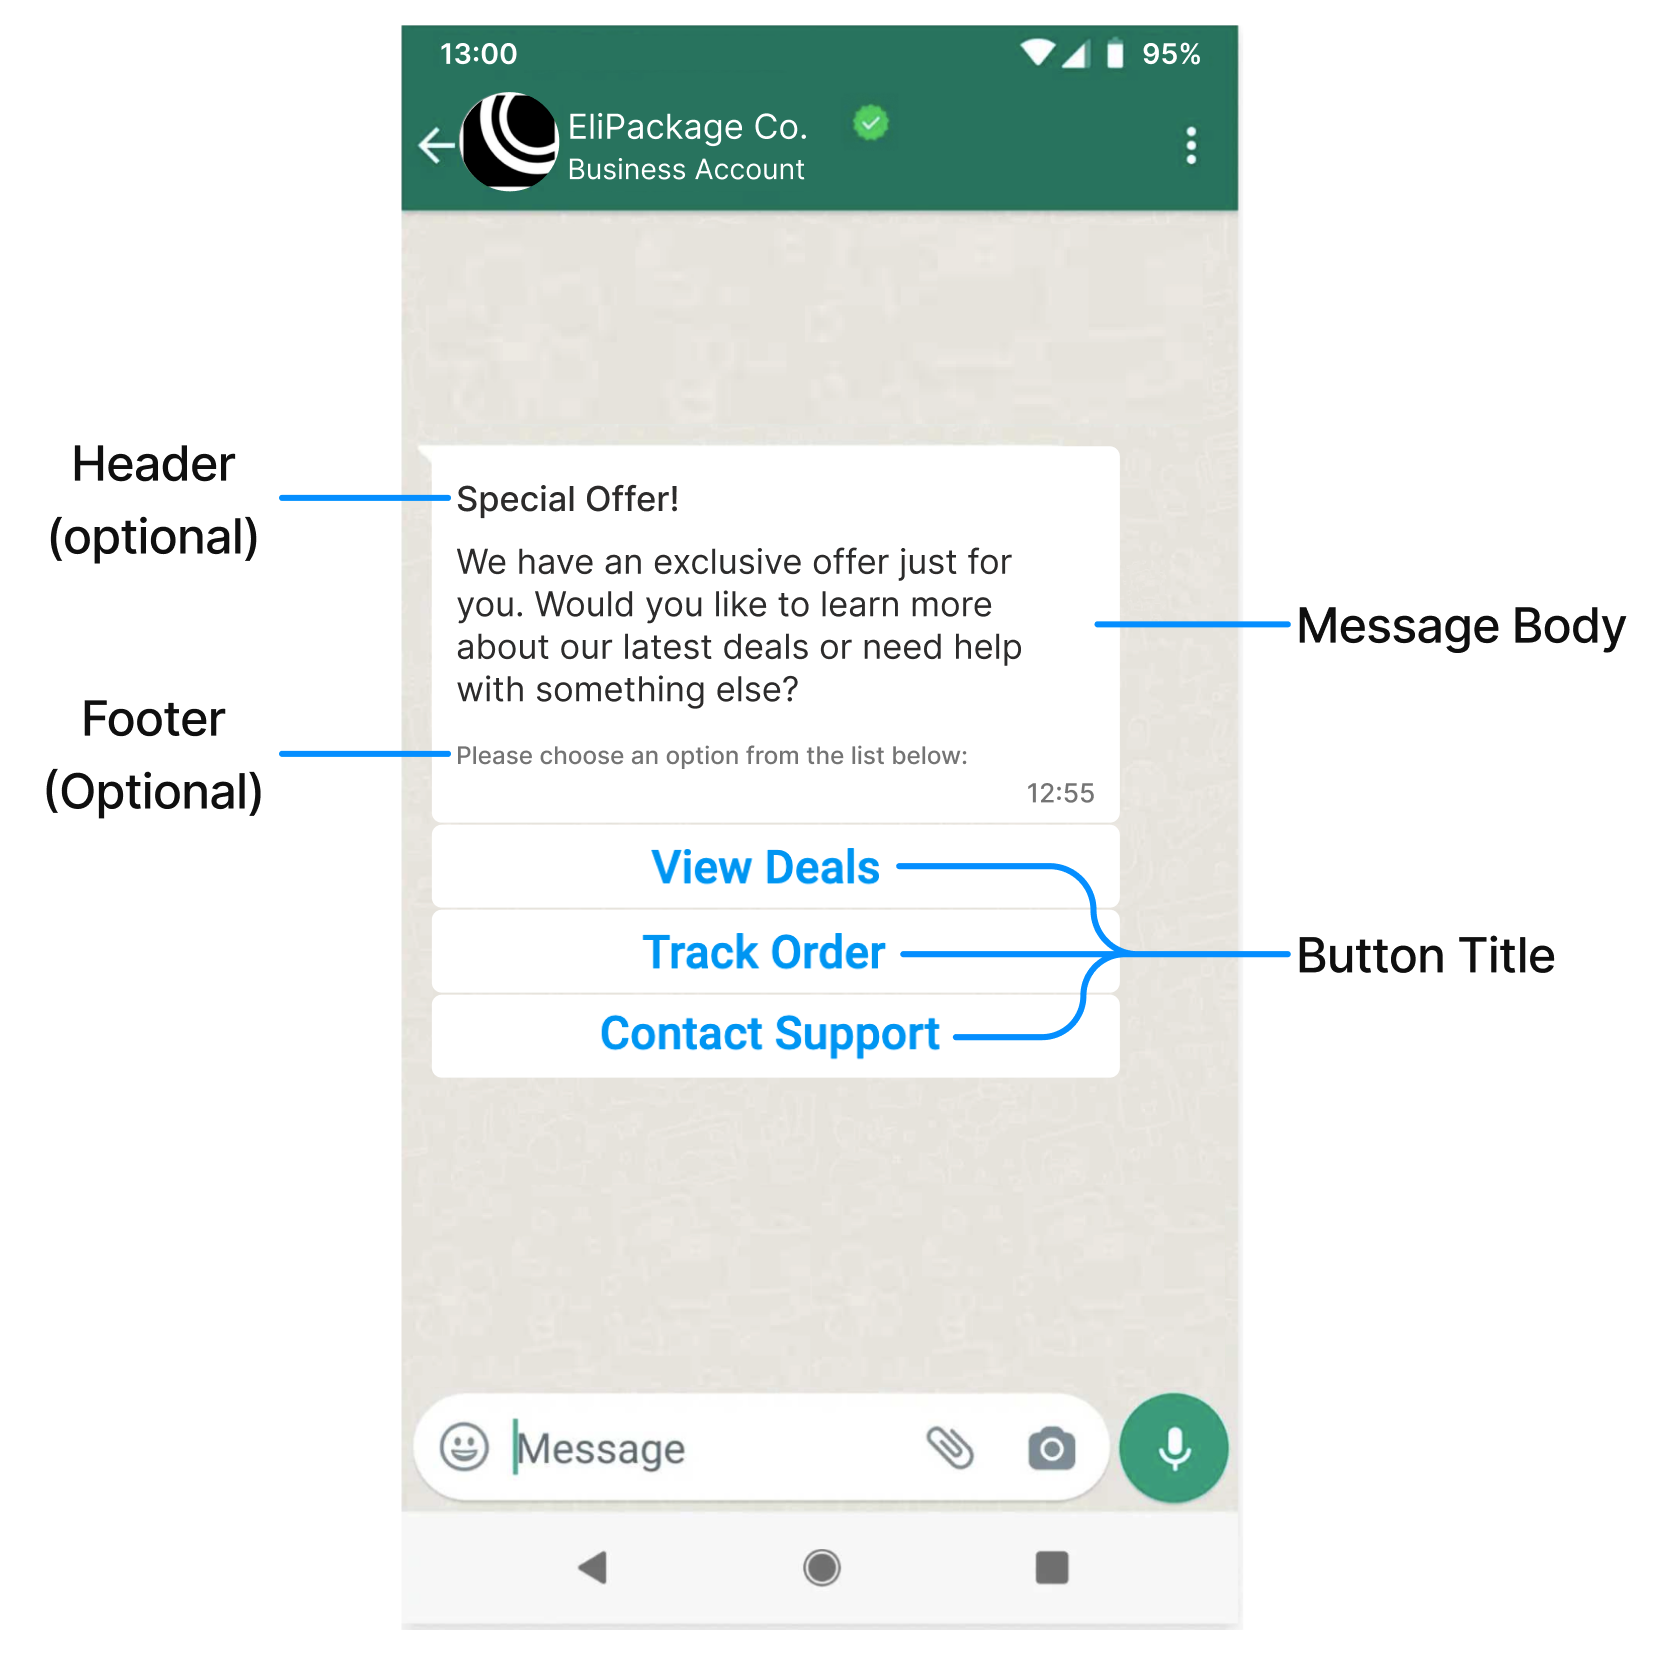
A Reply Button message displays each option as a button in the recipient’s WhatsApp chat. Use this message type when users need to make a quick selection from a limited set of choices.
Reply Button messages work well for:
- Quick replies: Provide predefined responses to common questions or prompts.
- Menu navigation: Let users move through chatbot options by tapping buttons.
- Action triggers: Start a new conversation thread, confirm an order, or provide additional information.
Reply Button messages support the following options and limits:
- Optional header and footer sections.
- Multimedia files in the message header.
- One to three text buttons per message.
- No message template approval required.
Set up a Reply Button Welcome Message
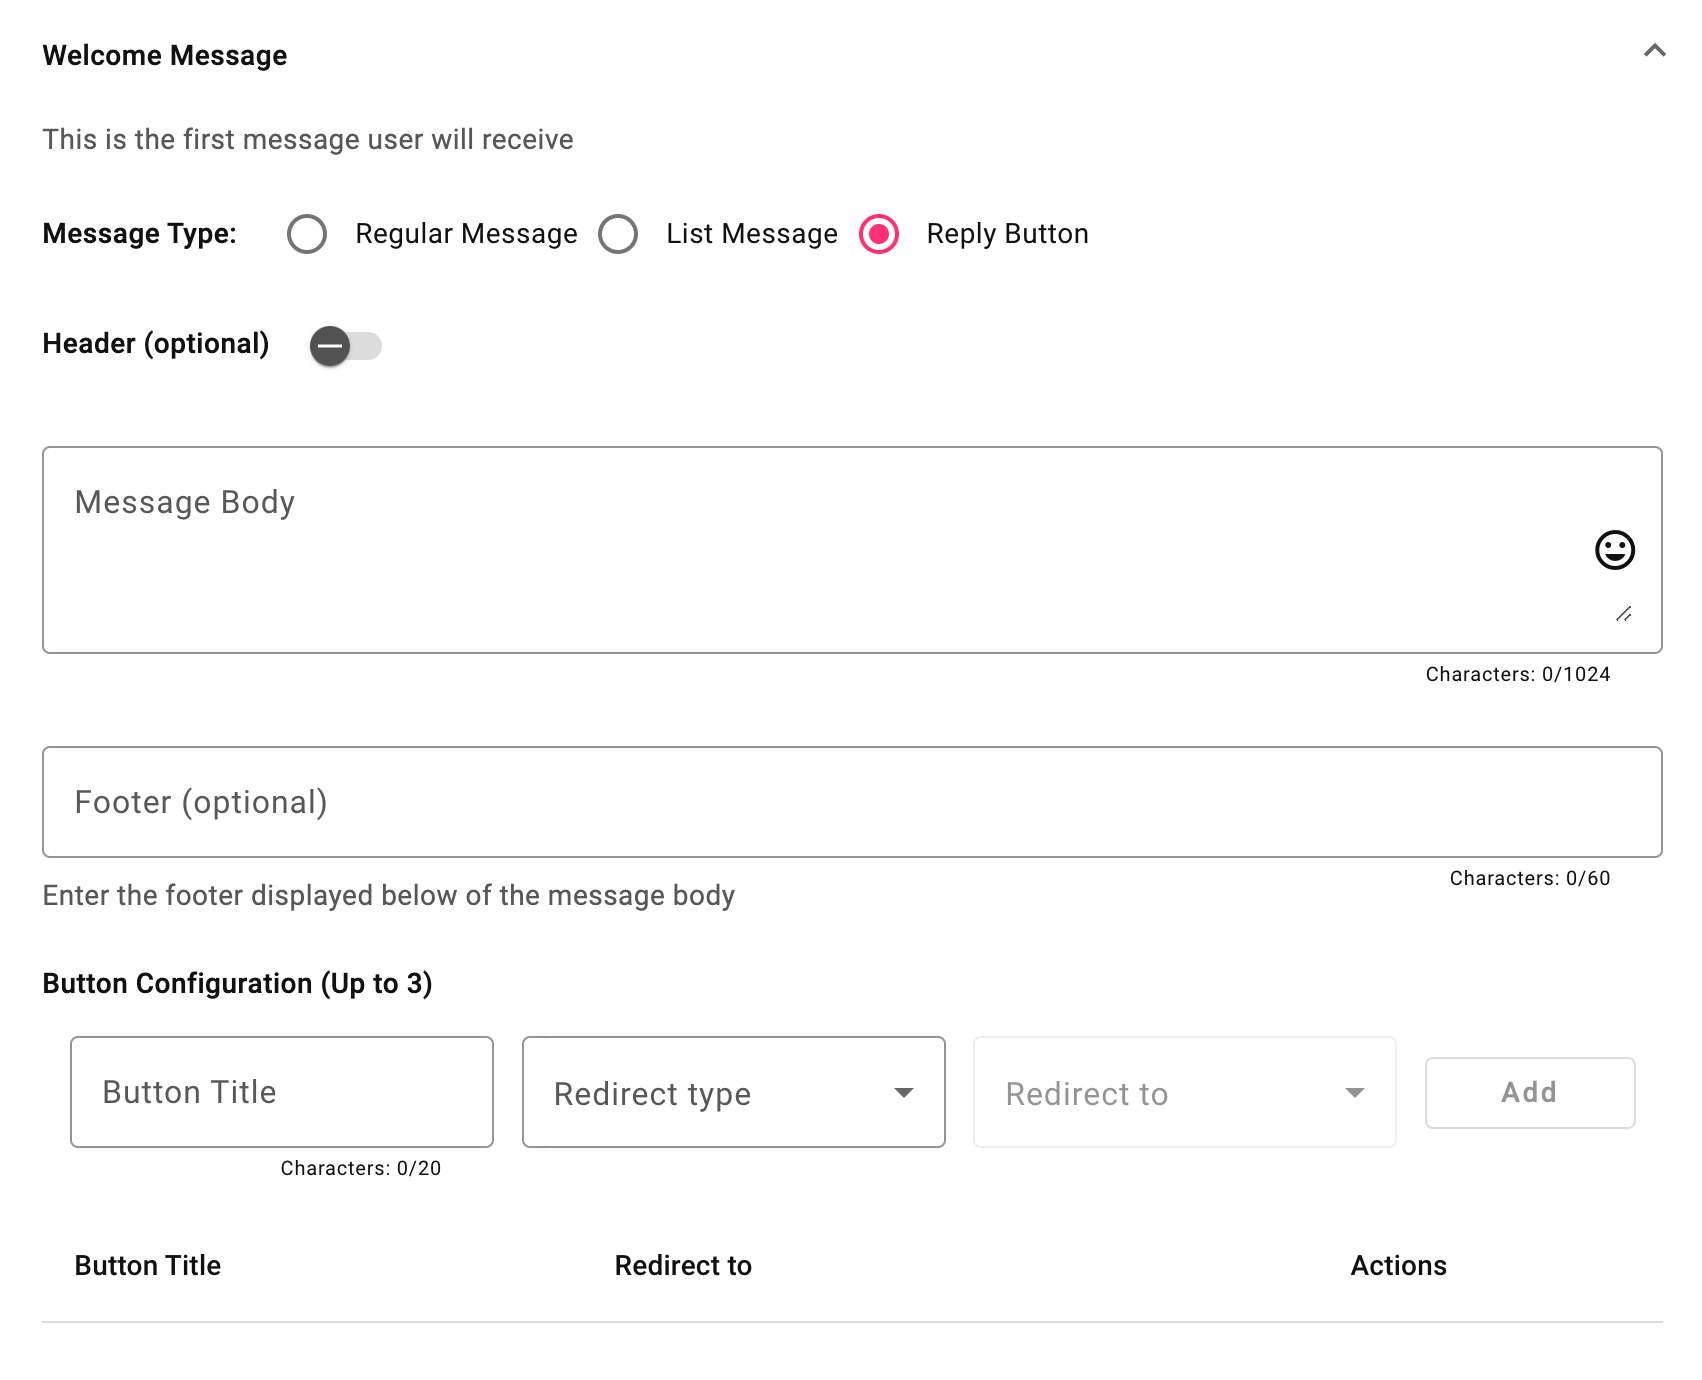
- Select the Reply Button interactive message option.
- Optional: Configure the Header and Footer sections.
- Define the welcome message that starts the chatbot conversation.
- Configure the button options that users can select.
- Choose where each button redirects the user after selection.
Define the Welcome Message
The Header, Message Body, and Footer support Markdown syntax. Use Markdown to format text with bold, italics, strikethrough, and monospace.
Header
The Header is an optional section displayed at the top of the message. Use it to provide brief context before the reply buttons. The header can contain text, an image, a video, or a document.
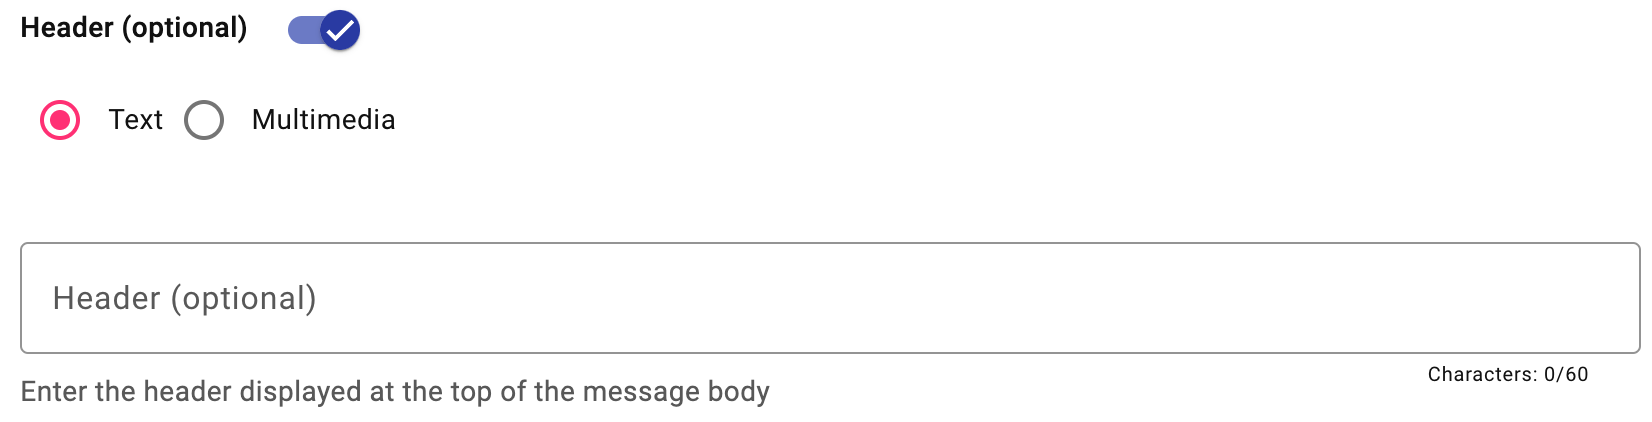
To enable the header in a WhatsApp Reply Button message:
-
Toggle Header (optional) to enable the header.
-
Choose a header content type:
-
Text: Add a text header with up to 60 characters.
-
Multimedia: Add an image, video, document, or audio file as the header.
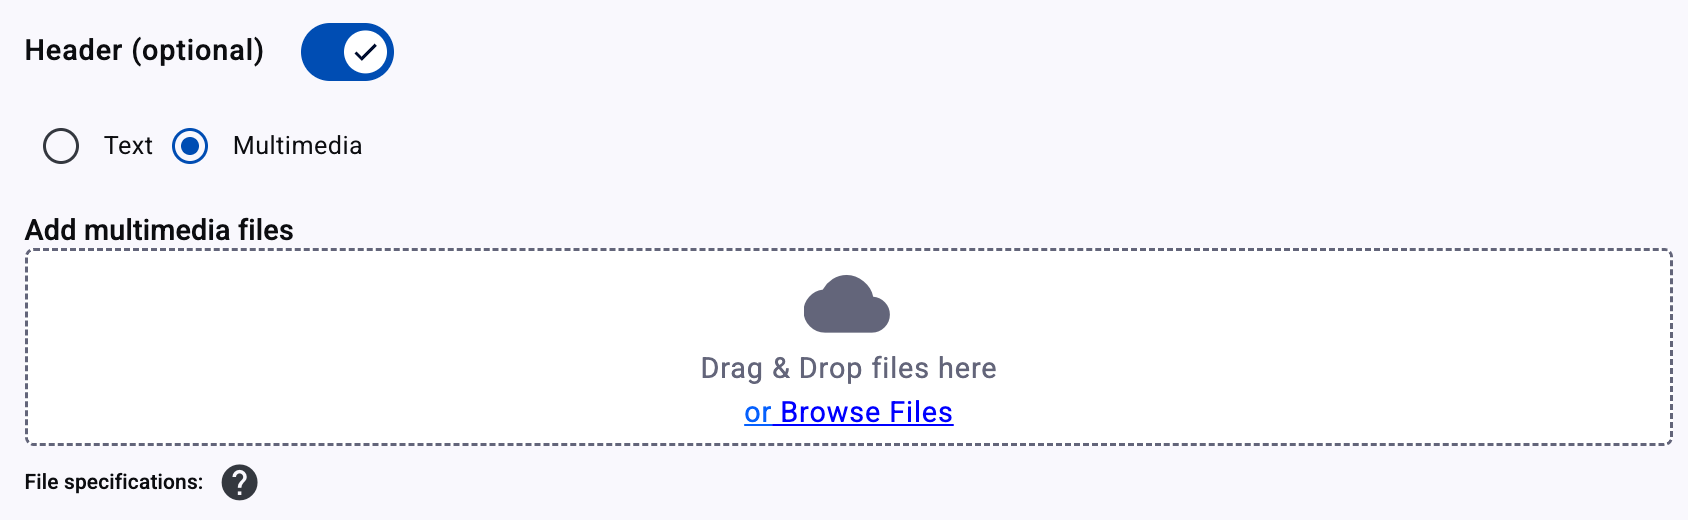
If you select Multimedia, drag and drop the file into the upload area or browse your files and select it.
File type Supported formats Maximum file size Image .jpeg,.jpg,.png5 MB Video .mp416 MB Document .pdf100 MB Audio .aac,.amr,.mp3,.ogg,.m4a16 MB File requirements:
- Images must be 8-bit, RGB or RGBA.
- Video files must use the H.264 video codec.
- Audio tracks in video files must use the AAC codec.
-
Message Body
The Message Body is the main content section of the Reply Button message. Use it to explain the purpose of the message and guide the user to select one of the available buttons.
The message body can contain up to 1024 characters. You can also add emoji by selecting the smiley face icon on the right side of the message box.

Footer
The Footer is an optional text section displayed at the bottom of the message. Use it for supporting information, disclaimers, or short instructions related to the user’s selection. The footer can contain up to 60 characters.

Configure buttons
Use Button Configuration to define the actions or destinations triggered when a user selects a button.
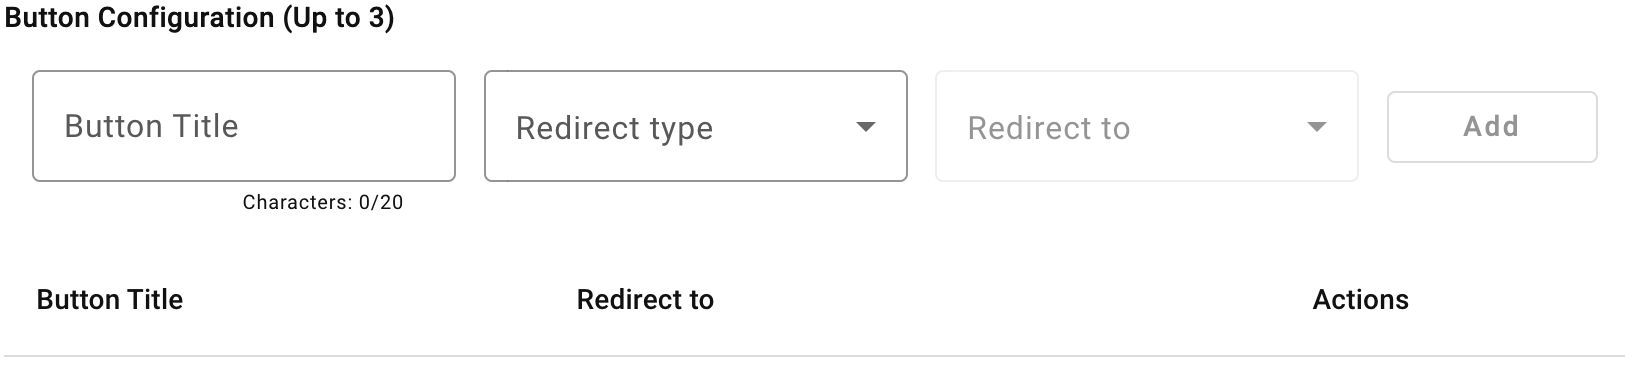
Configure these fields for each button:
- Button Title
- Button Redirect Options
- Redirect type
- Redirect to
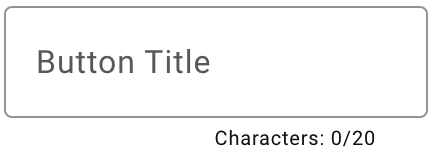
Button Title
The Button Title is the text label displayed on each button. Use a short, clear label that describes the action or response triggered when the user selects it. Each title can contain up to 20 characters.
Button Redirect Options
Button Redirect Options define what happens after a user selects a button. Use these options to send the user to the next interaction, automation, integration, or Live Chat team.

For each Reply Button message, configure one to three button options. Each option requires a button title, redirect type, and redirect destination.
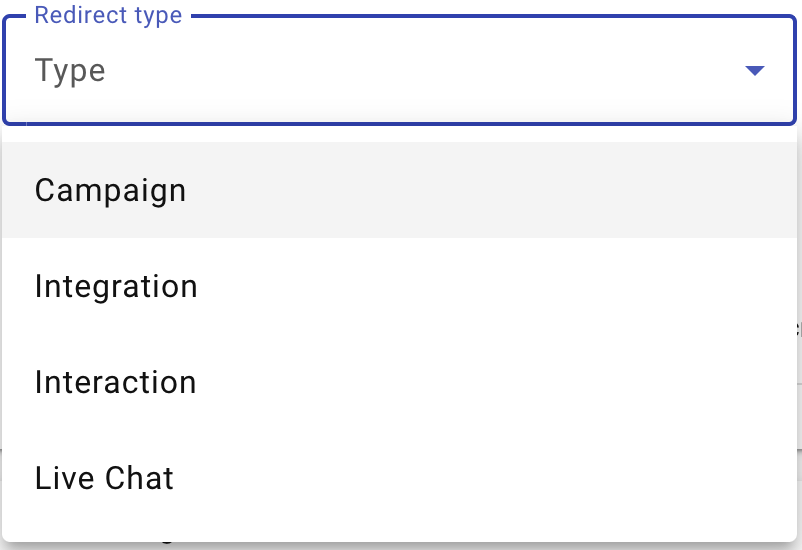
Redirect Type
The Redirect type specifies the next step in the chatbot sequence. The platform provides four redirect types.
-
Campaign: Sends the user to a Live platform automation with content associated with the chatbot’s purpose, or to an out-of-flow action.
-
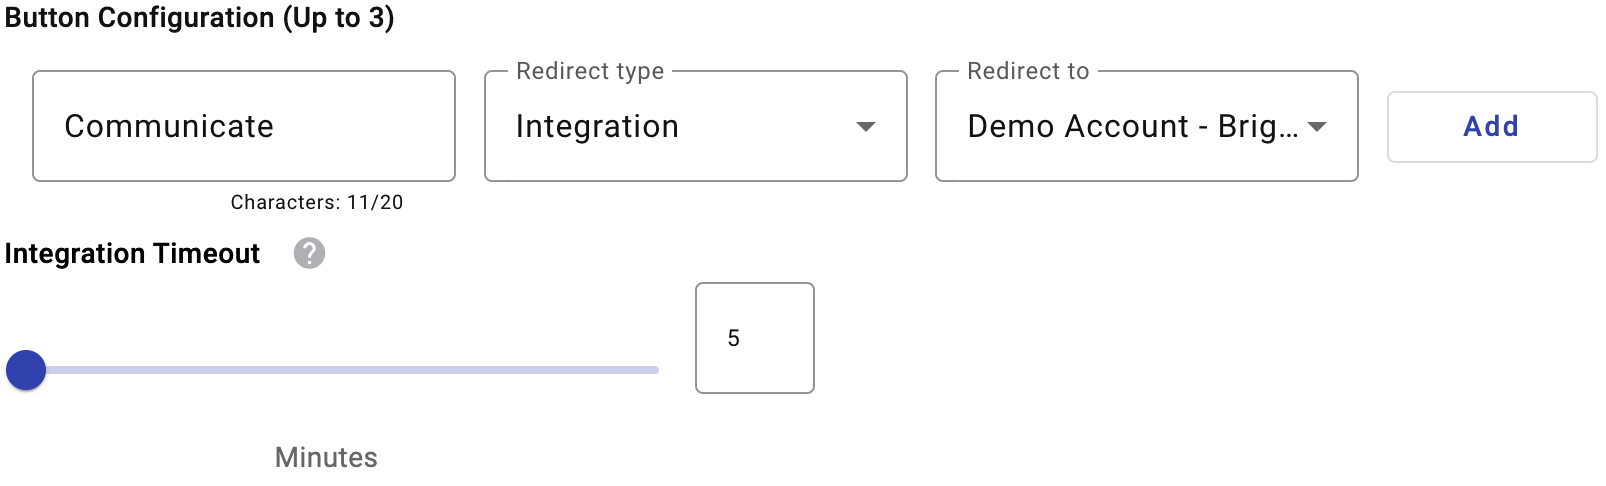
Integration: Sends the user to a third-party solution added to the chatbot interaction flow.
The available integration types are Bright Pattern, OpenAI, and Custom Webhook.
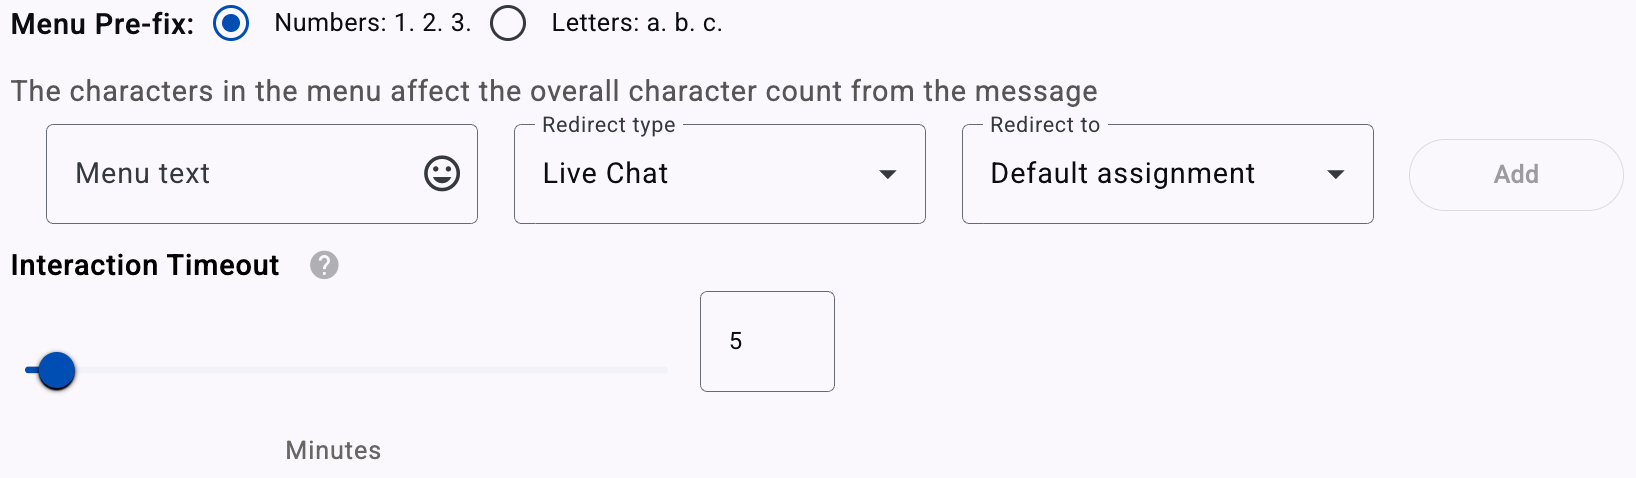
When you select Integration as the Redirect Type, an interaction timeout field is displayed. The interaction timeout closes the communication session between the end user and the chatbot after a period of inactivity. For example, if a session starts and the end user does not respond to or interact with the automation, the session ends after the configured time elapses.
-
Interaction: Sends the user to another interaction step within the chatbot flow.
-
Live Chat: Sends the user to an agent from the Live Chat feature.
To redirect the end user to an agent, select Live Chat from the Redirect Type dropdown. Then, set the number of inactive minutes before the connection closes. For example, if the end user is connected to an agent but does not respond within 5 minutes, the connection ends.
To create, build, and deploy a chatbot that connects to the Live Chat feature, see Integrate Chatbot with Live Chat.
Redirect To
The Redirect To field specifies the destination for the next action. The available destinations depend on the selected redirect type.
When you choose Campaign as the Redirect Type, the Redirect To dropdown lists all automations with Live status in this format: Automation Name - Automation Type.
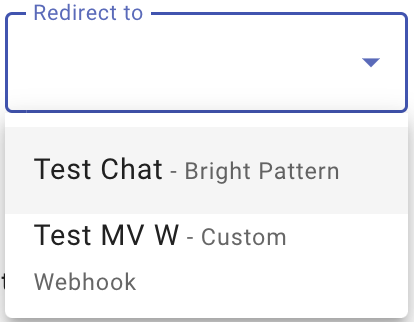
When you choose Integration as the Redirect Type, the Redirect To dropdown lists all created and available integrations in this format: Alias - Integration Type.
The supported integrations are Bright Pattern, OpenAI, and Custom Webhook.
For more information about creating and enabling integrations, see Integrations.
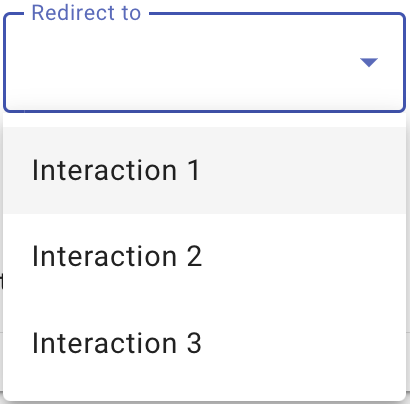
When you choose Interaction as the Redirect Type, the Redirect To dropdown lists all interactions created while configuring the chatbot.
When you choose Live Chat as the Redirect Type, the Redirect To dropdown lists all teams available in the Live Chat platform.
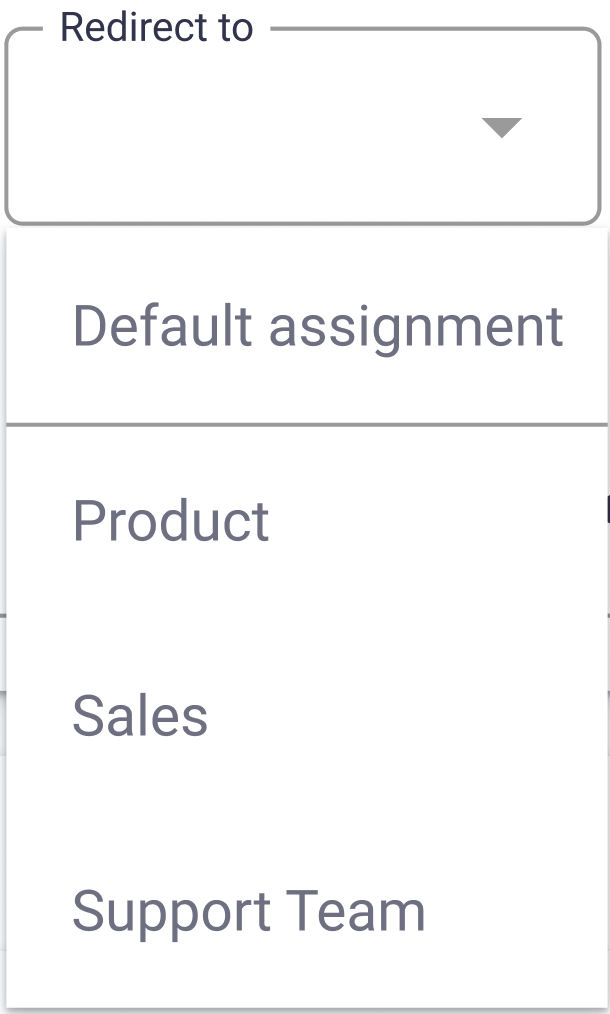
Use the Redirect To dropdown to choose which team receives the conversation. The available options are based on the teams configured in your Live Chat platform.
- Specific Team: Routes incoming chatbot conversations to the selected team, such as Product, Sales, or Support Team.
- Default assignment: Uses the default team routing defined in your Live Chat platform settings.
After you configure Redirect Type and Redirect To, select Add. You can then add a webhook.
For more information about adding a webhook to your chatbot, see Setting Webhook.
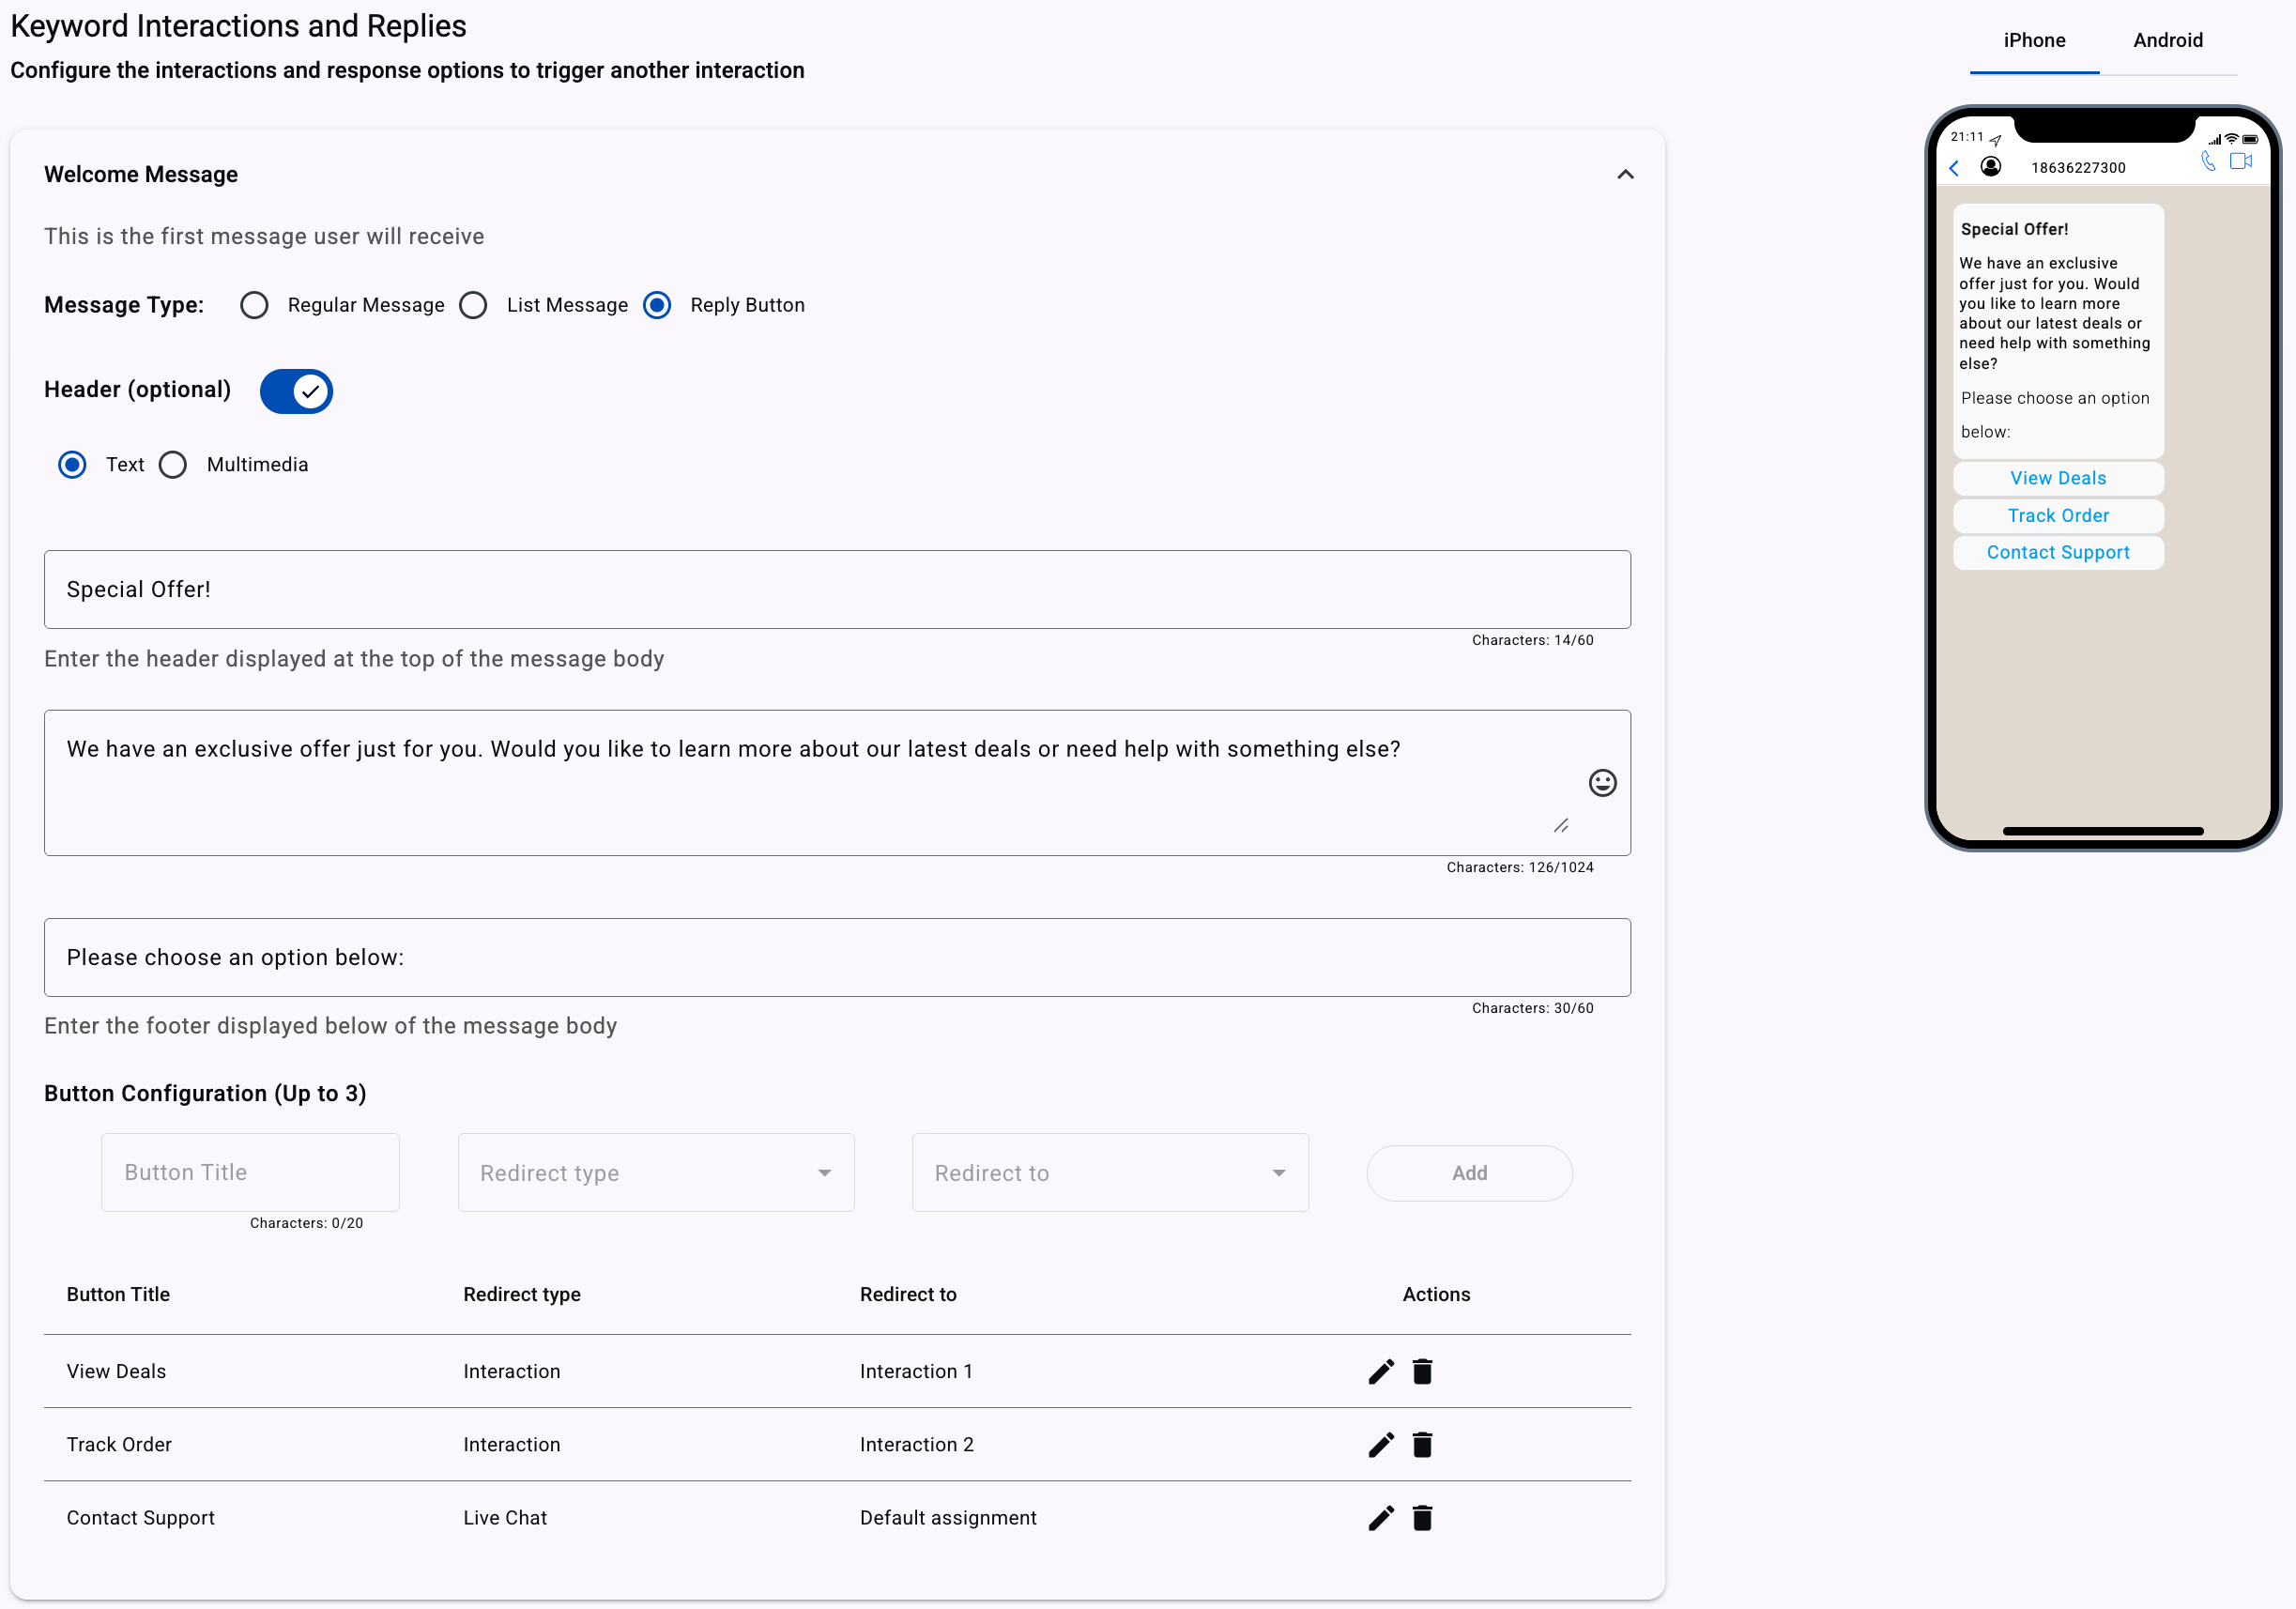
After you add a button option, it appears in the menu item table under the configuration section. Menu items are listed in the order you add them, and the keyword identifier automatically advances for each menu entry.
The following screenshot shows a configured WhatsApp chatbot Welcome Message with possible options and the menu item table.
After configuring the Welcome Message, define the Interaction flow.
Define the Interaction flow
In the Interaction section, you define how the chatbot engages with users by creating automated responses, questions, and actions based on user inputs or triggers. Use interactions to shape the conversation flow and guide users to the right information or next action.
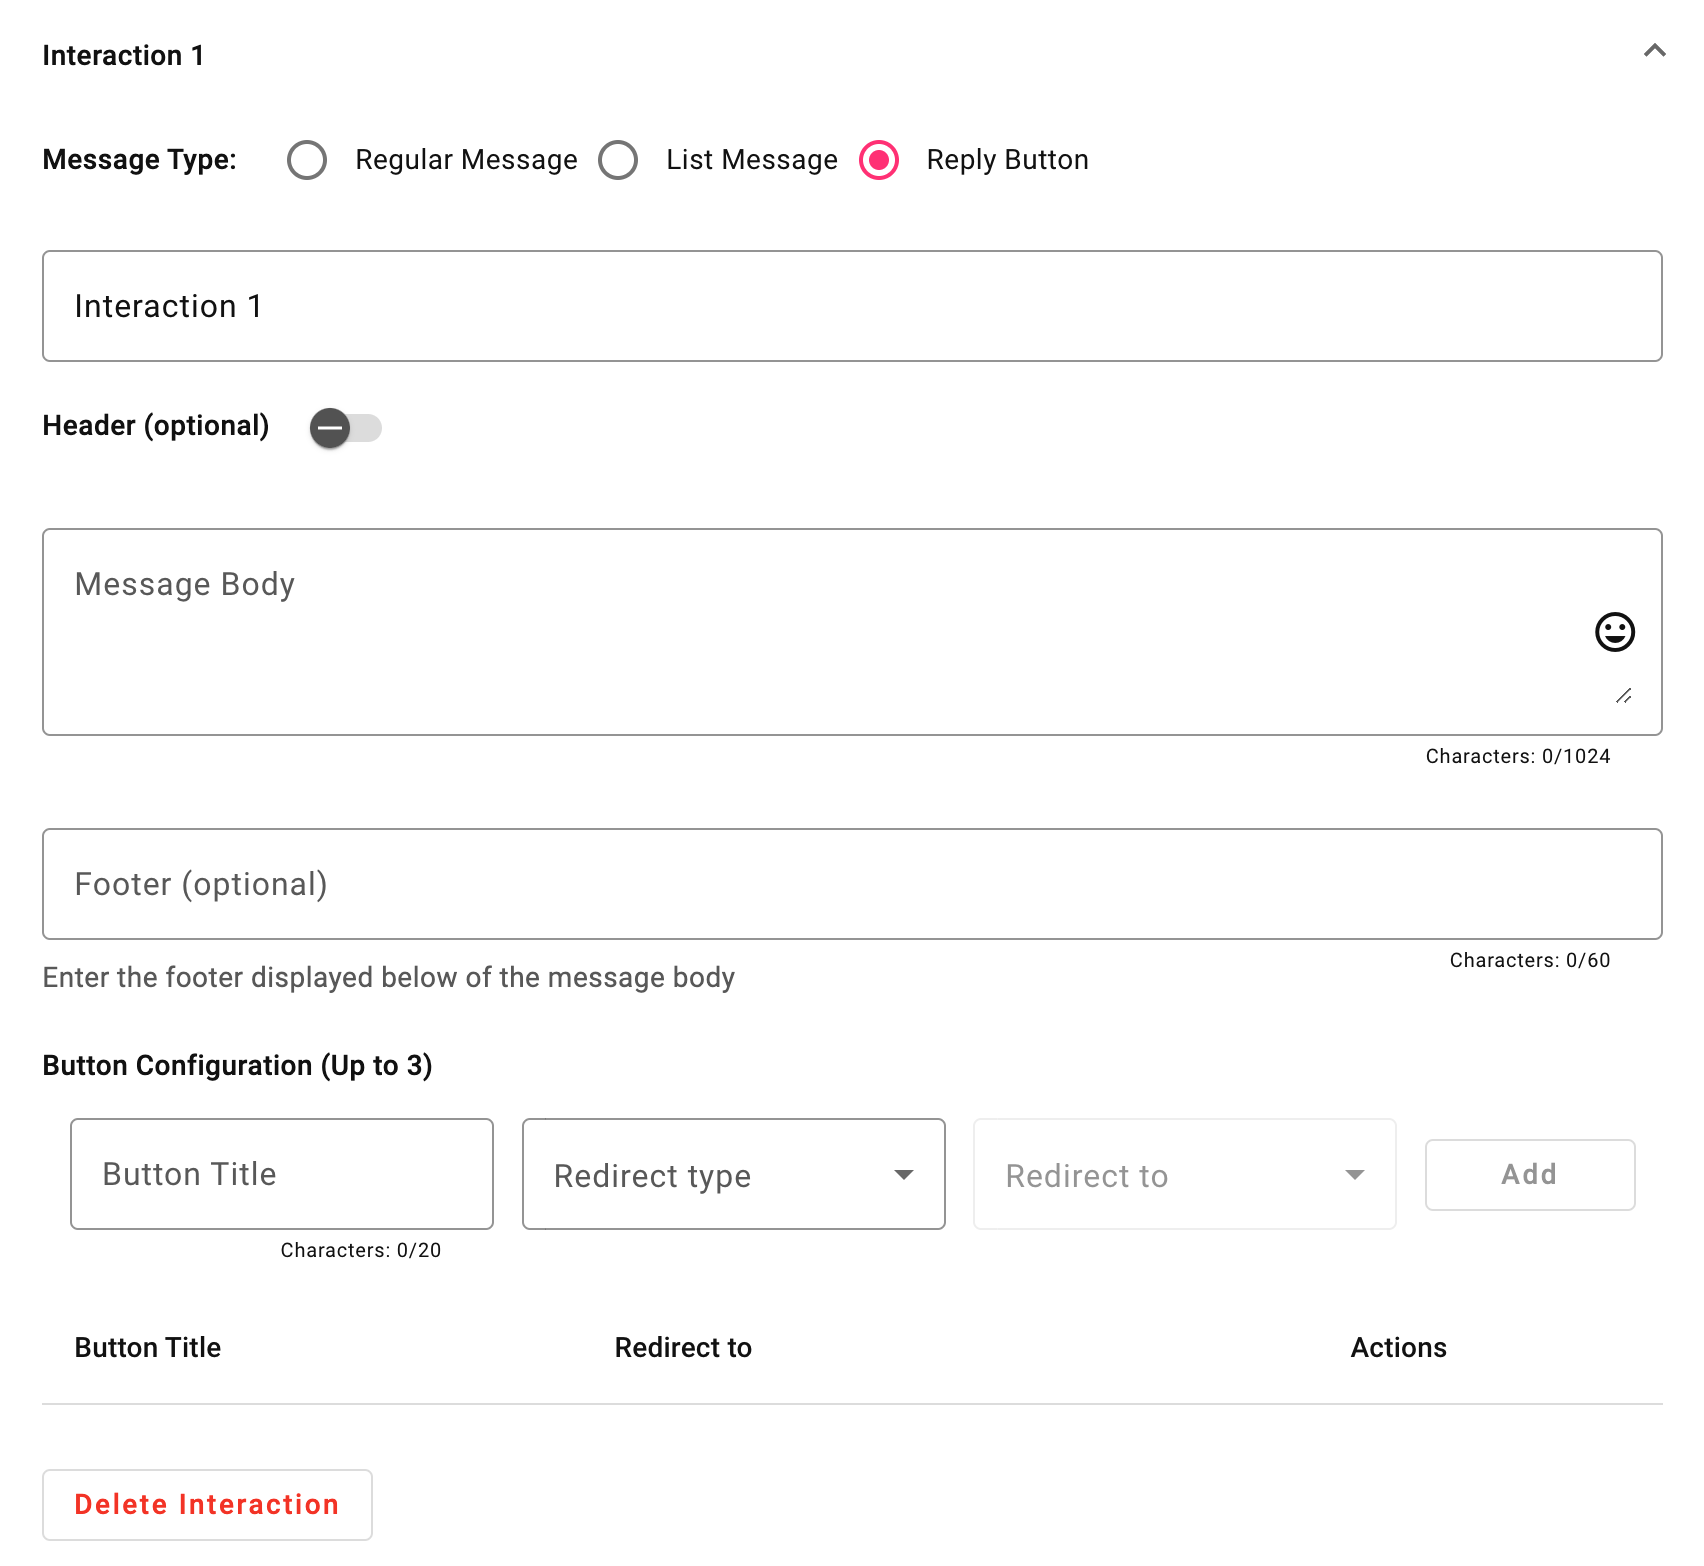
For steps to configure each interaction, see Interaction.
Updated 17 days ago