Channel Management
Review enabled engagement channels and configure scheduled sending windows for SMS, RCS, Email, and WhatsApp messages.
Use Channel Management to review enabled engagement channels and configure when the platform sends SMS, RCS, Email, and WhatsApp messages.
Open the Channel Management tab from Settings/Preferences.
The main pane contains two sections:
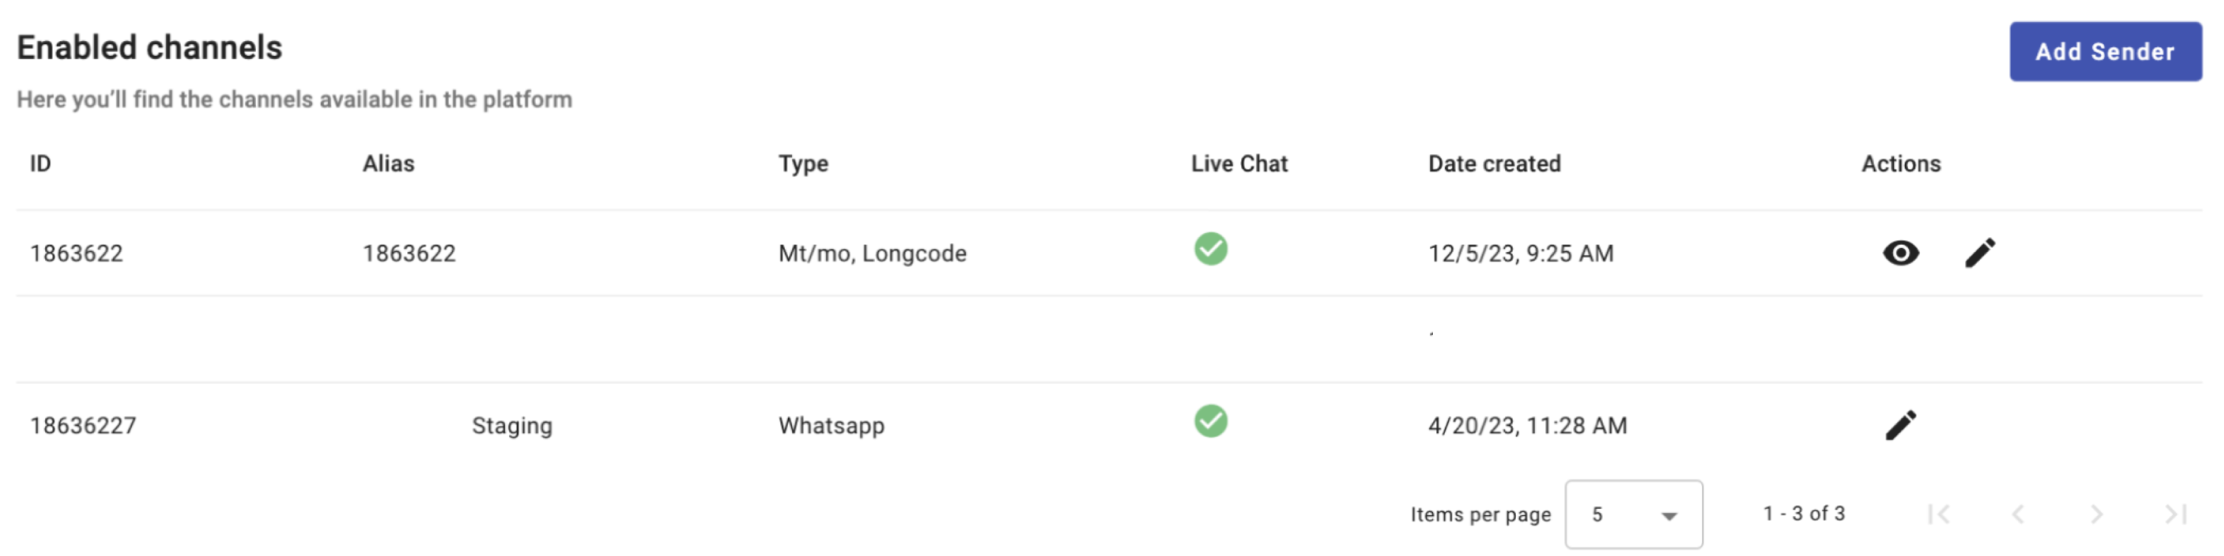
Enabled channels
The Enabled channels table lists each engagement channel available for broadcasts and automations, along with the features supported by each channel.
The table also includes fields for SMS response messages used by these configurations:
- Auto-Reply Message
- Opt-Out Configuration
- Help Response Configuration
- Join Response
For example, the Opt-Out Configuration shows the default keywords contacts can use to stop receiving messages. If a contact sends the keyword "stop", the platform immediately stops sending messages to that contact. For more information, see Consent Management.
NOTETo include SMS and WhatsApp channels on the platform, contact the support team.
You can add Email through the Add Sender dropdown menu.
Daily campaign scheduler
The Daily campaign scheduler lets you configure the days and times when the platform sends SMS, RCS, and WhatsApp messages. Messages are sent only during the dates and times defined in the scheduler.
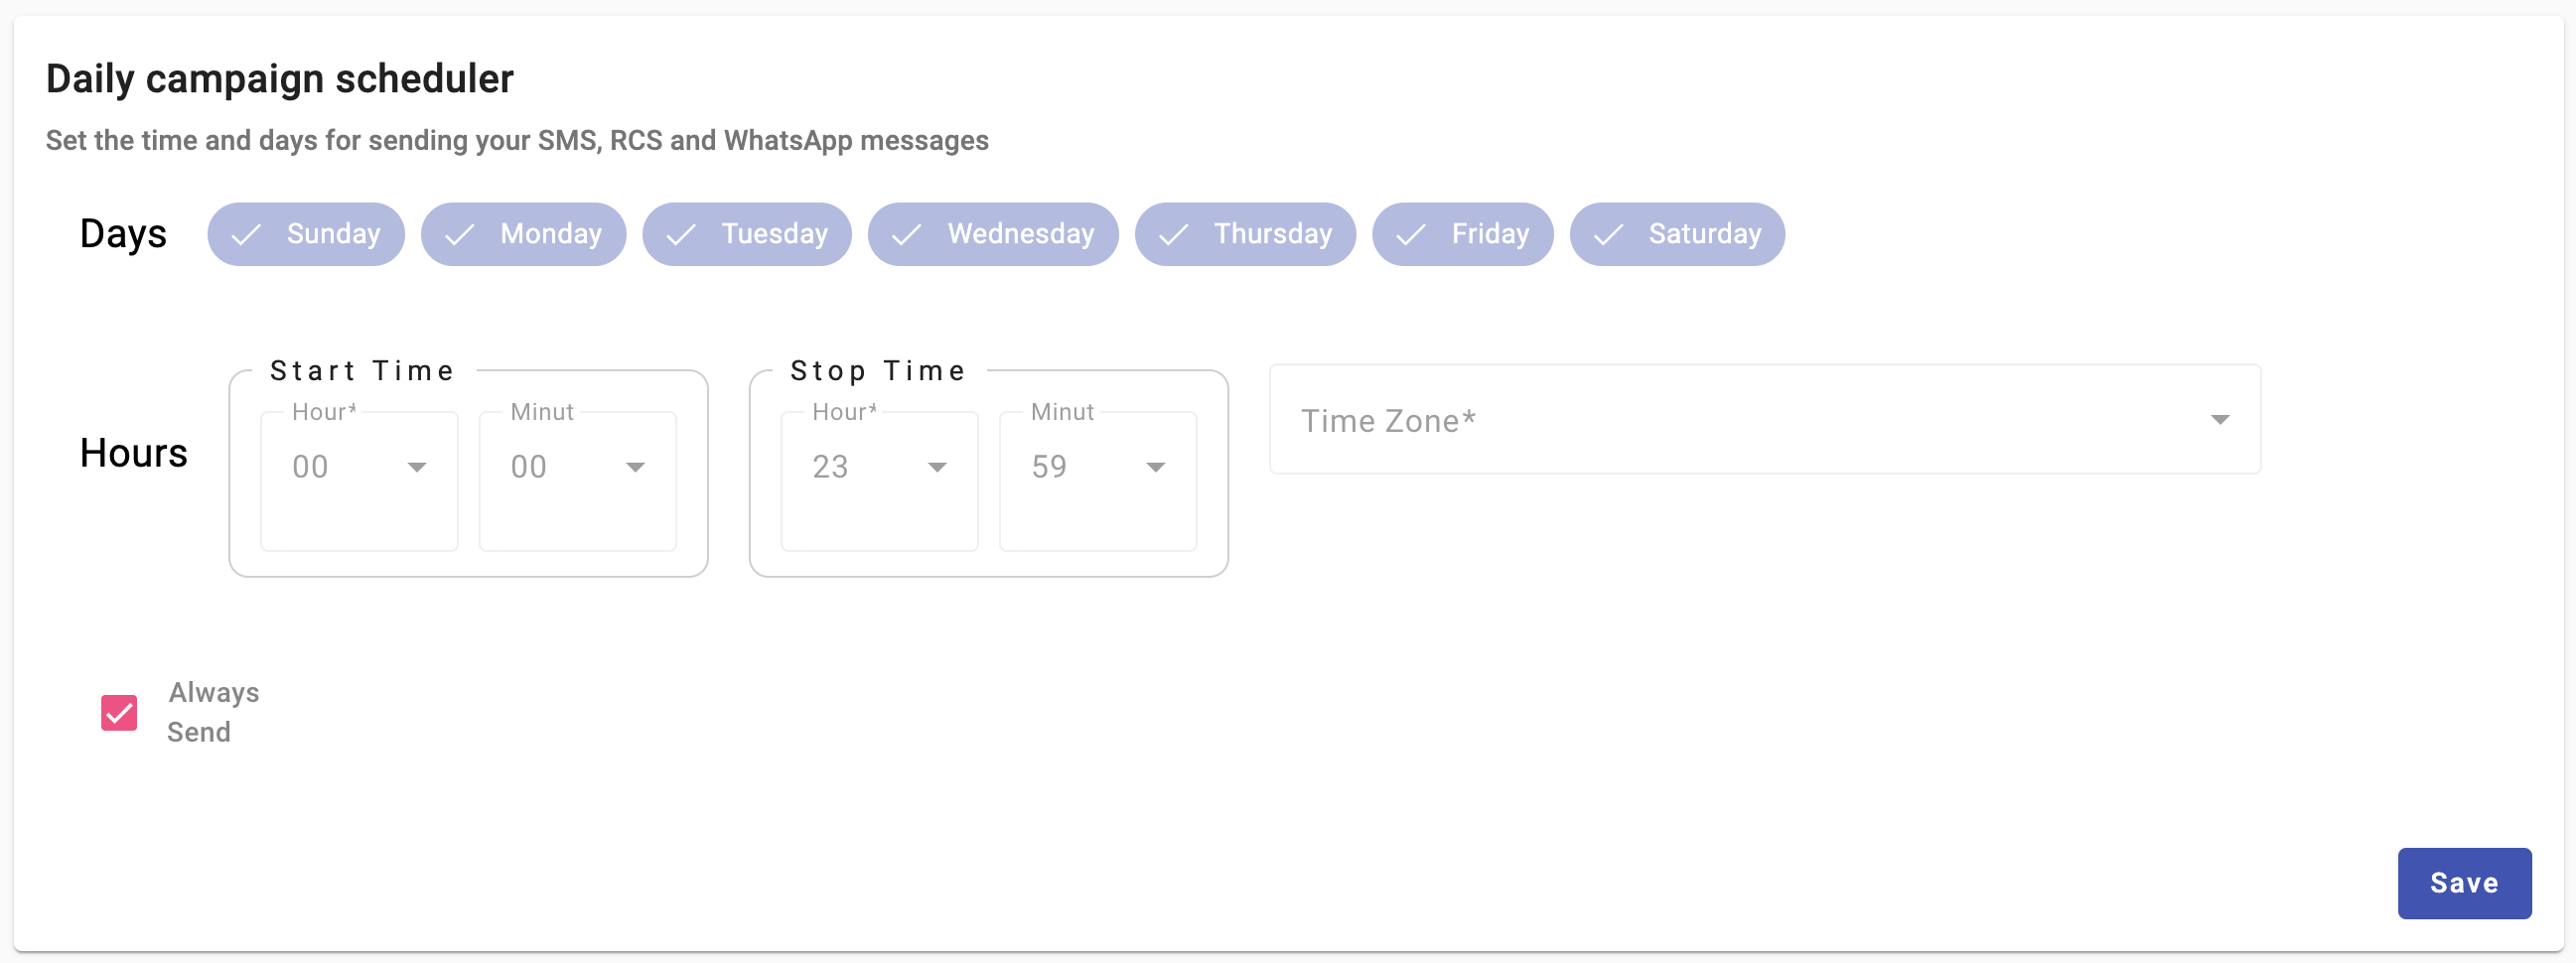
By default, the Always Send checkbox is enabled, so messages can be sent at any time. To define specific sending days and times, clear this checkbox.
Configure the daily campaign scheduler
- Select the days of the week when you want messages to be sent.
- Set the start and stop times for the sending window.
- Choose the time zone for your broadcast or automation.
- Click Save to apply your settings.
Updated 19 days ago