Search Bar and Filter
Searching and filtering the entire Inbox is simple and intuitive. Just type your query and get the results you need. By mastering some simple search tips, you can elevate your Inbox search skills and uncover the information you need even faster.
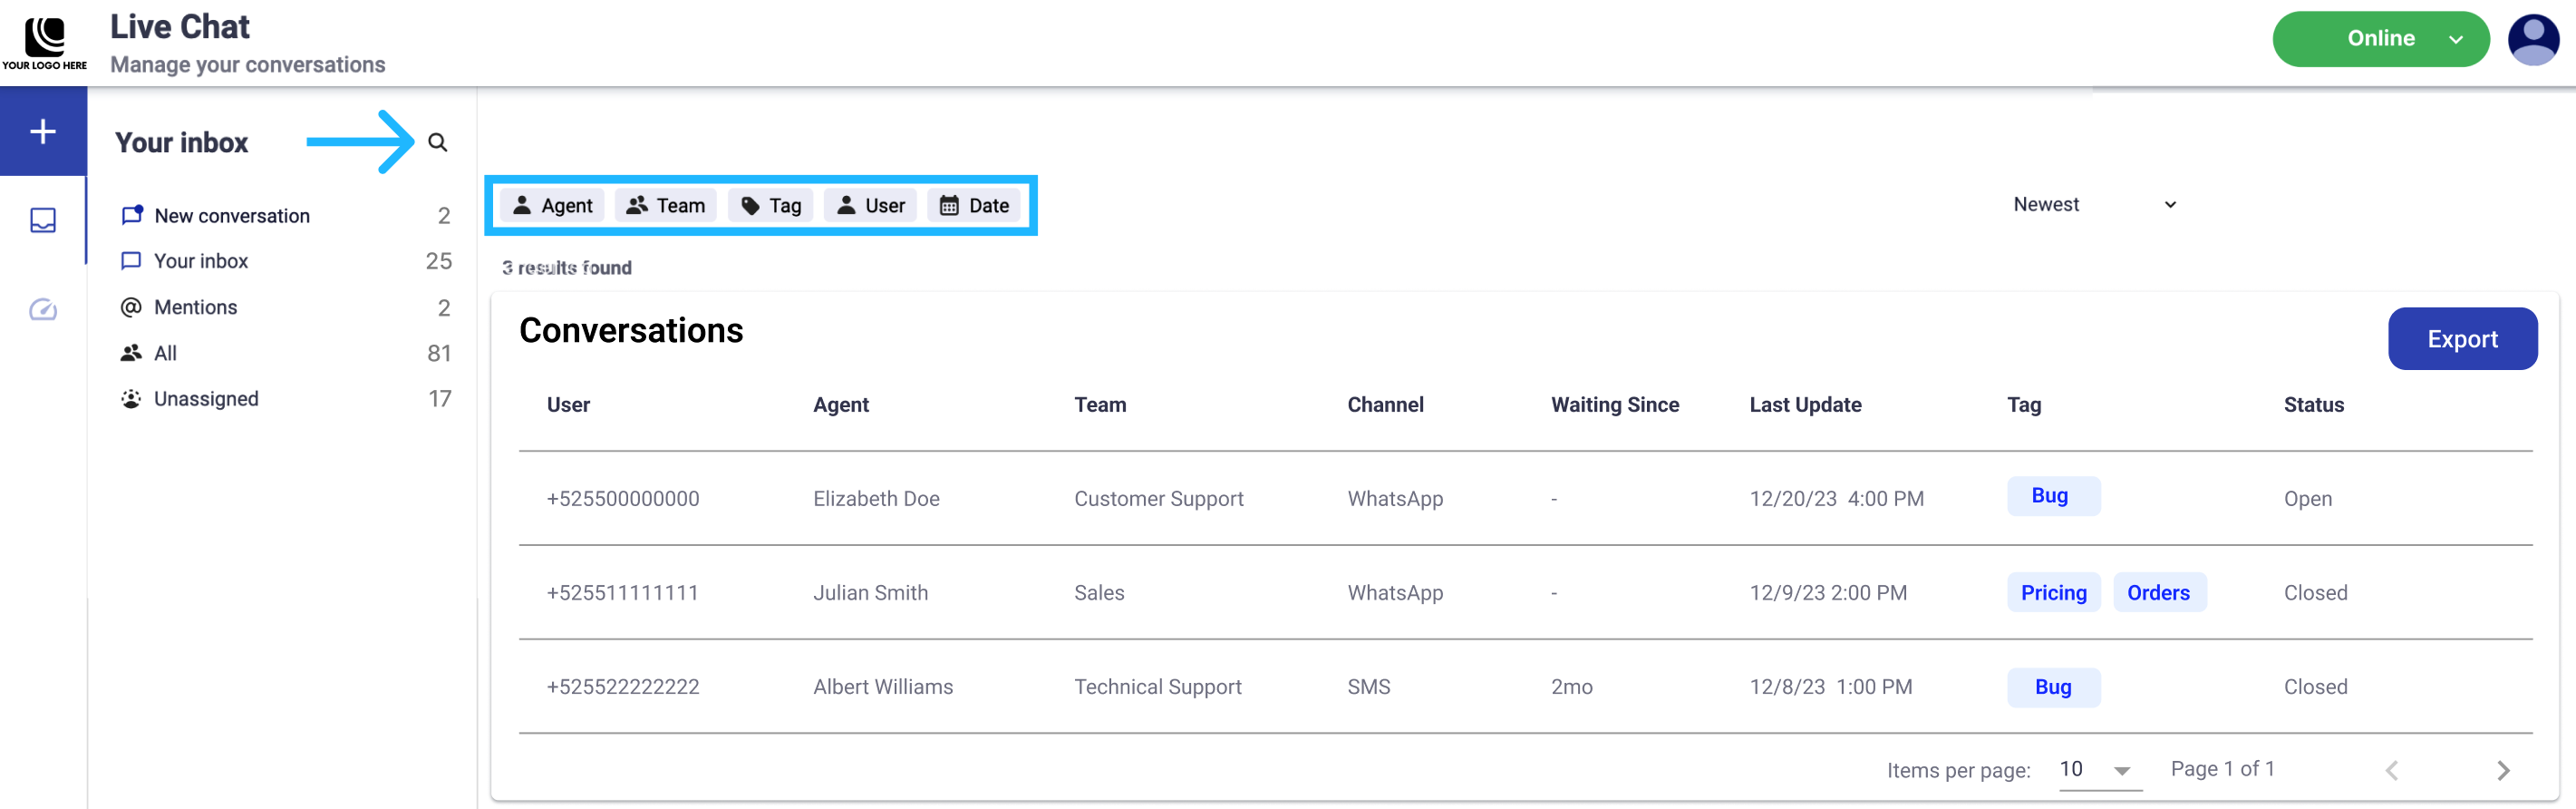
Applying Filter in Searches
For more precise search results, use filters to narrow down your search criteria. For instance, you can filter by agents assigned to specific conversations during a defined date range or by conversations tagged. That is, you can even use just filters without needing to enter any keywords.
To improve your search by adding filters, click on the Search icon located at the top of the Inbox section, then select one of the filter options.
For example, let's check the most frequent issues that have arisen on the new platform over the past month.
For that, you need to apply the following filters:
- Tag: Bug
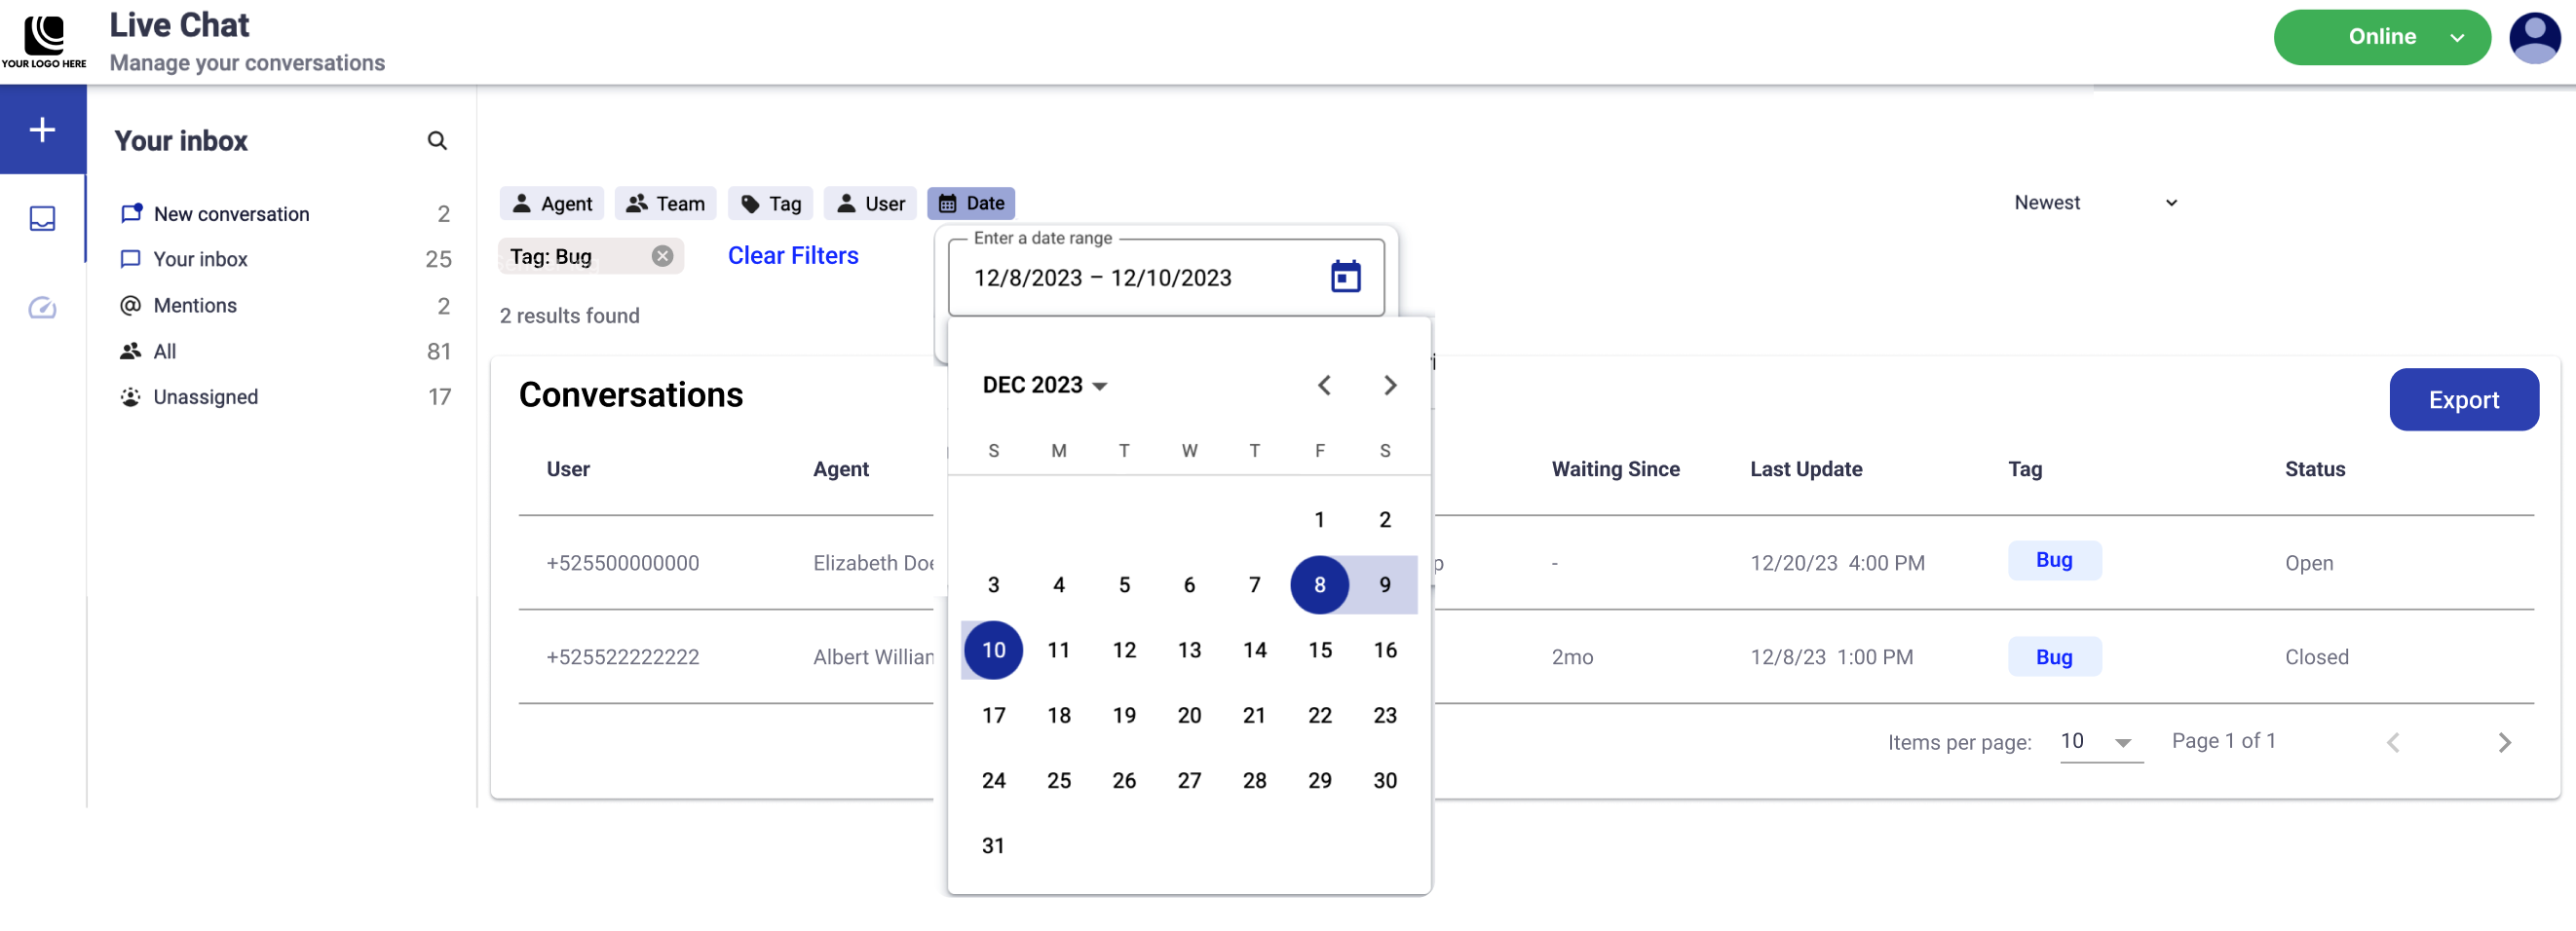
- Date Range: 12/8/2023 - 12/10/2023
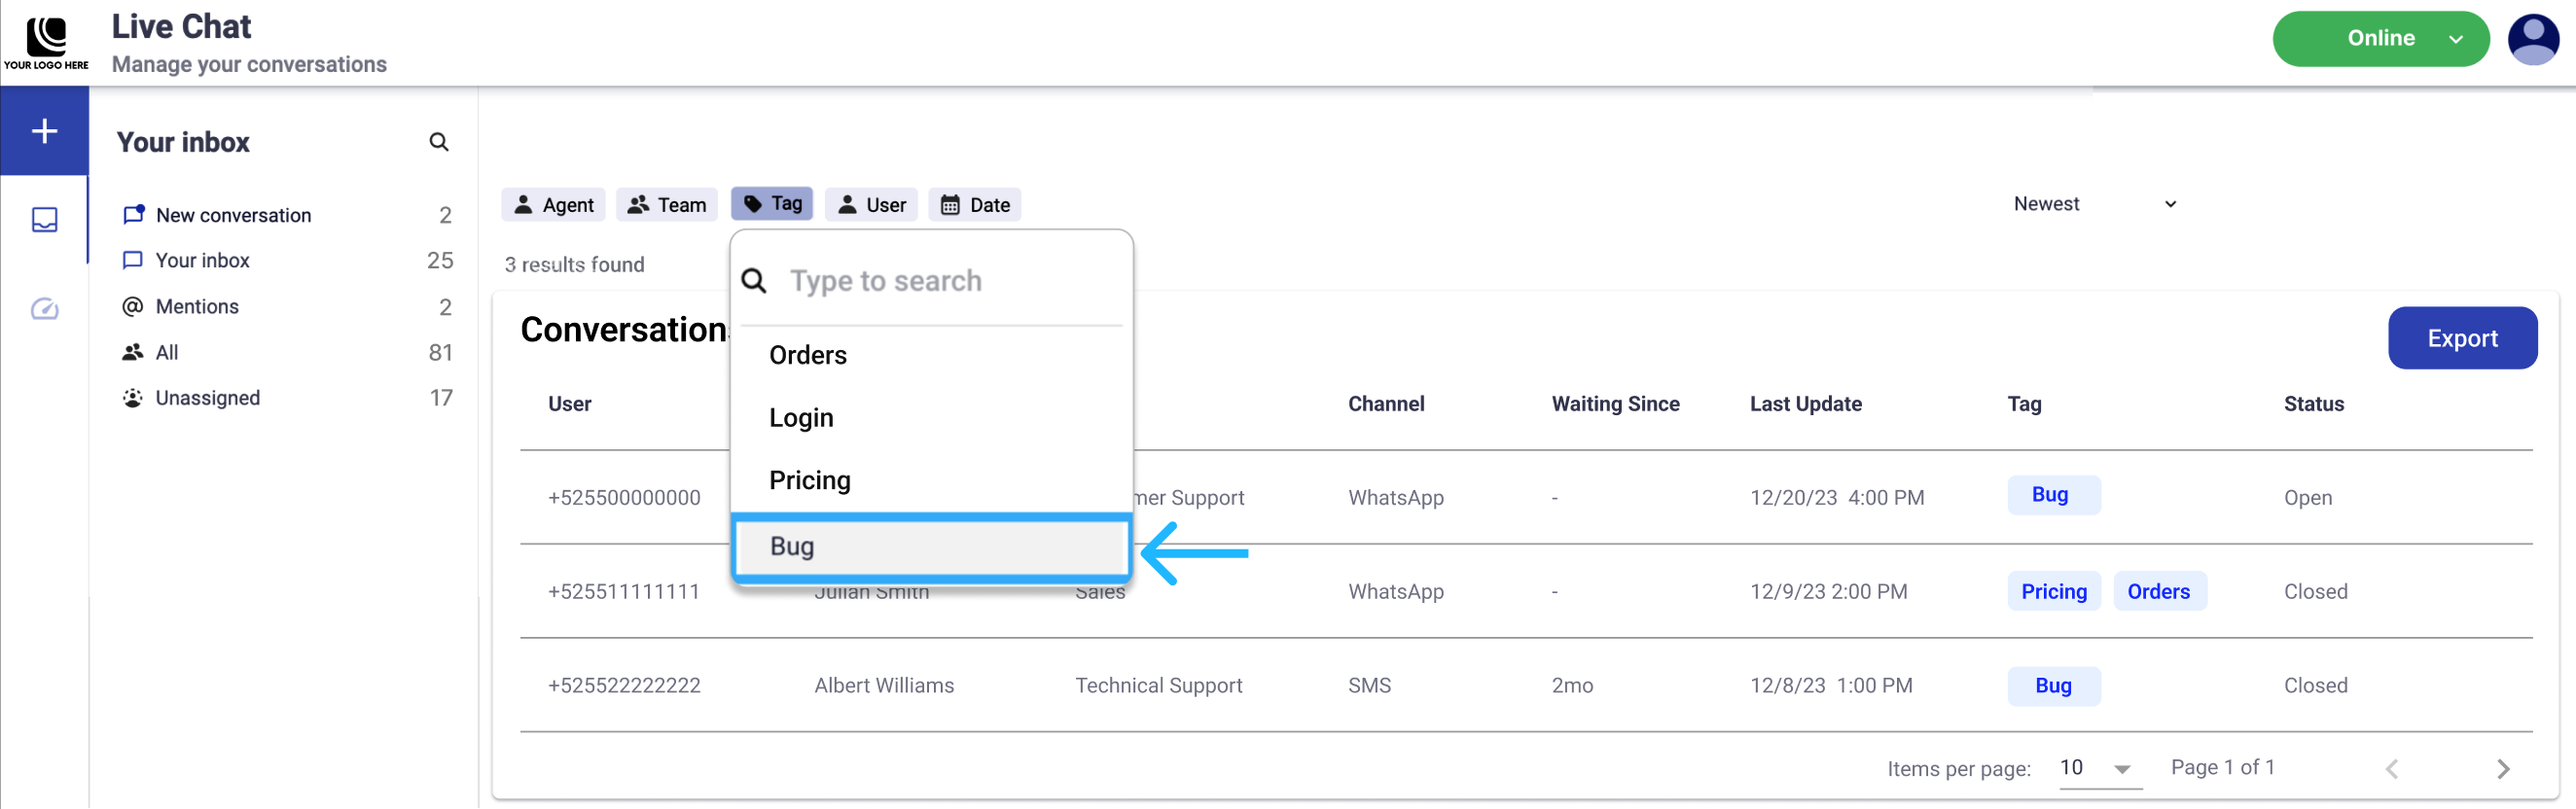
Continuing with the example, select the Tag filter, then type or select the name of the tag you want to filter by.
This search will display all conversations that include the tag name (Bug) and are associated with the selected tag.
Now, let's include an additional filter: Date. Select the Date option, then type the date range (start date - end date), or you can also use the calendar to select the start and end date.
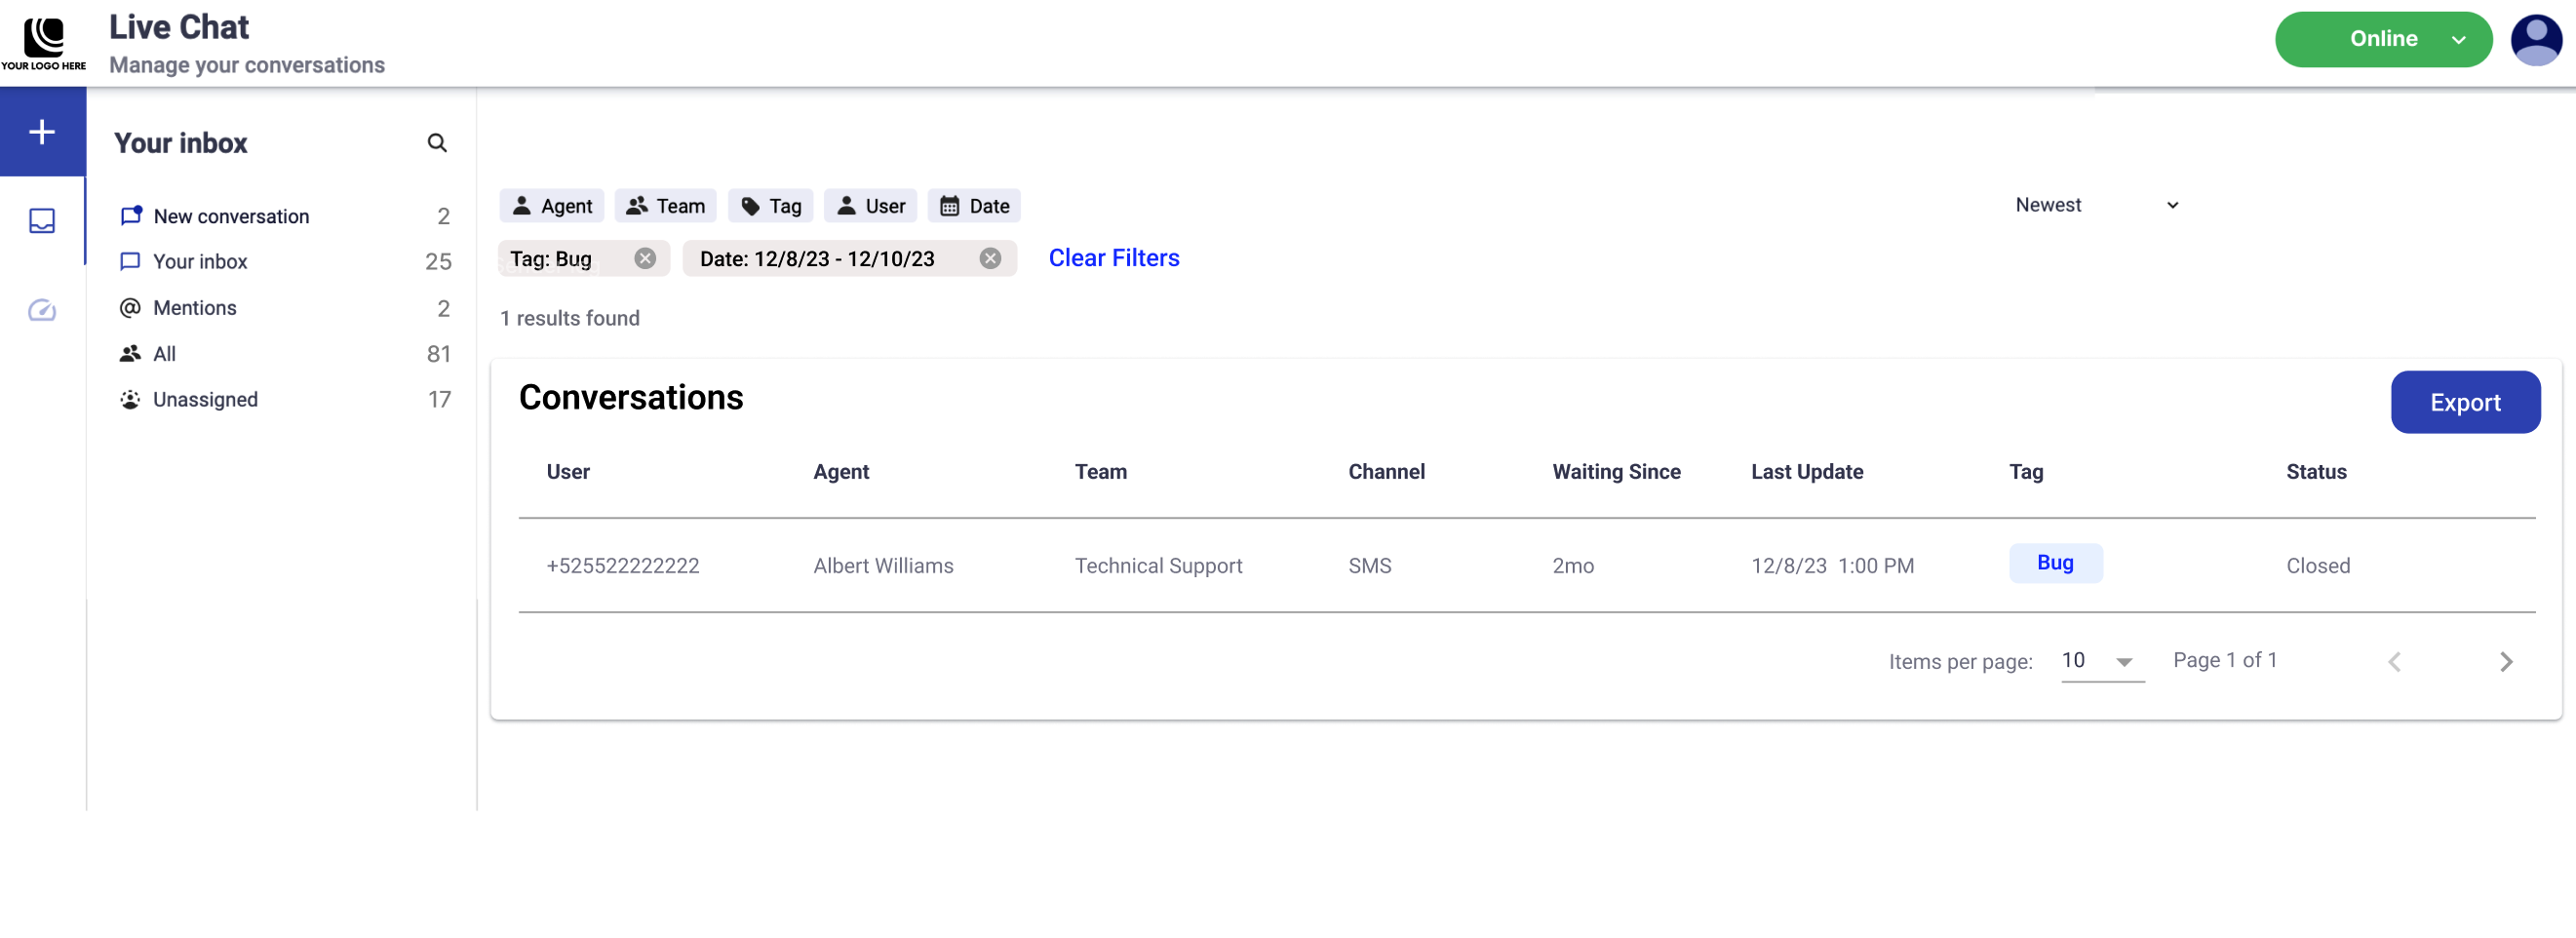
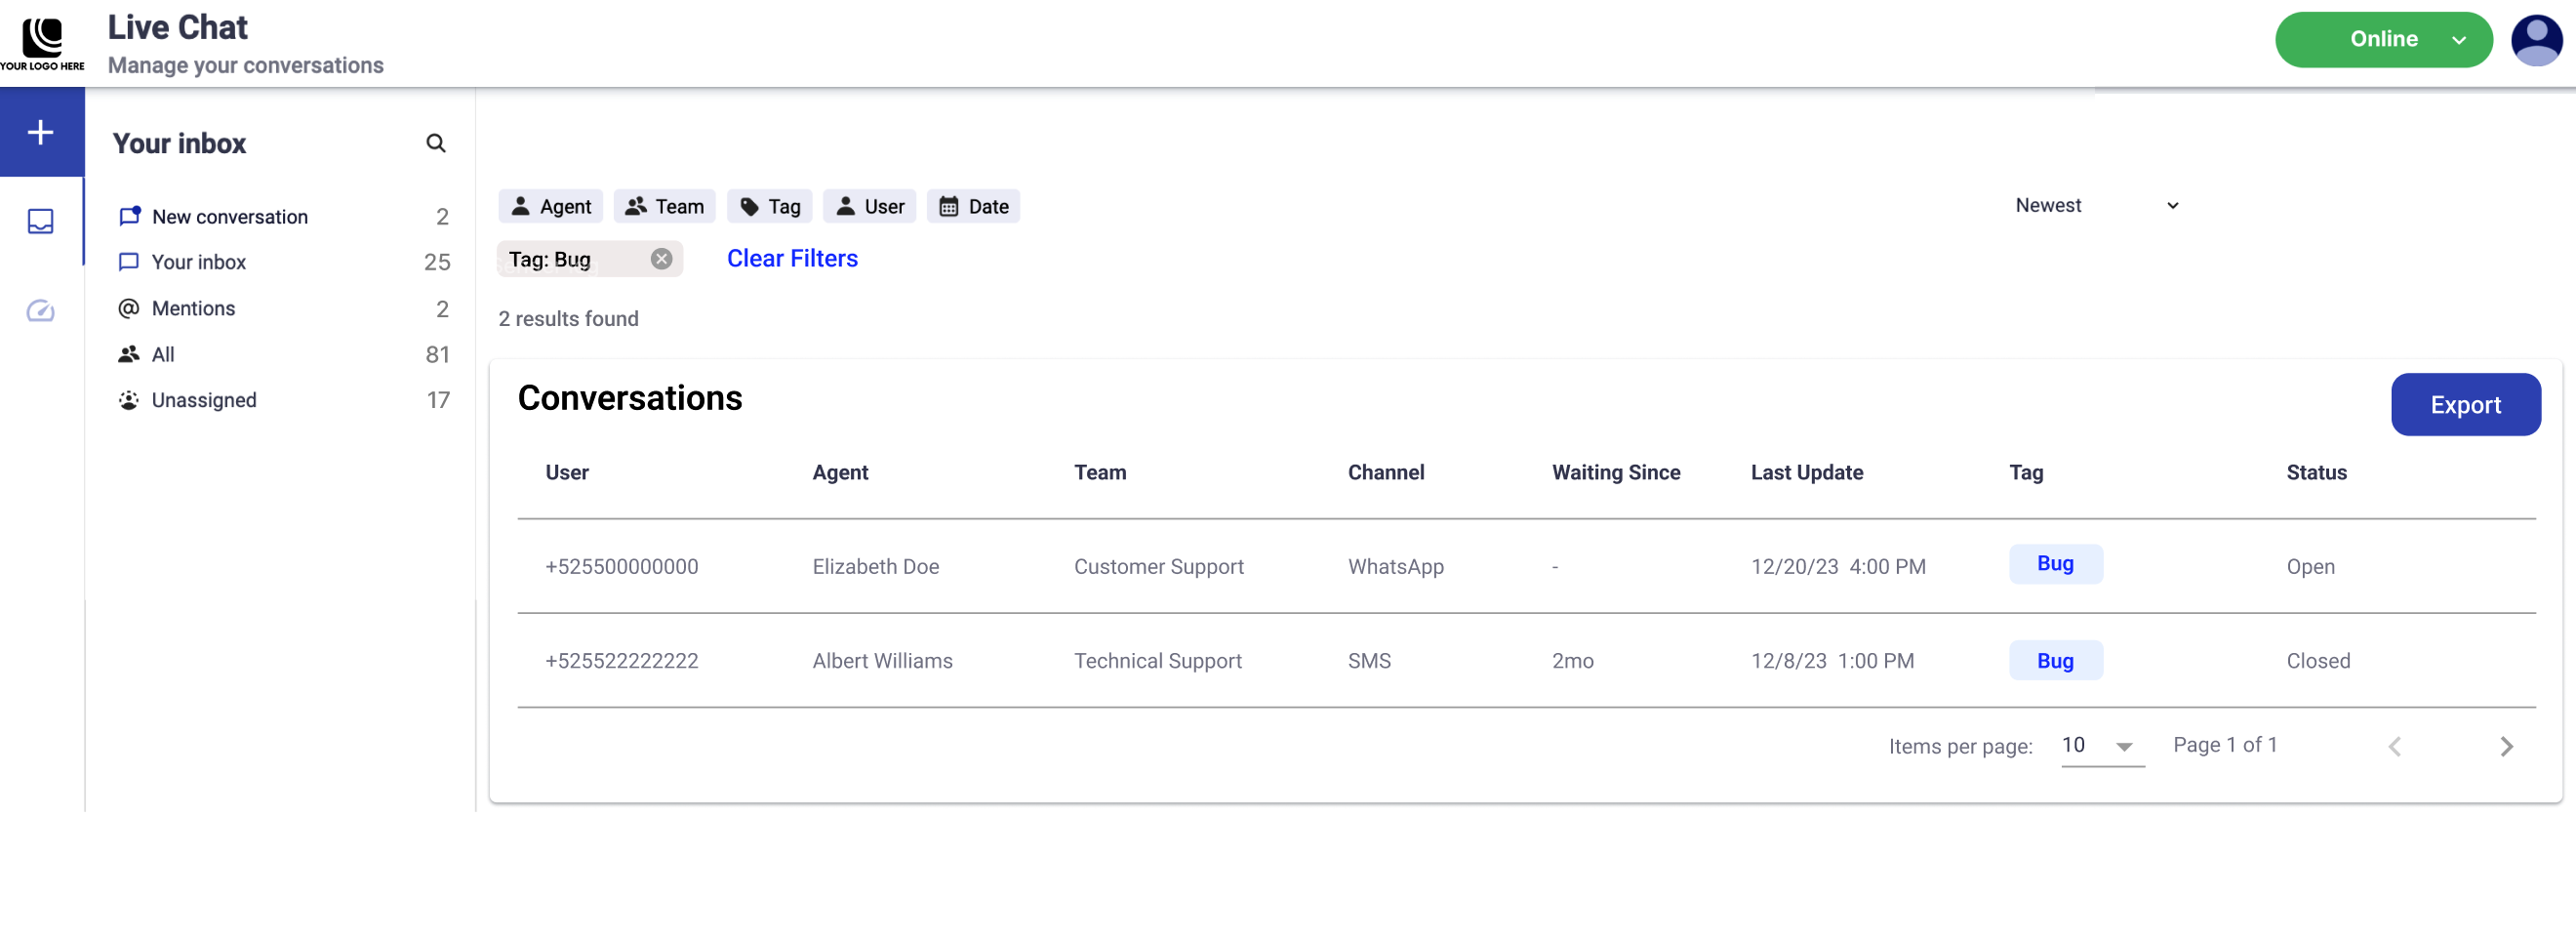
Your search results will be displayed with the most recent conversations appearing at the top first.
When multiple filters are applied, they appear at the top of the search results as filter tags. If you want to remove all active filters and start a new search, click Clear Filters located on the right side of the filter bar. This action removes every applied filter at once and restores the Conversations table to its default state.
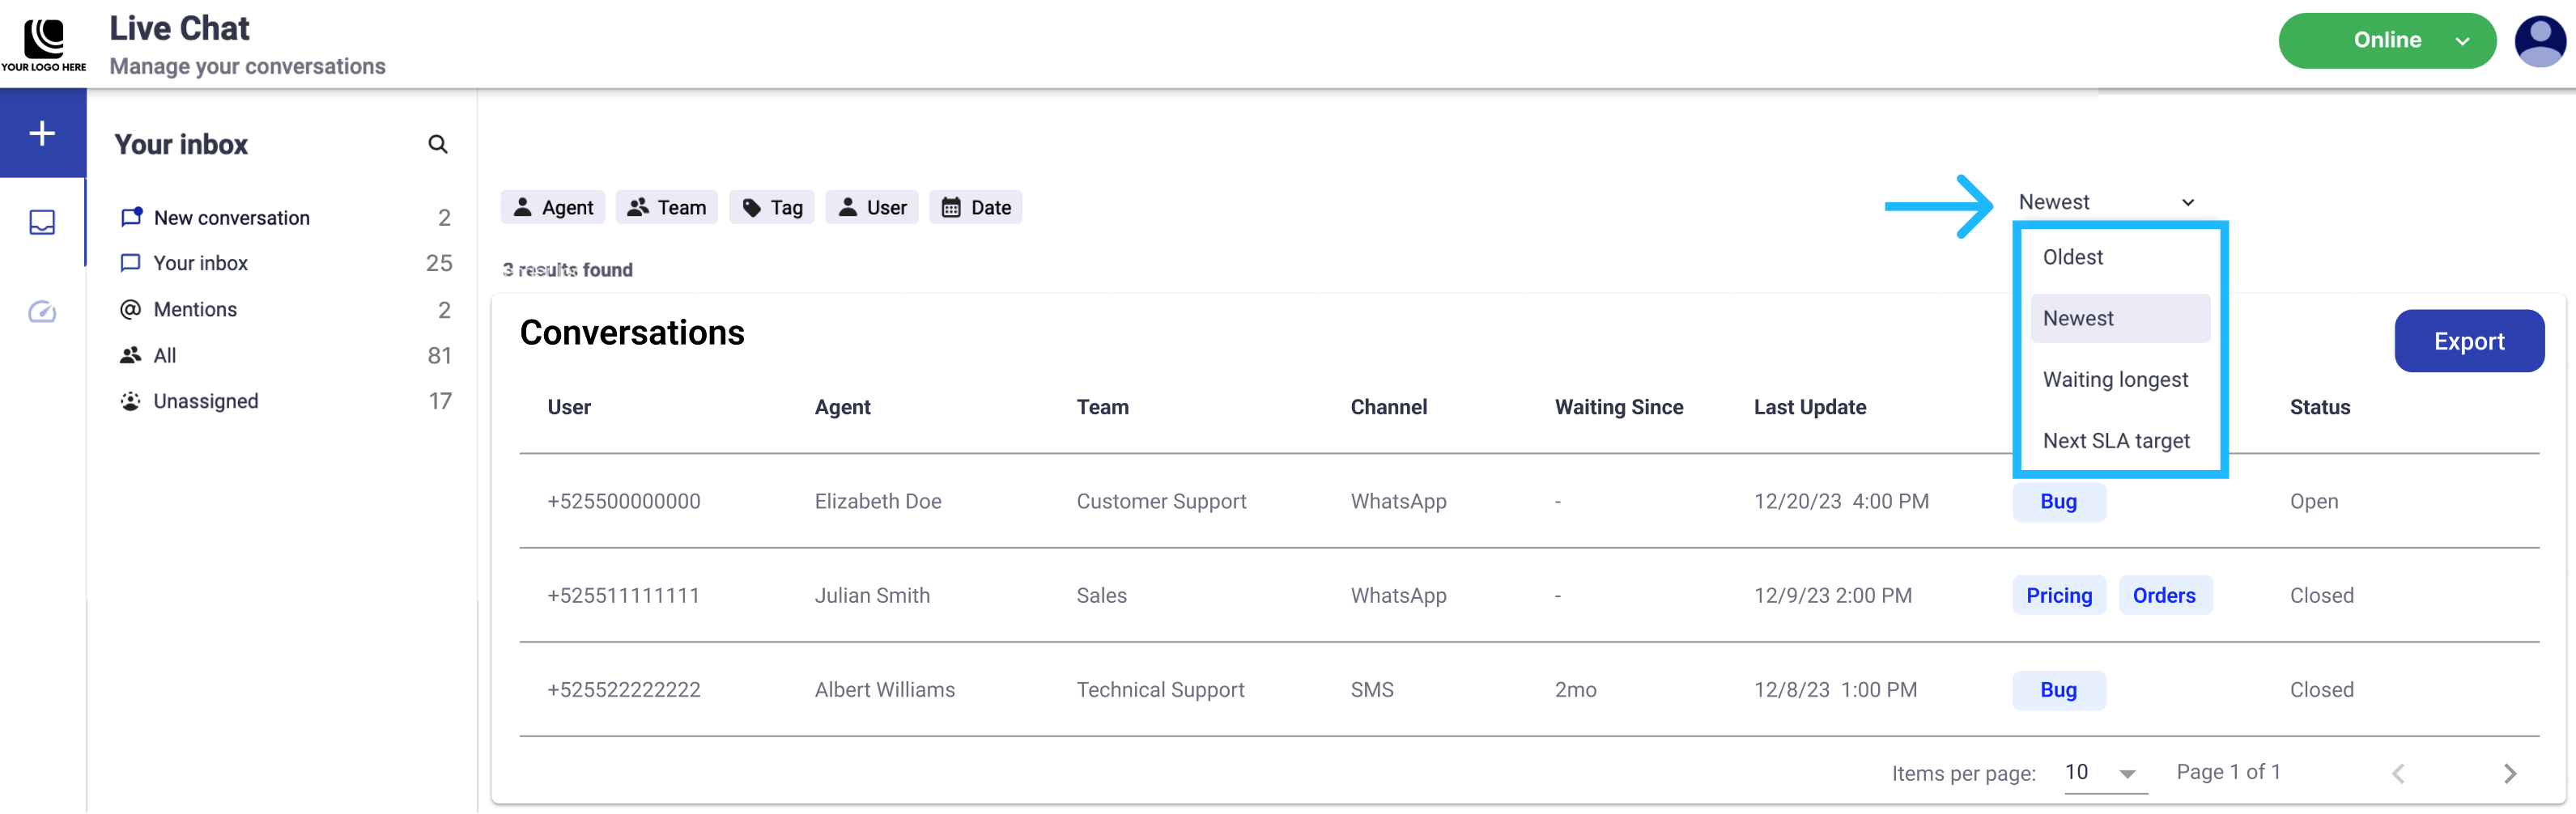
To view the oldest, waiting longest, next SLA target, or priority first at the top, use the dropdown located on the right of the filter options.
Export Report
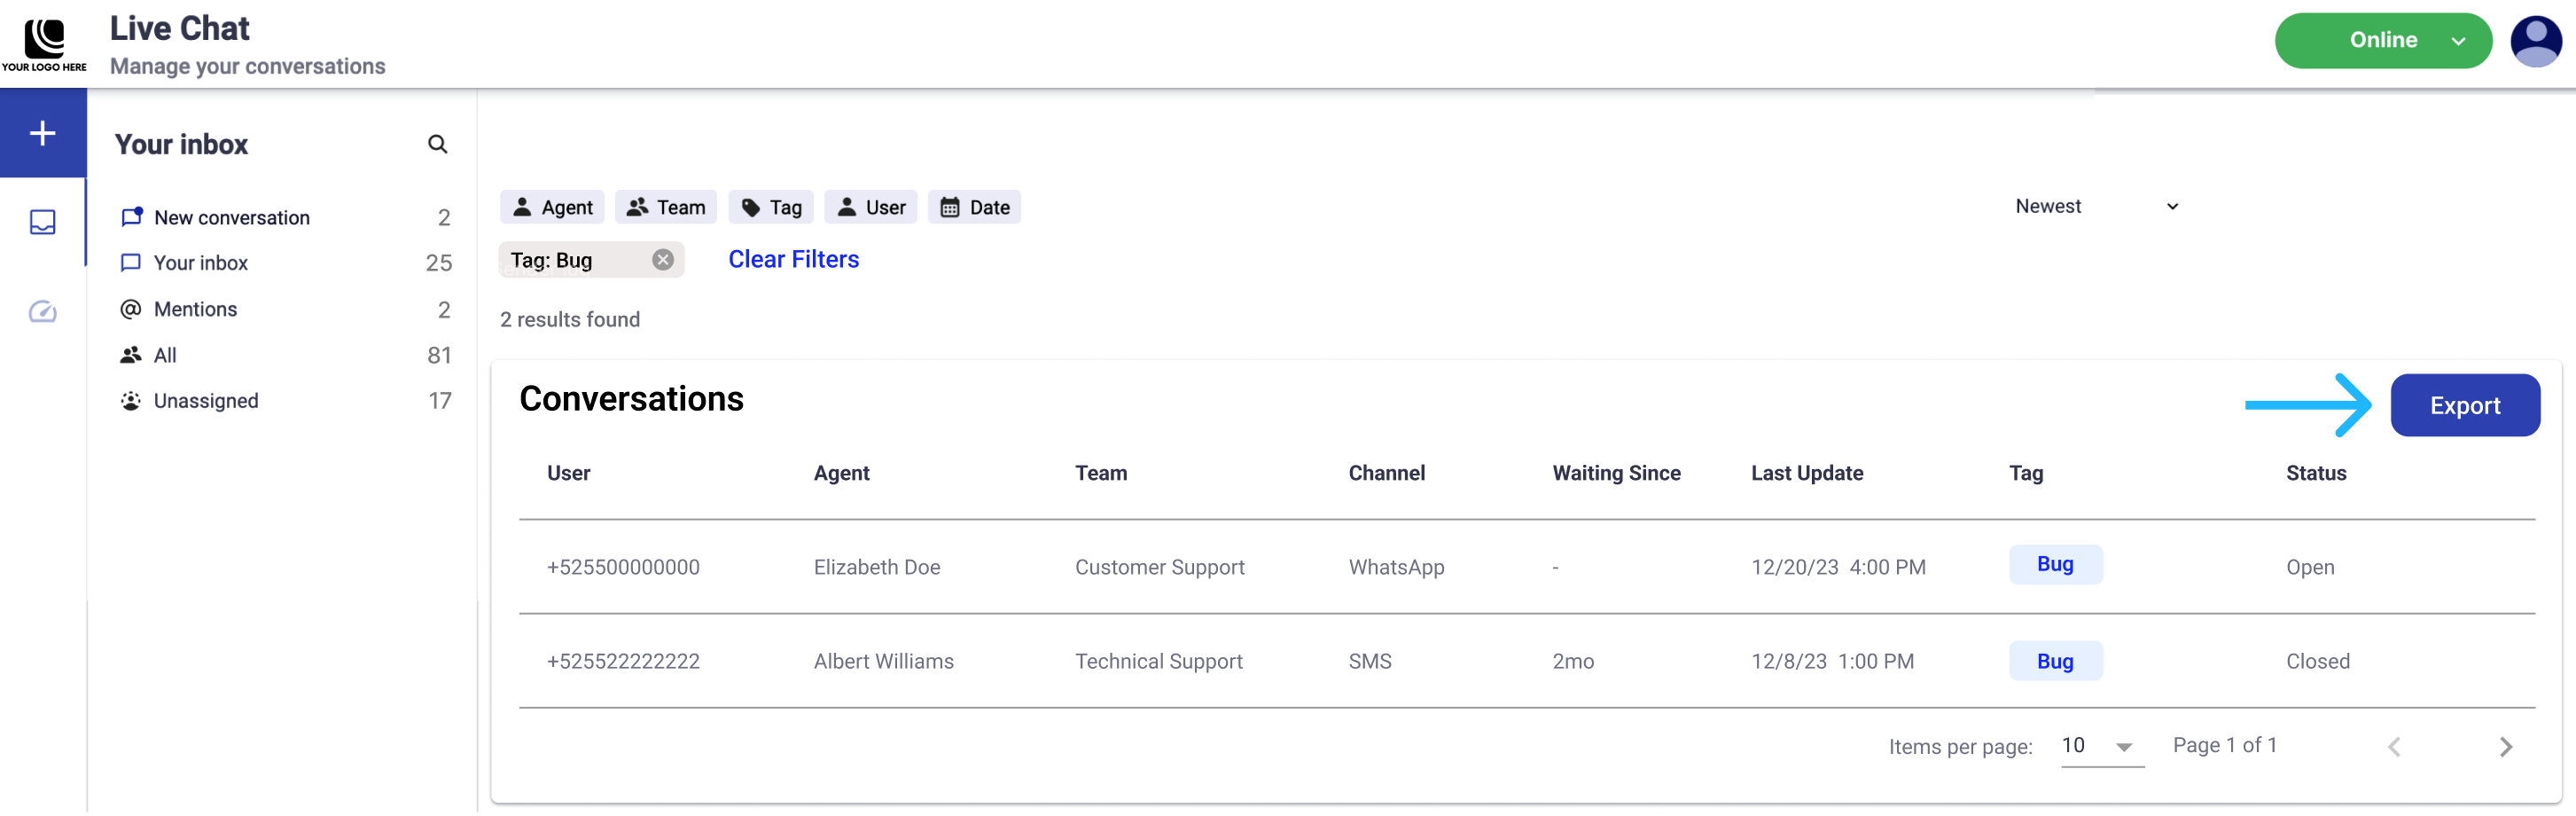
The Export feature allows administrators to download a report of the conversations displayed in the Conversations table. The exported report includes all conversations currently shown in the table and respects any applied filters. This means that if you filter conversations by Agent, Team, Tag, User, or Date, only the filtered results will be included in the exported report.
To export the conversations, follow these steps:
-
Apply any filters you want to use for the report.
-
Click the Export button located in the upper-right corner of the Conversations table.
-
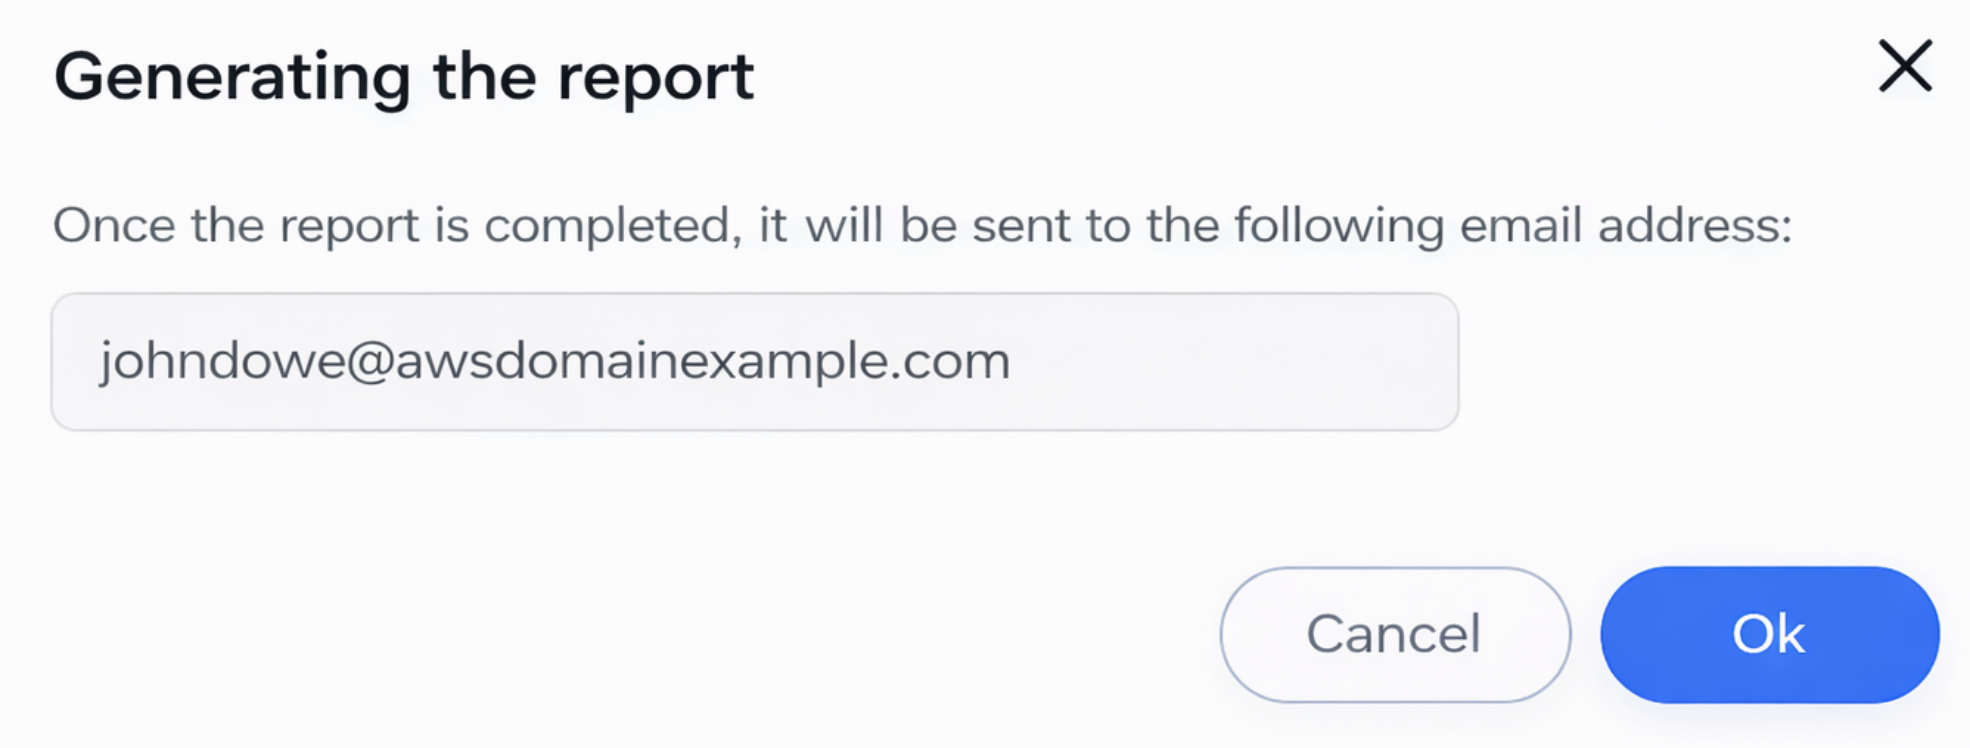
A confirmation window will appear, showing the email address to which the report will be sent. Click Ok to start generating the report. Once confirmed, the system begins generating the report in the background.
-
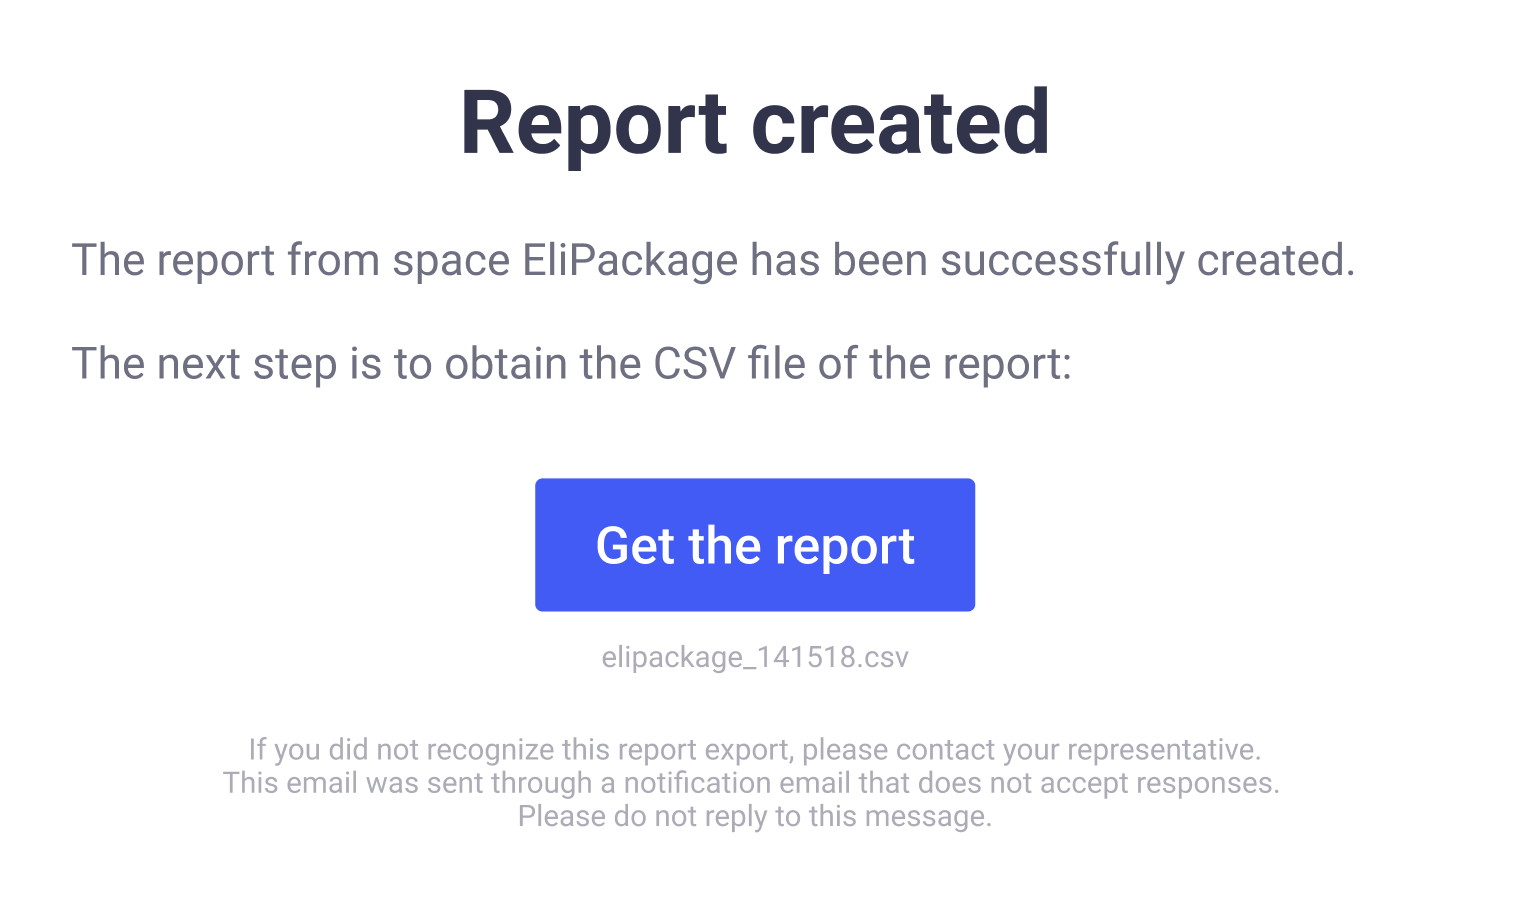
After the reporting has been generated, you will receive an email notification containing a download link. Open the email notification sent to your inbox, and click Get the report. The report will be downloaded as a CSV file, a widely supported format that can be opened and analyzed using spreadsheet applications such as Microsoft Excel, Google Sheets, or any other compatible data analysis tool.
Updated 3 months ago