Summary
Review and confirm broadcast or automation summary settings, including link tracking, throttle configuration, delivery timetable, and activation options.
Review and confirm a broadcast or automation before you activate it, schedule it, or save it as a draft.
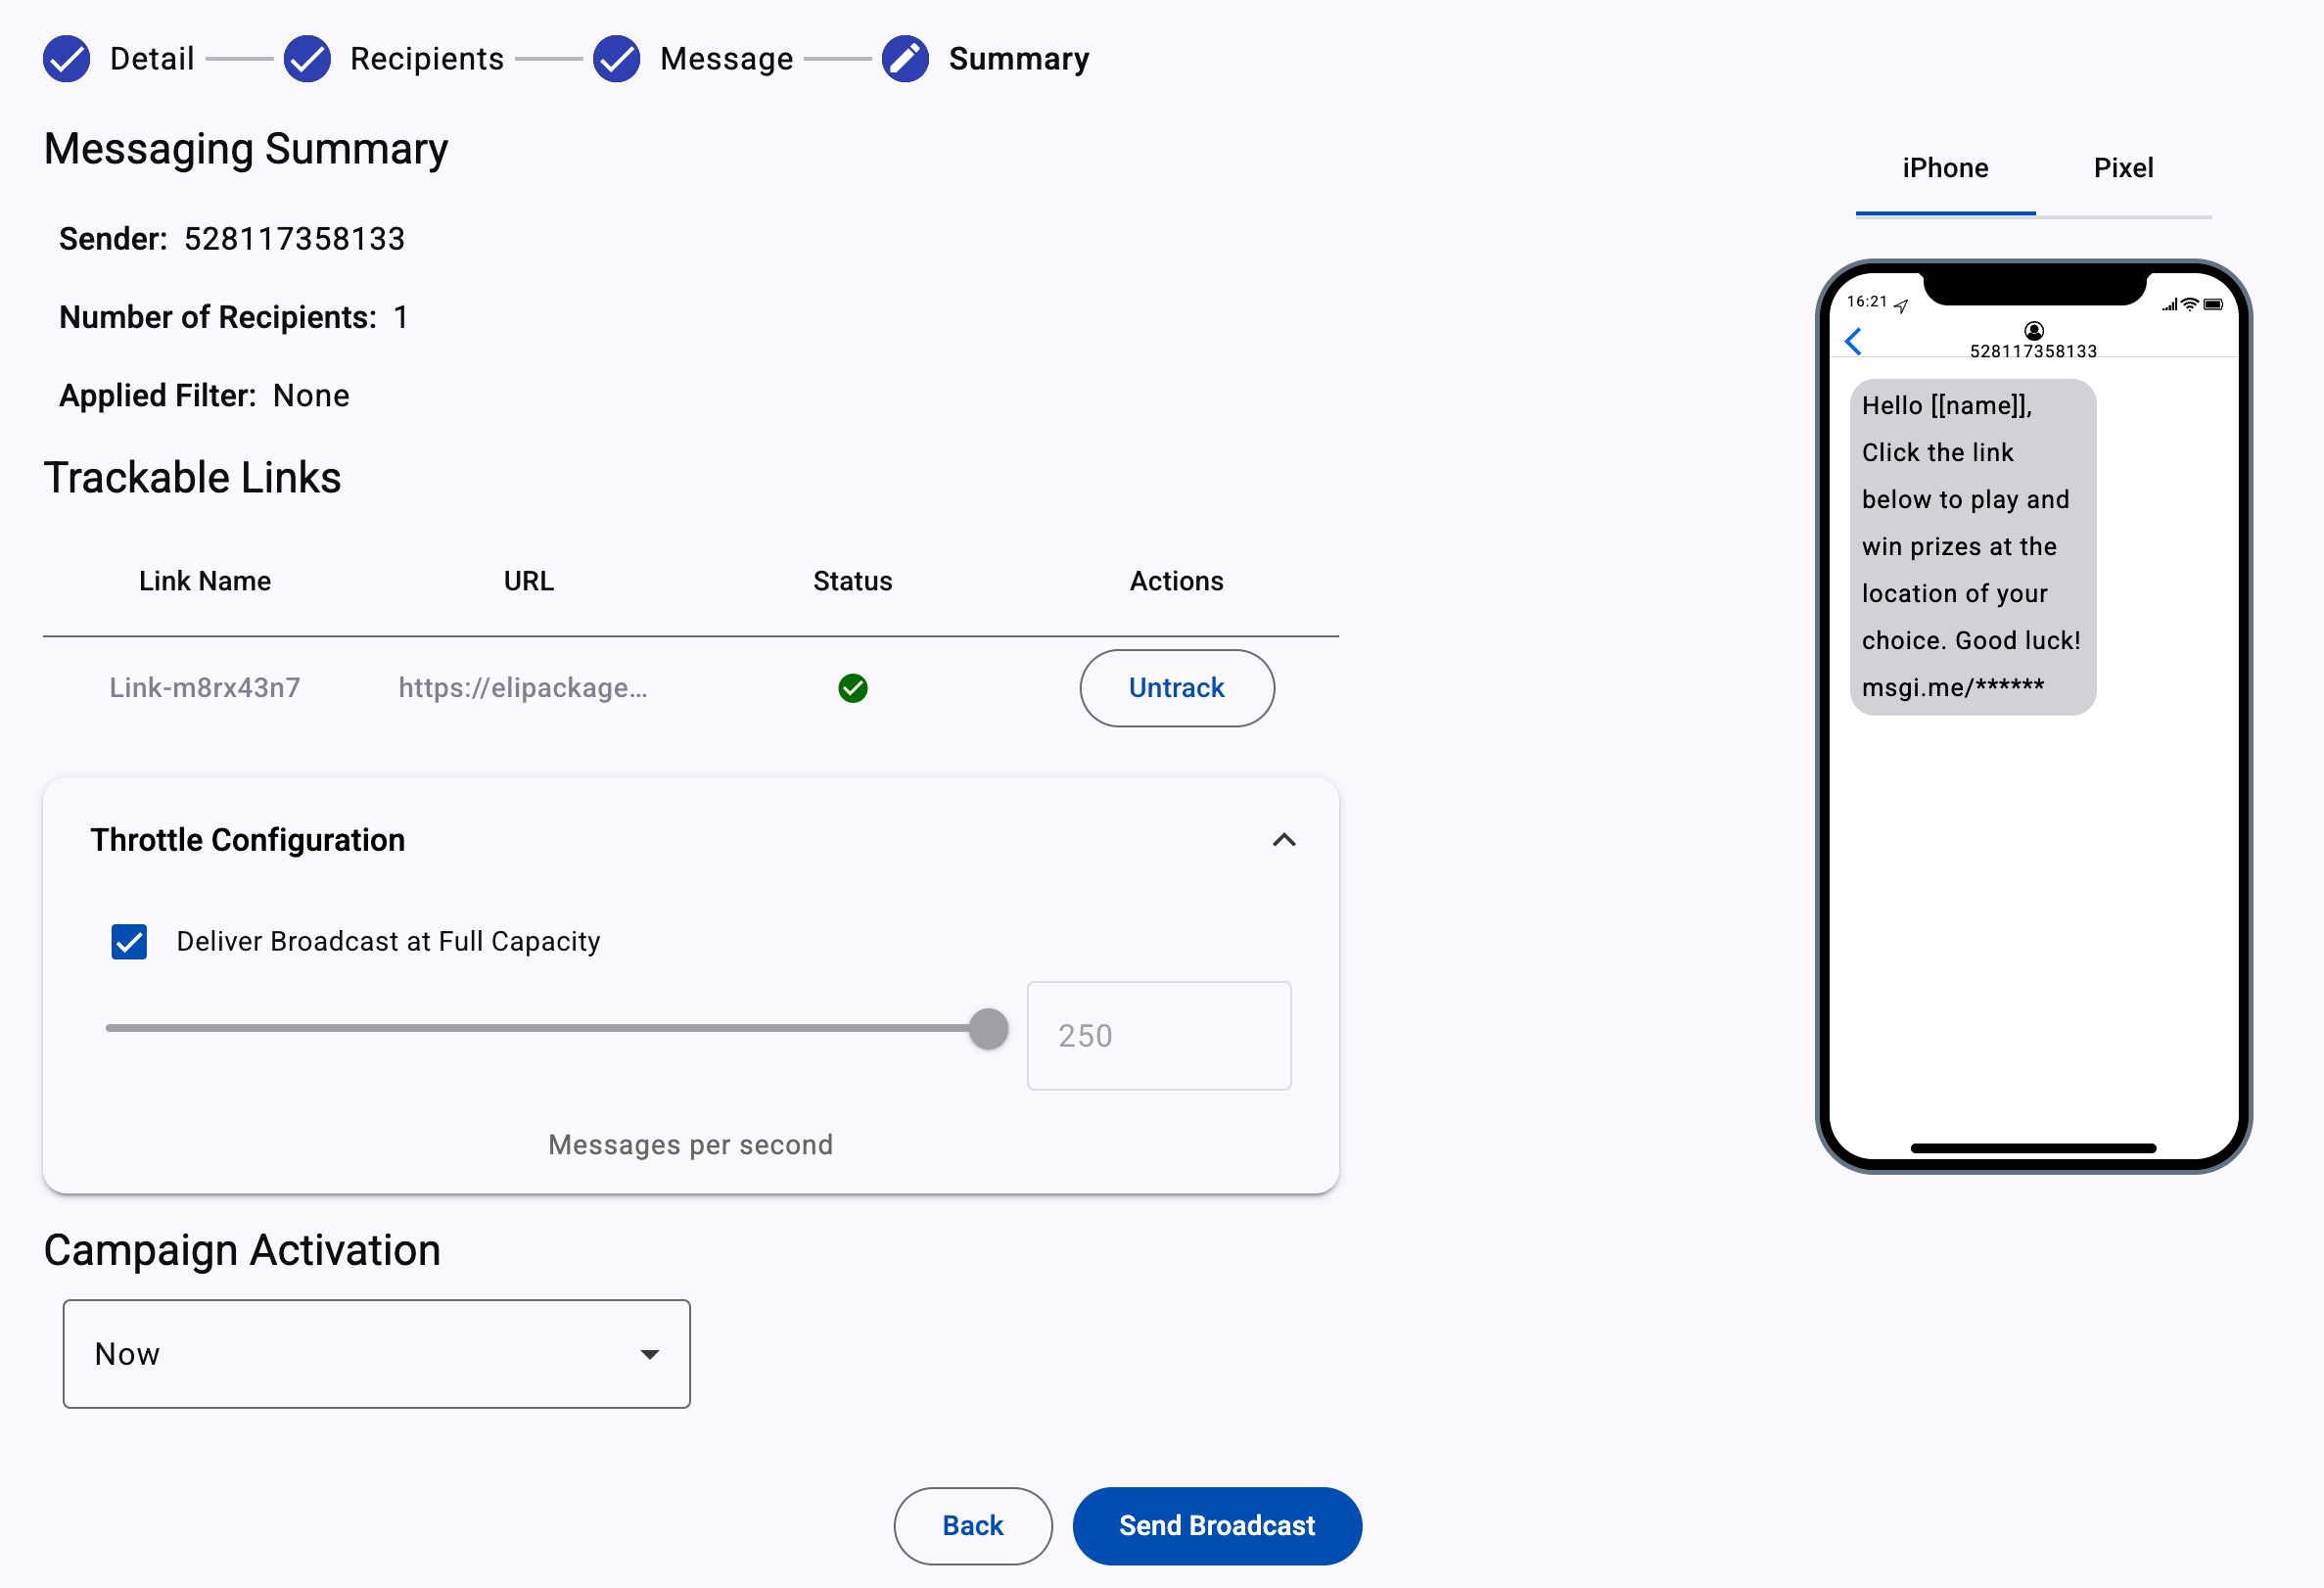
Depending on the broadcast or automation type, the Summary step can include these settings:
- Messaging overview
- Link tracking settings
- Broadcast or automation expiration
- Delivery timetable
- Throttle configuration
Review the messaging overview
Use Messaging Overview to double-check these details before activation:
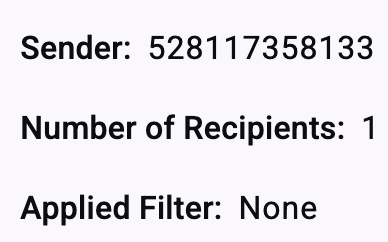
- Sender: Number (SMS), Sender Email (Email), Agent (RCS), or WhatsApp Business Account (WhatsApp).
- Number of recipients: The contacts who will receive the message or notification.
- Applied filter: Any segmentation filters used for the audience.
Optional: Configure link tracking
If your SMS, Email, or RCS message includes links, enable or disable tracking for each one. In the Trackable Links section, toggle Track/Untrack for each link listed in the table.
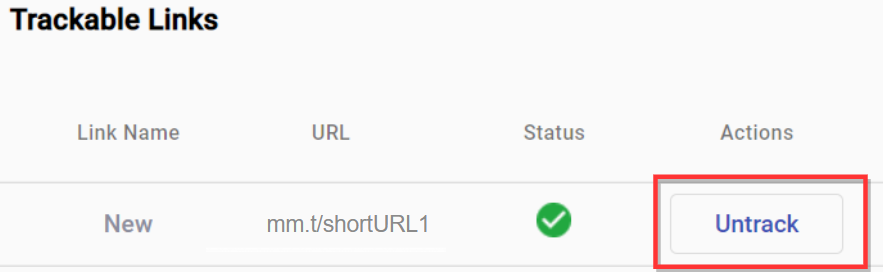
For deeper insights on link performance, see the Link Tracking report section.
Optional: Adjust throttle configuration
Use Throttle Configuration to control message delivery throughput. By default, Full Capacity sends up to 250 messages per second for SMS and RCS delivery.
To reduce the sending rate, clear Deliver Broadcast at Full Capacity. Then use the slider or enter a value in the field on the right.

For Email, Full Capacity sends up to 160 messages per second.

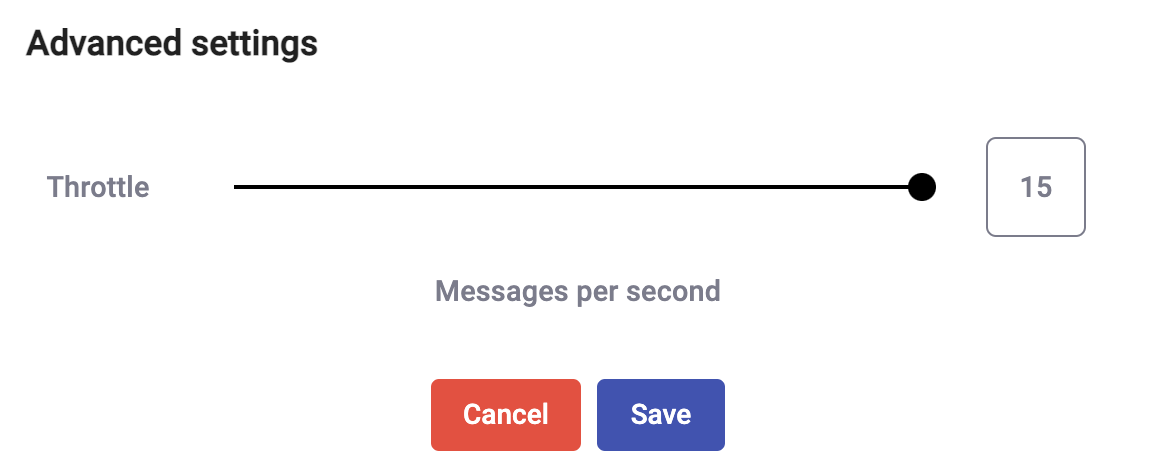
For WhatsApp, use the slider under Advanced settings to set the sending rate. The default rate is up to 15 messages per second.
For more details about delivery throughput and how TPS is applied across SMS and WhatsApp broadcasts, see Message Throughput (TPS).
Set the delivery timetable
In the Activation section, choose when to launch the broadcast or automation.
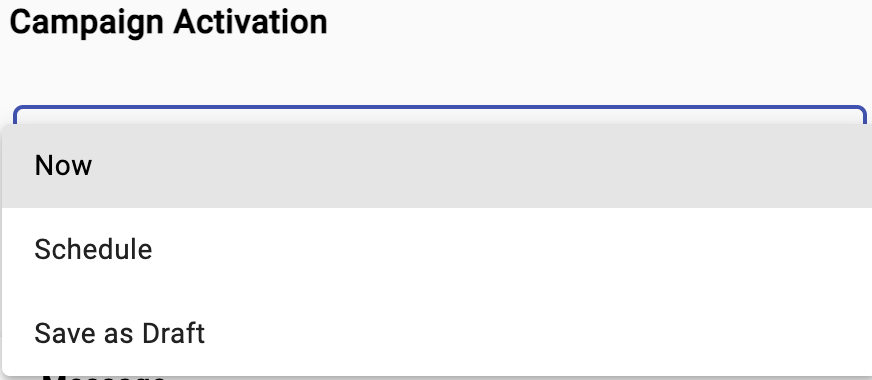
The activation options are:
- Now: Launch the broadcast or automation immediately.
- Schedule: Use the date and time picker to set a specific delivery time. The broadcast or automation is saved as Scheduled.
- Save as Draft: Save your progress without setting a delivery time. The broadcast or automation is saved as Pending.
Each option displays a corresponding action button and confirmation dialog, as shown below.

NOTEThe activation options Now, Schedule, and Save as Draft are available for SMS, Email, RCS, and WhatsApp.
If you selected API Endpoint (SMS/Email) or Subscription Form, choose when to launch and activate the broadcast or automation from the Select an option dropdown:
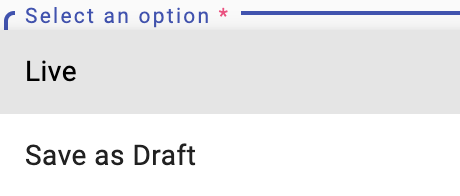
- Live: Activate and launch the broadcast or automation immediately.
- Save as Draft: Save the incomplete broadcast or automation configuration as a draft to complete later.
Updated 15 days ago