Assign Conversation
After sending the message to the customer, the next step is to assign an agent to the conversation.
Your Inbox section is a centralized hub for managing conversations. Here you are able to prioritize, export , snooze, assign and close a conversation among other features located in the Top Bar.
The first step to direct the conversation towards the most suitable agent who can provide the best effective assistance is clicking on the Assign button.
Once clicked, there are four agents available with active status (previously added to the live chat) who can help you with this customer. We are going to select the agent named “John Doe” as the most qualified to assign this conversation.

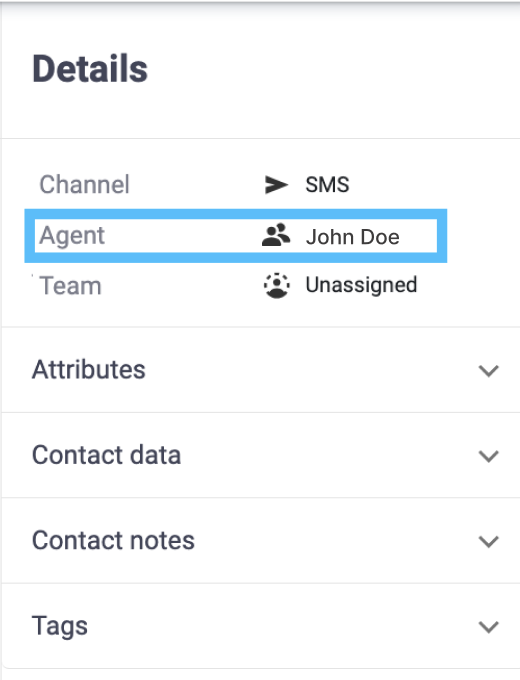
When assigning the conversation, we go to the Details tab which is located in the right panel of the chat. This panel provides immediate insight into conversation information. For example, the name of the agent that we have just assigned is displayed in the Agent field.
Updated 6 months ago